3d from photos
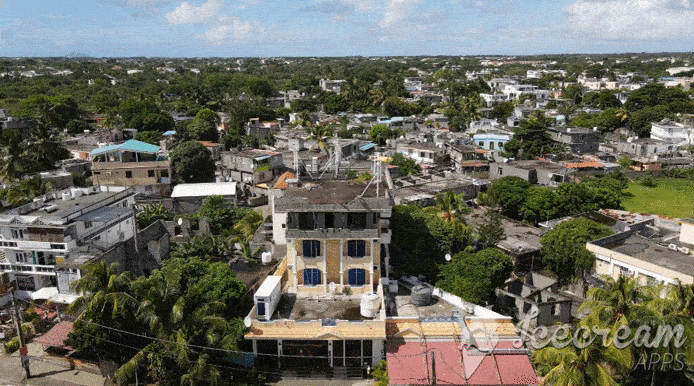
It is not always easy to obtain 3D data on some of the city’s sites. Furthermore, these sites can be extremely difficult to reach. If overflight is permitted in the area, a drone survey is an interesting solution.
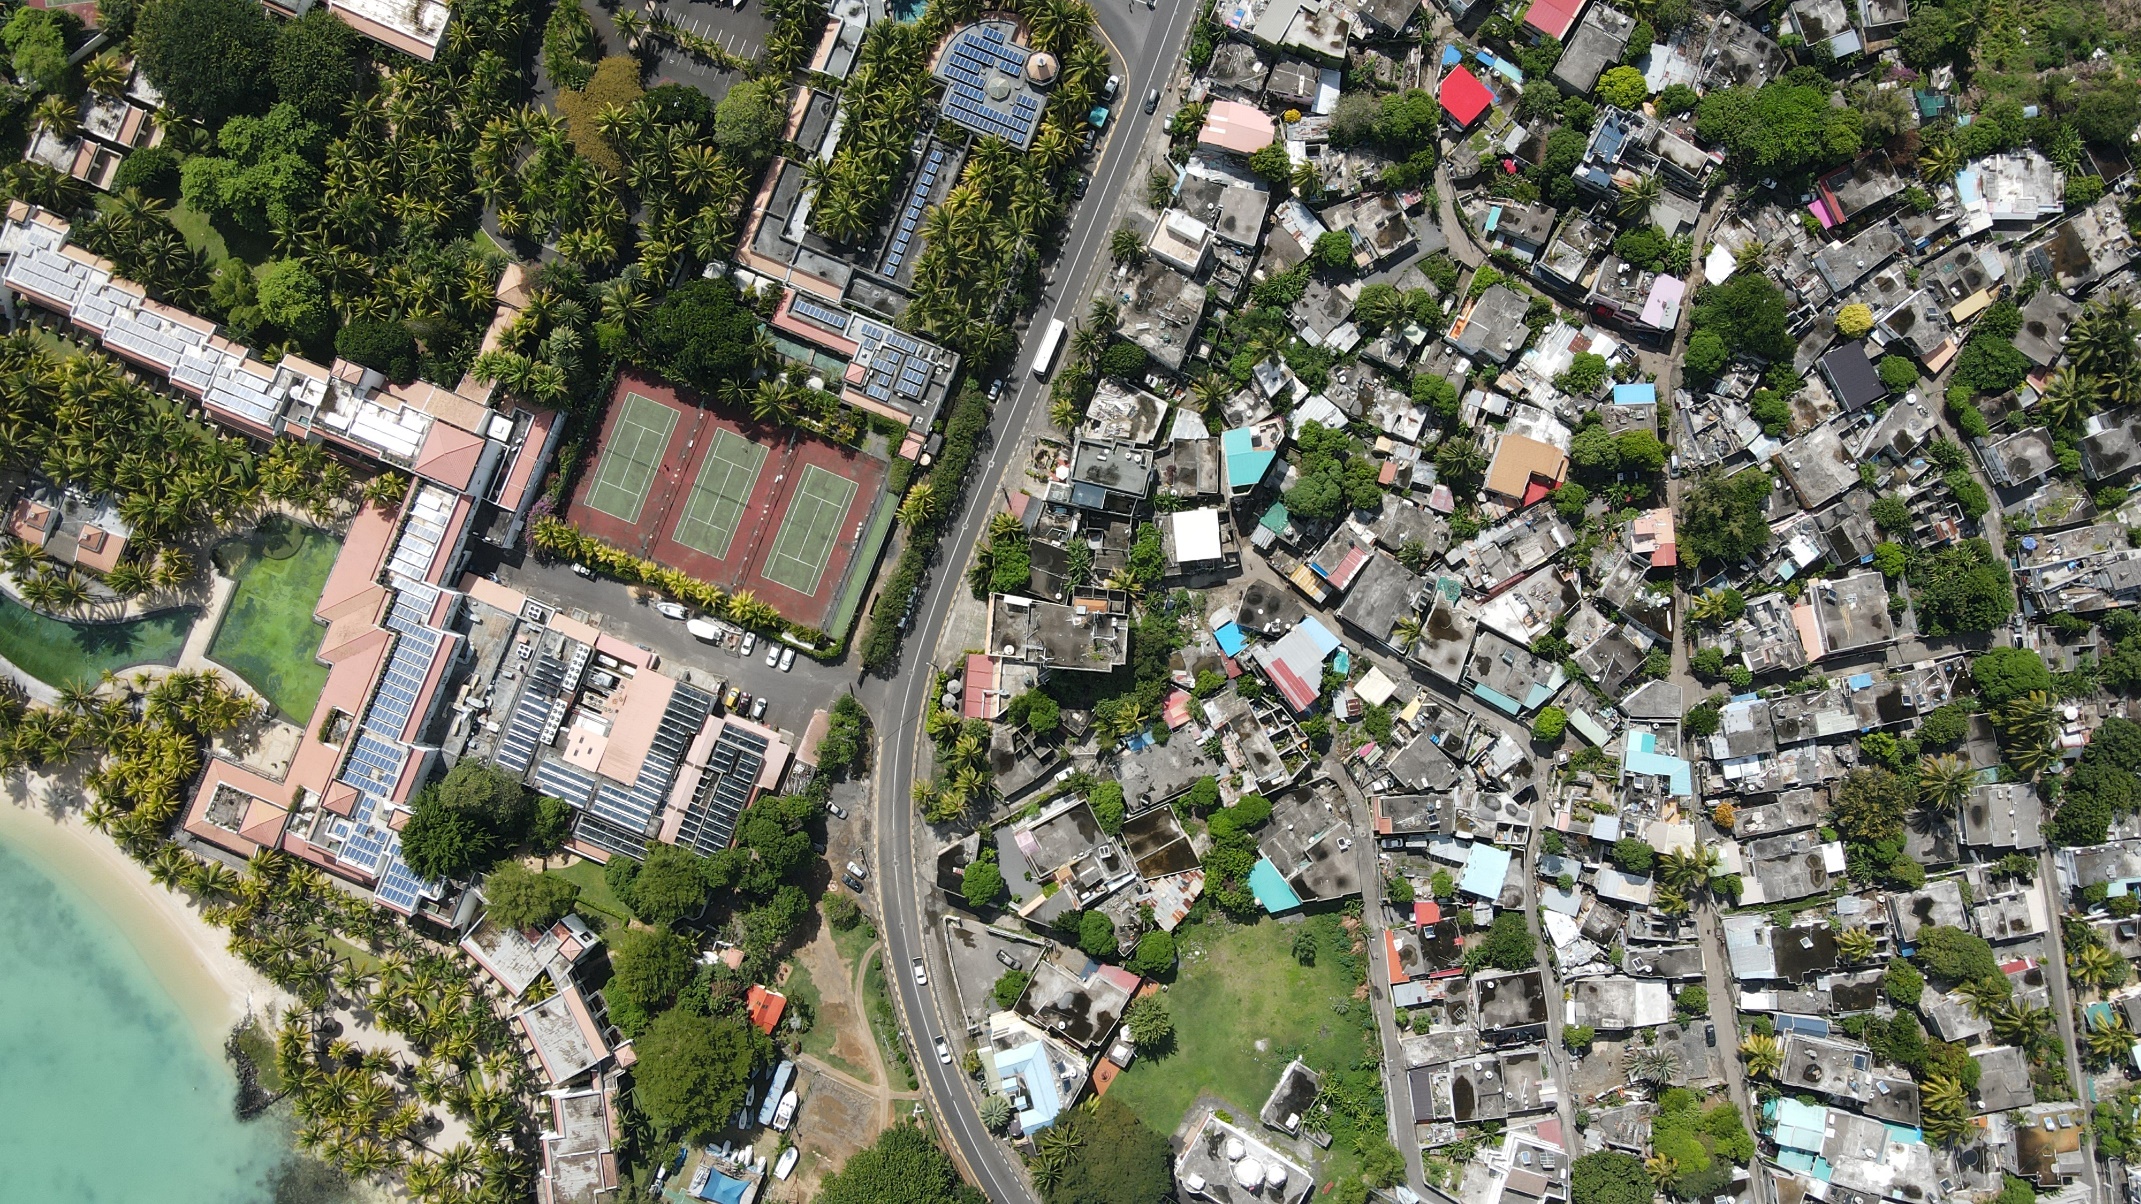
In this case, we are in the Grand Bay area of Mauritius. Because of the dense urbanization and the importance of vegetation cover, surveying from the ground is nearly impossible.
Three flights were conducted at three different altitudes. An HD camera was used to record the video. Each film lasts approximately one minute.
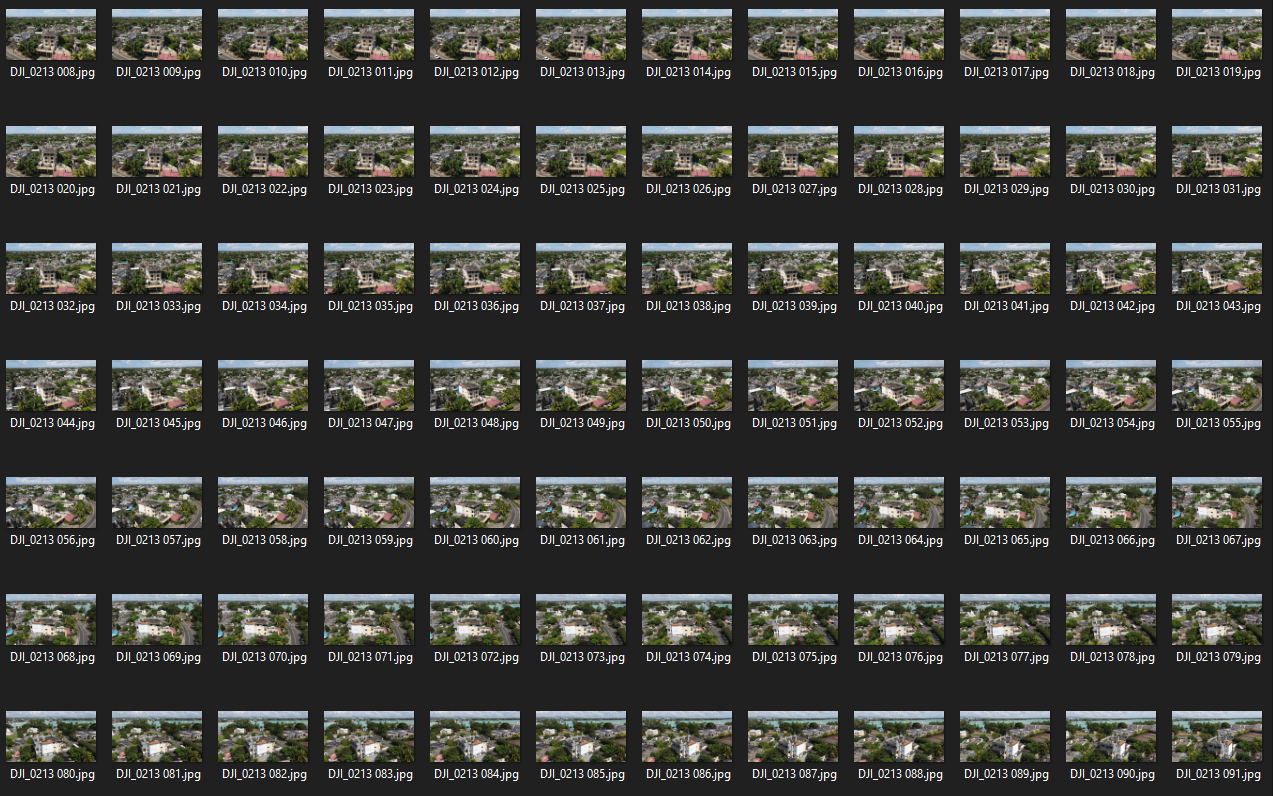
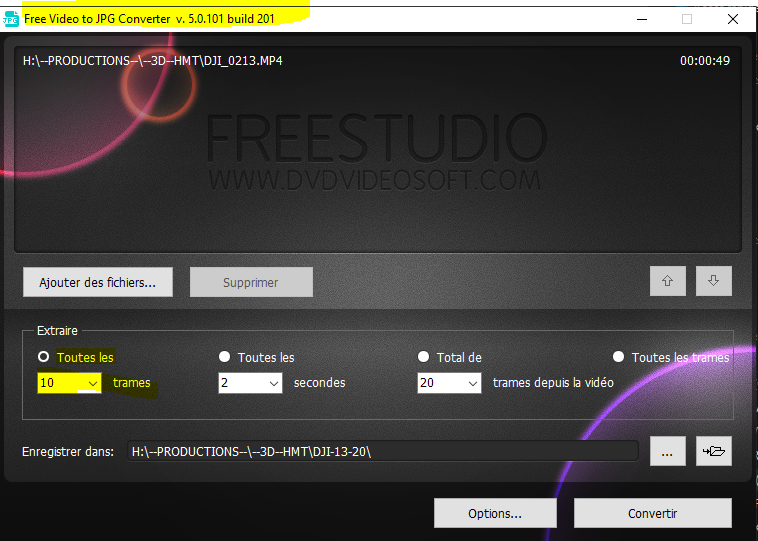
The film is then cut into individual images that can be used in photogrammetry software.
For this we use the free software Free-Video-to-JPG-Converter https://www.dvdvideosoft.com/fr/products/dvd/Free-Video-to-JPG-Converter.htm
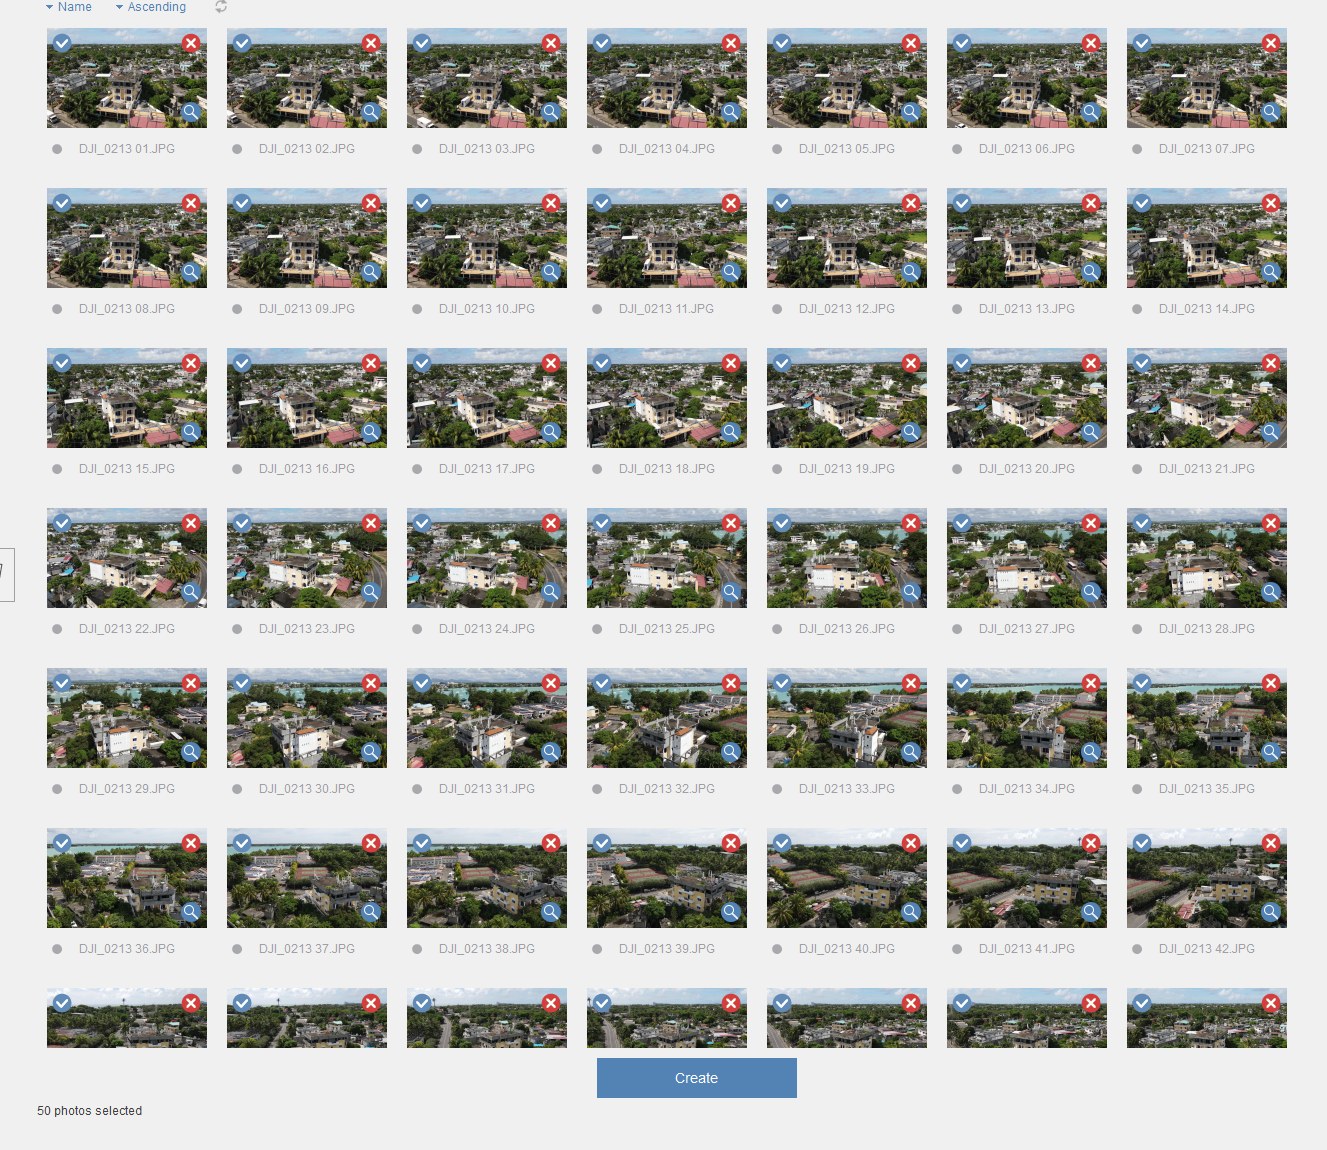
The Autodesk Recap solution was used to conduct some tests. However, the results were not entirely satisfactory. Things are simple with Recap; simply drop the images and wait for the calculation to complete. There are no machine power limitations. https://www.autodesk.com/products/recap/

After having created the new project, just load a maximum of a 100 photos and clic Create
Paradoxically, too many photos can give unsatisfactory results. Results end up poor and not accurate.
From our 3 films we extracted 20 photos of each. Then results went better.
For the first 20, the result is correct.
In this second set, the roof went not too good.
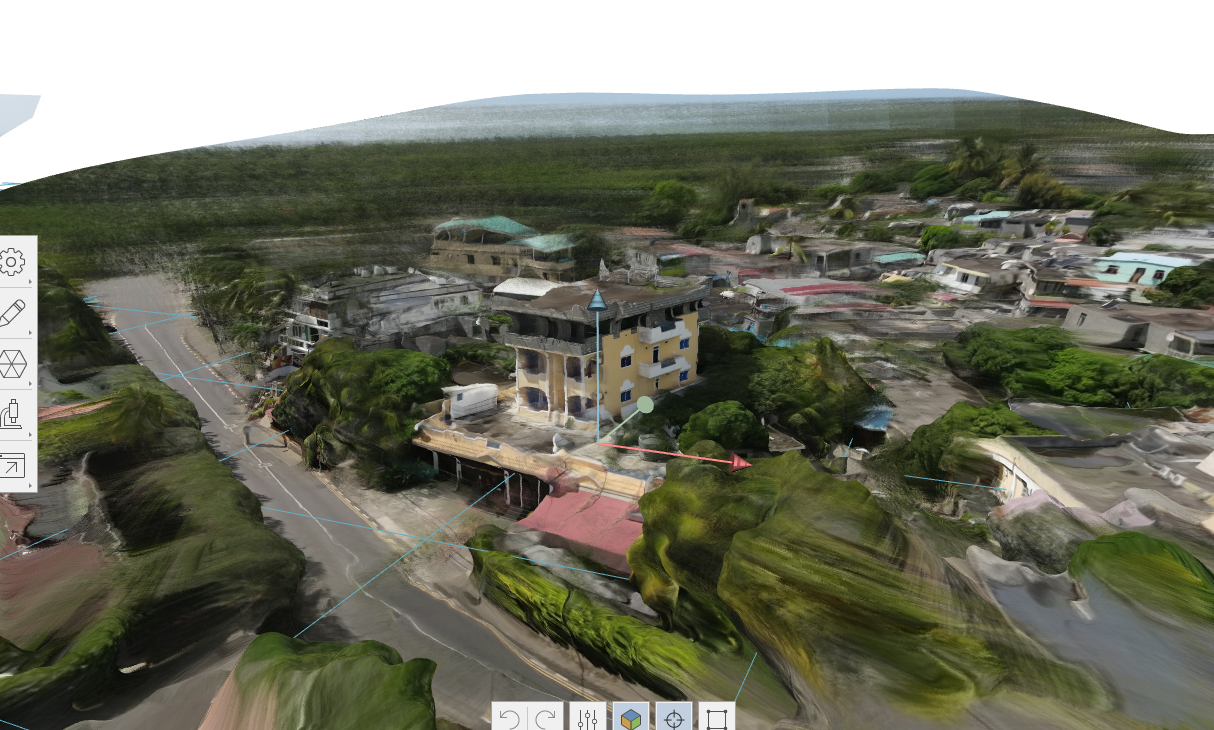
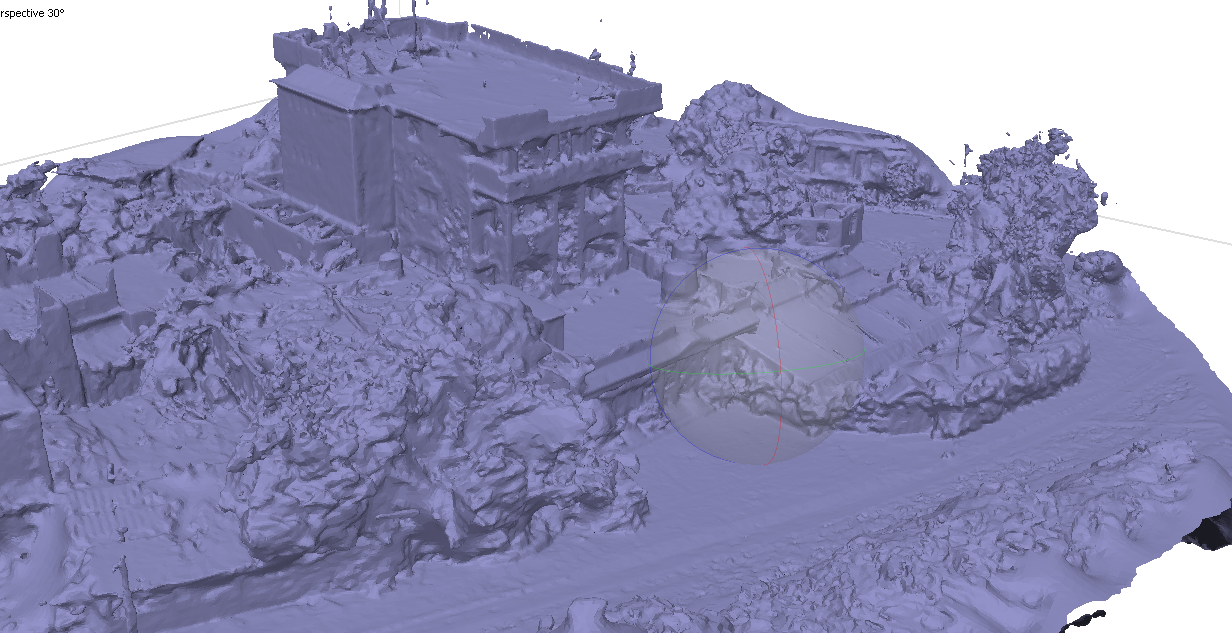
The last test is made with a set of 30 photos from the 3 films. We can see the different flight levels
The result is better
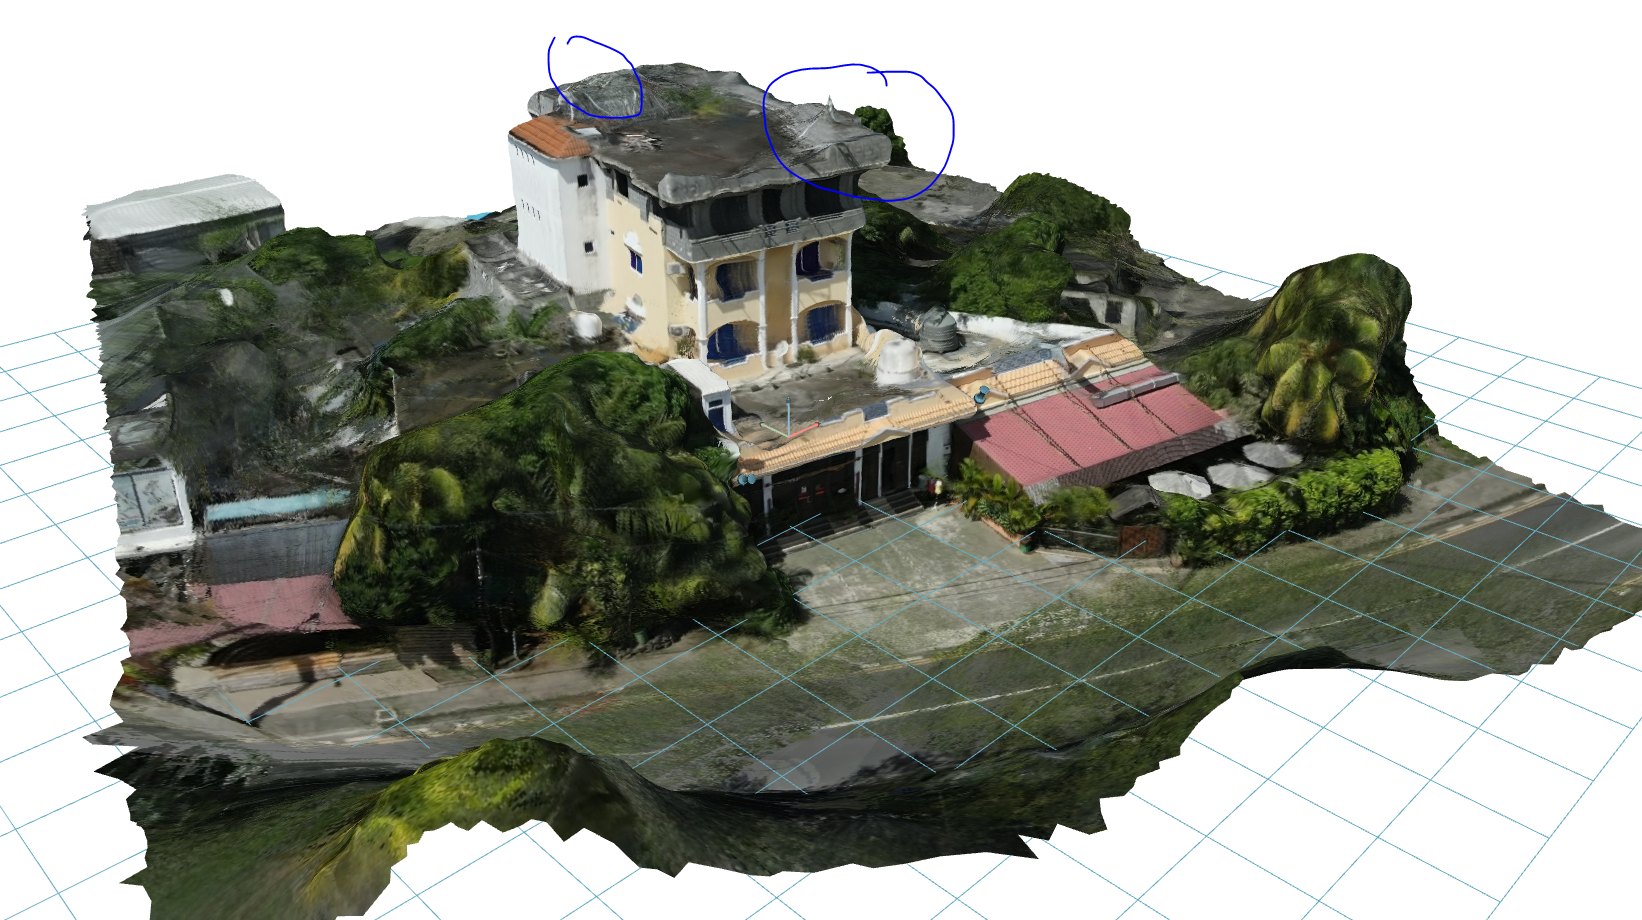
Some parts went with too much simplification
If the illusion works from far, the mesh shows that it is far from ready to extract shapes and dimensions.
Second test is made with Agisoft MetaShape
Agisoft Metashape is one of the best (with Reality Capture) photogrammetry software. Metashape can be found here: https://www.agisoft.com/
Unlike Autodesk Recap Photo, Metashape requires a lot computing power. A pc gamers is the best choice for to get results in a reasonable time.
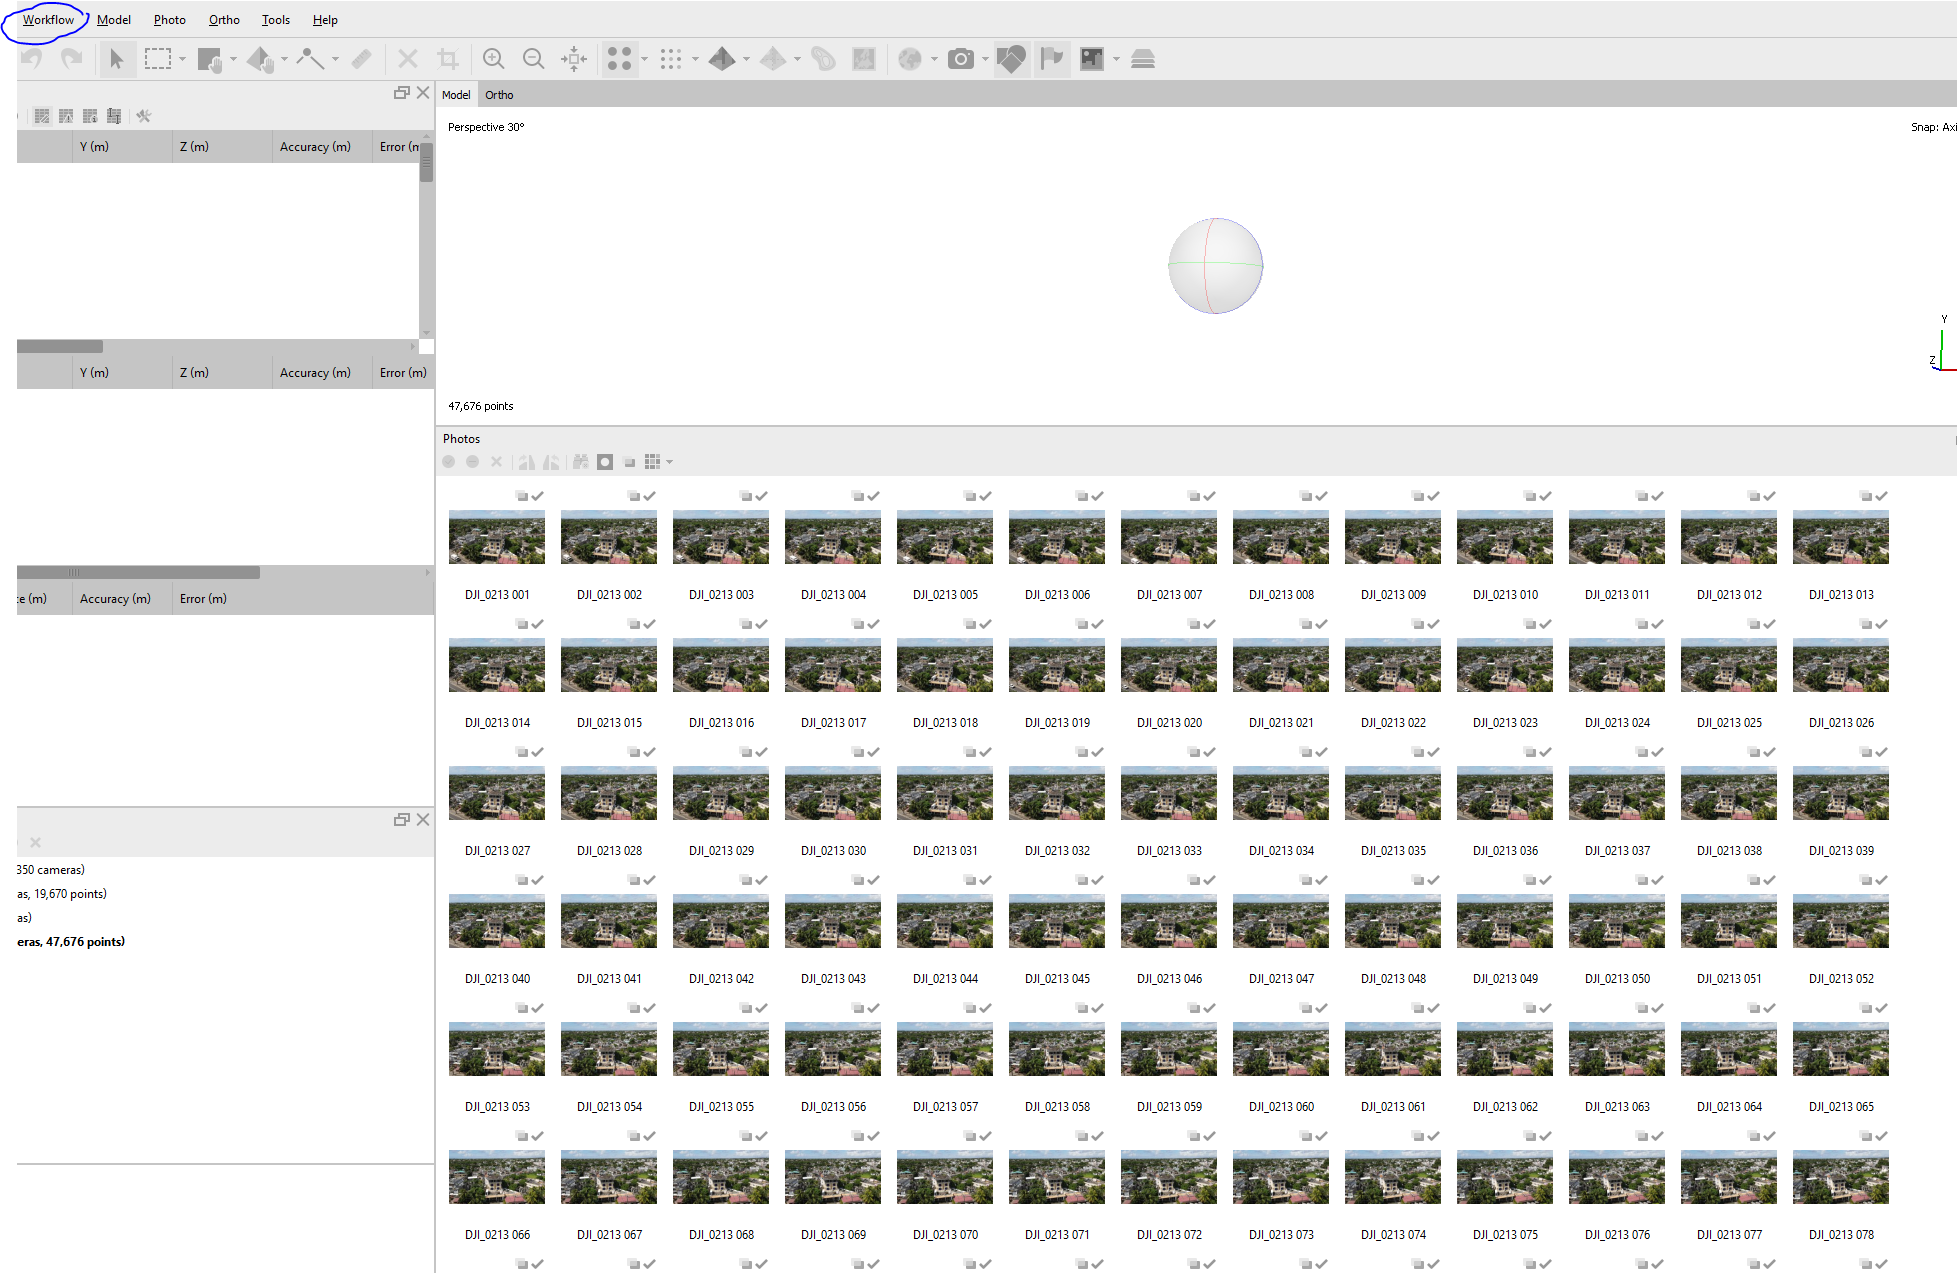
The process is pretty straight forward, just follow the Workflow.
First import photos
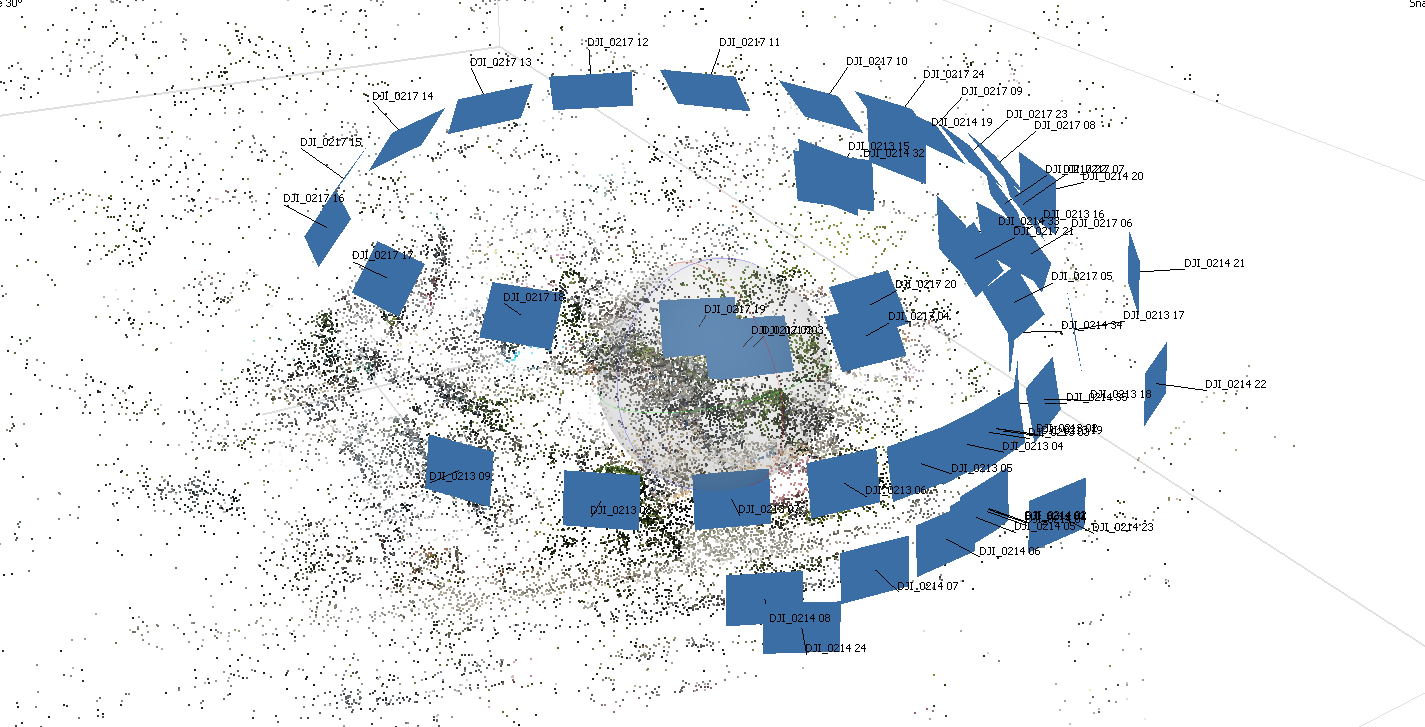
Then compute Align Photos
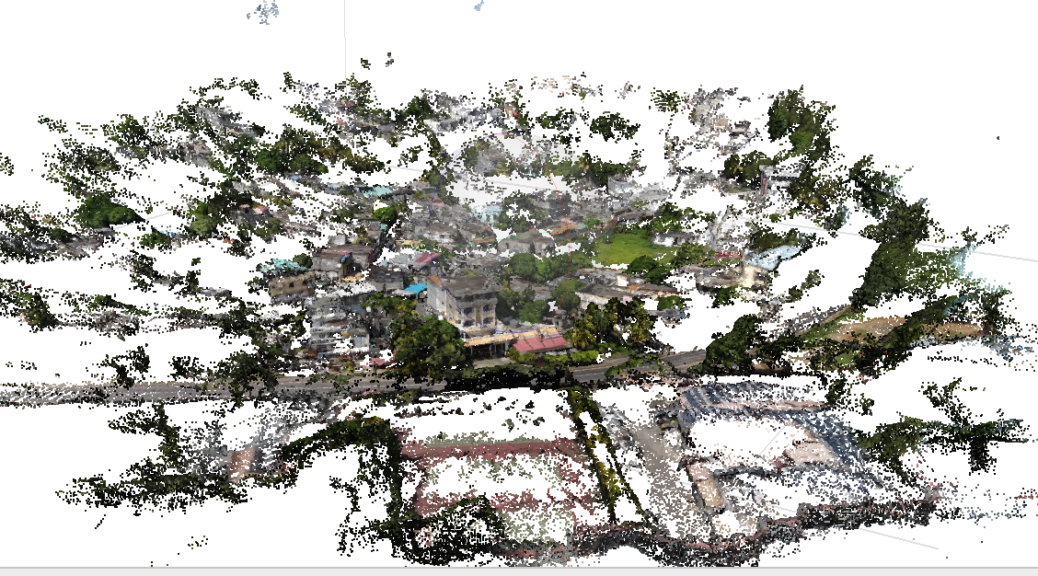
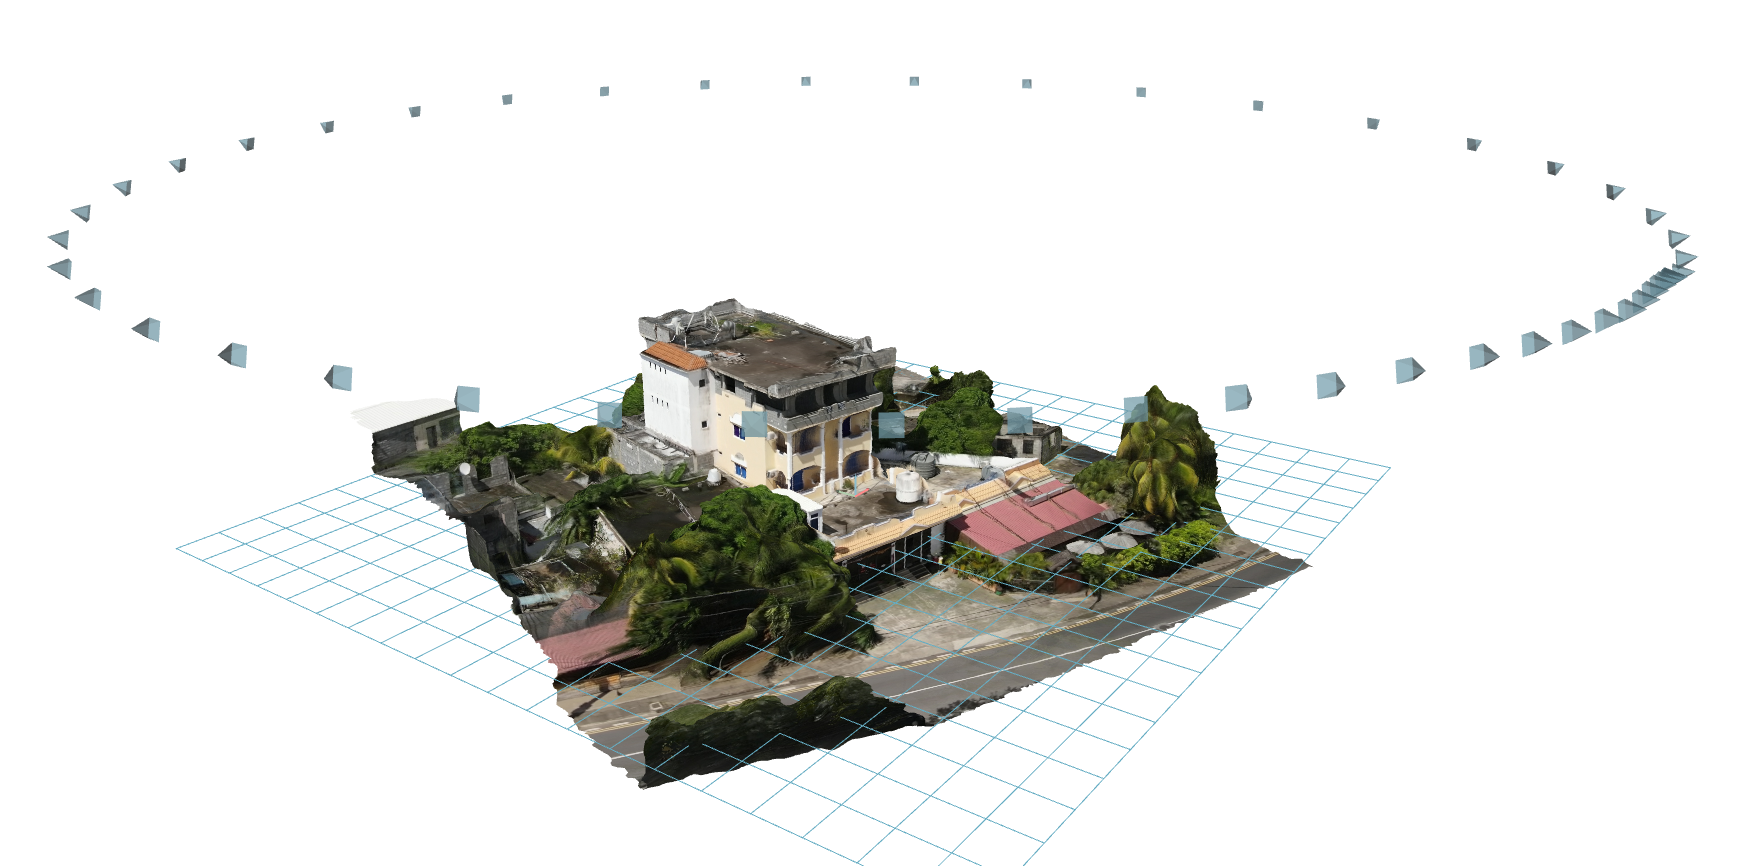
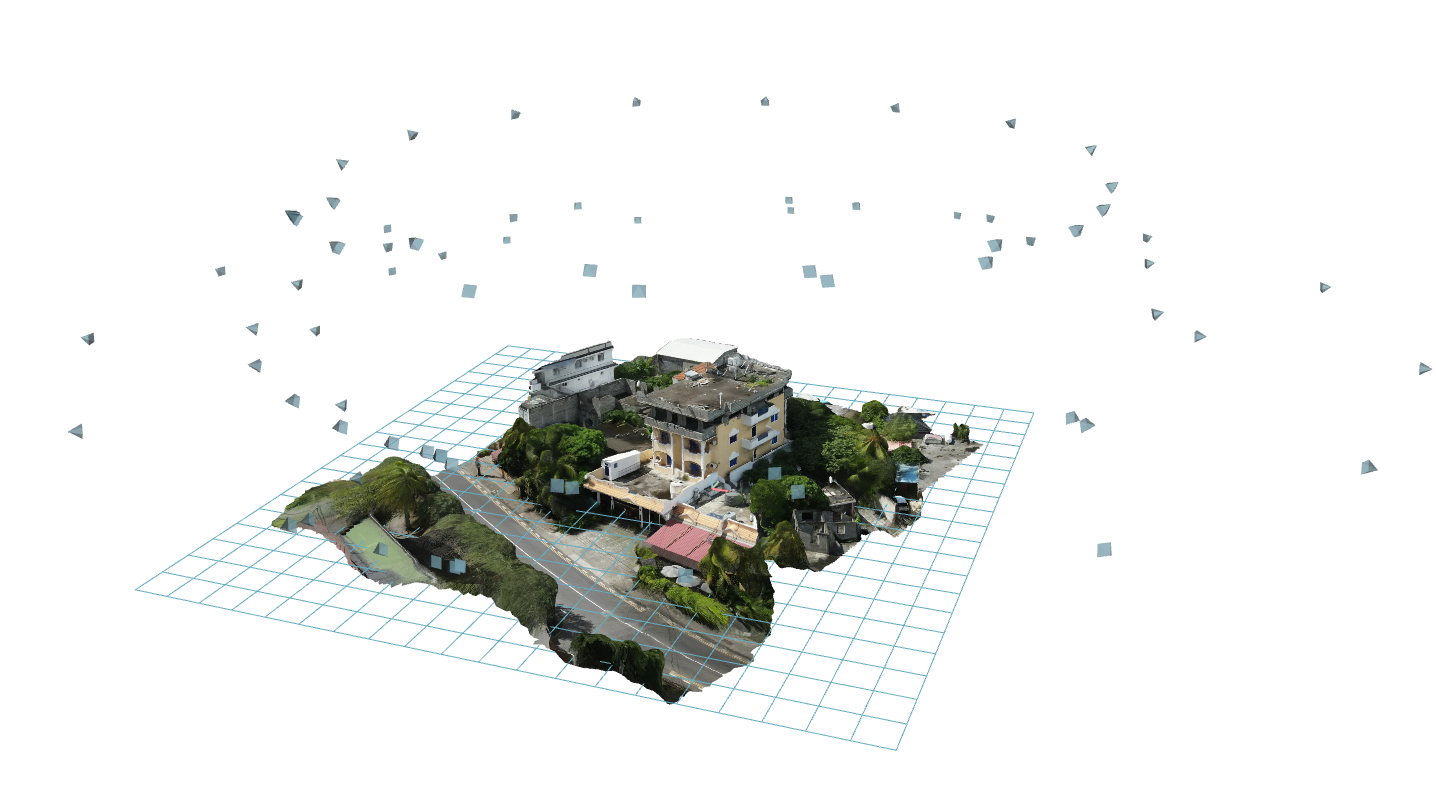
The result is a light Cloud Point, it is there possible to check if all cameras are taken We can see in our example a nice “bowl shape” that shows that the filming was smartly done.
Then Build Dense Cloud
Despite a filtering, the scene is very wide.
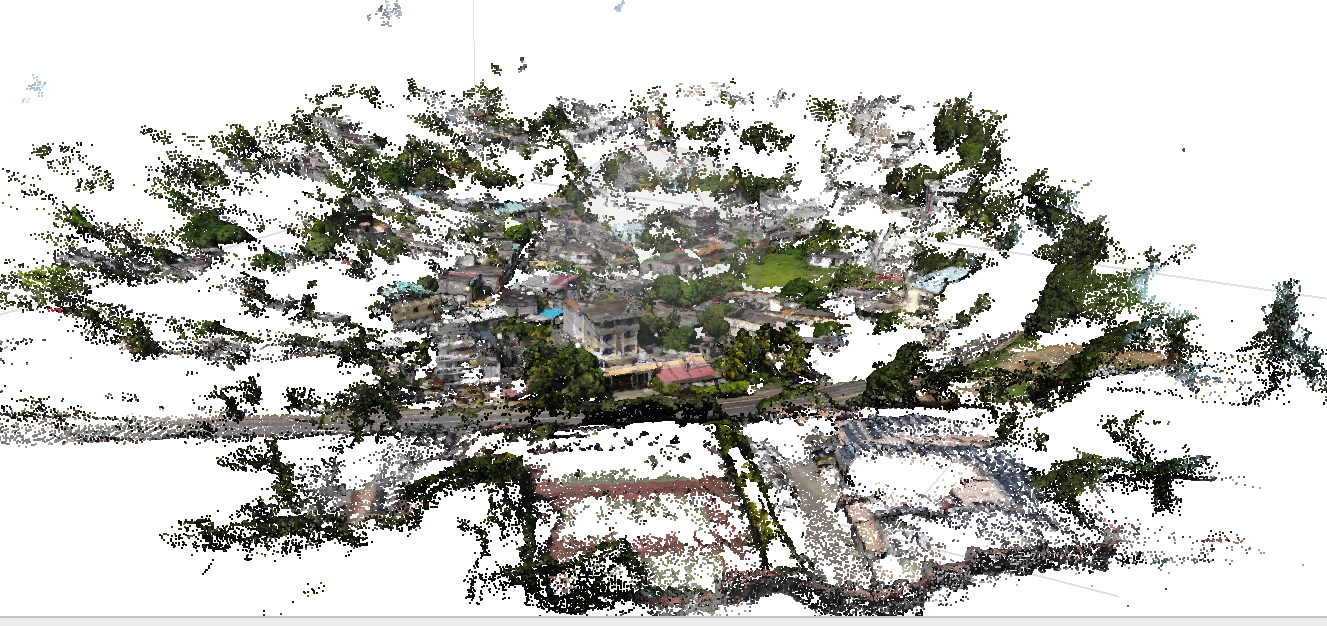
The advice is to reduce and narrow the scene close to the subject
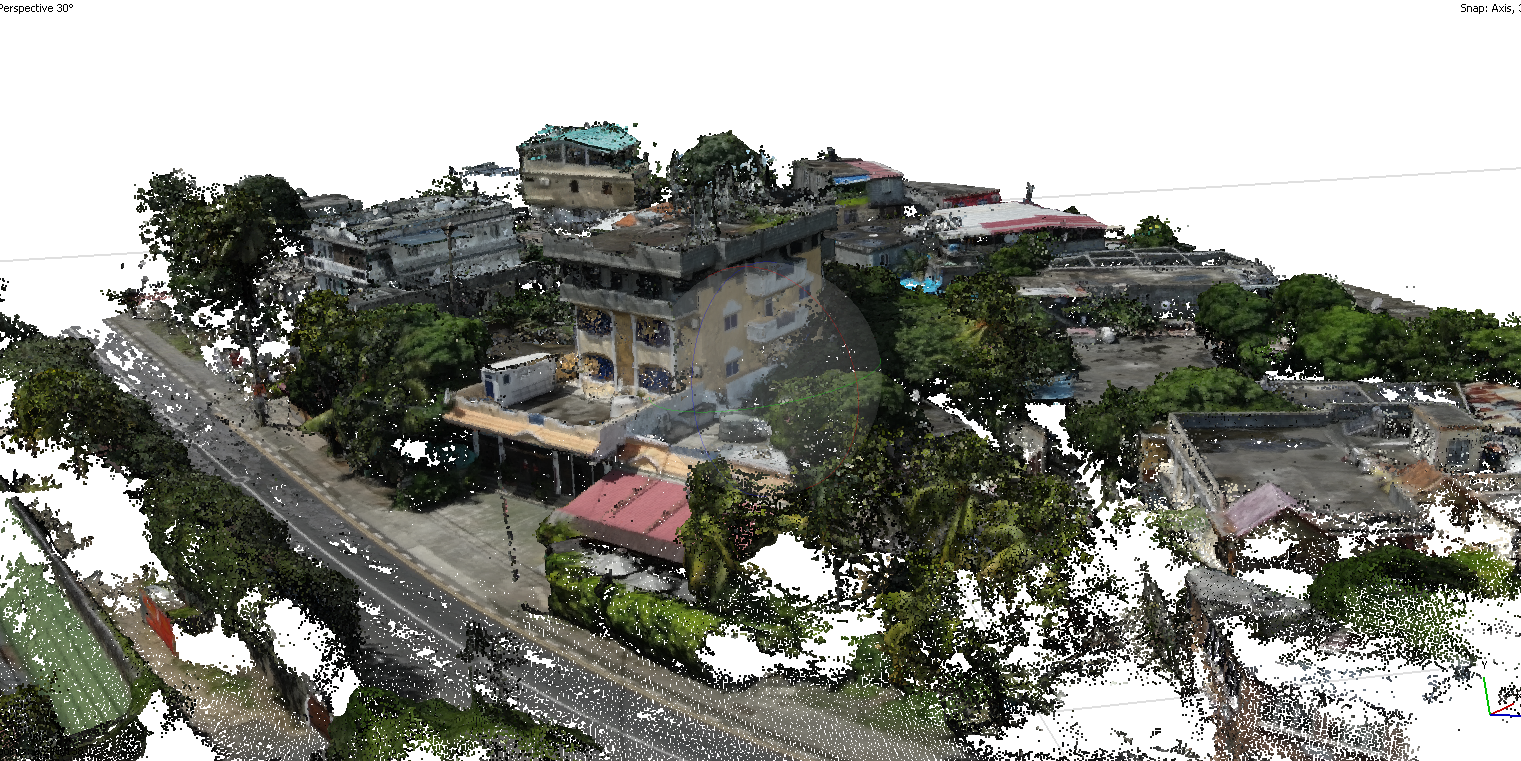
And even closer
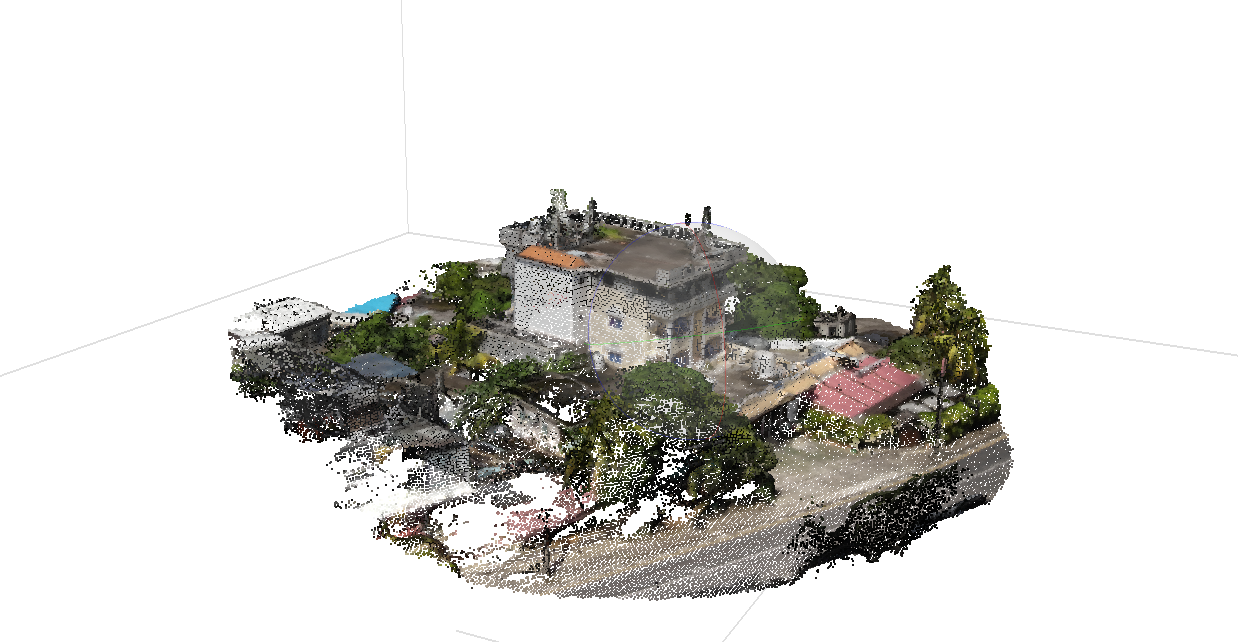
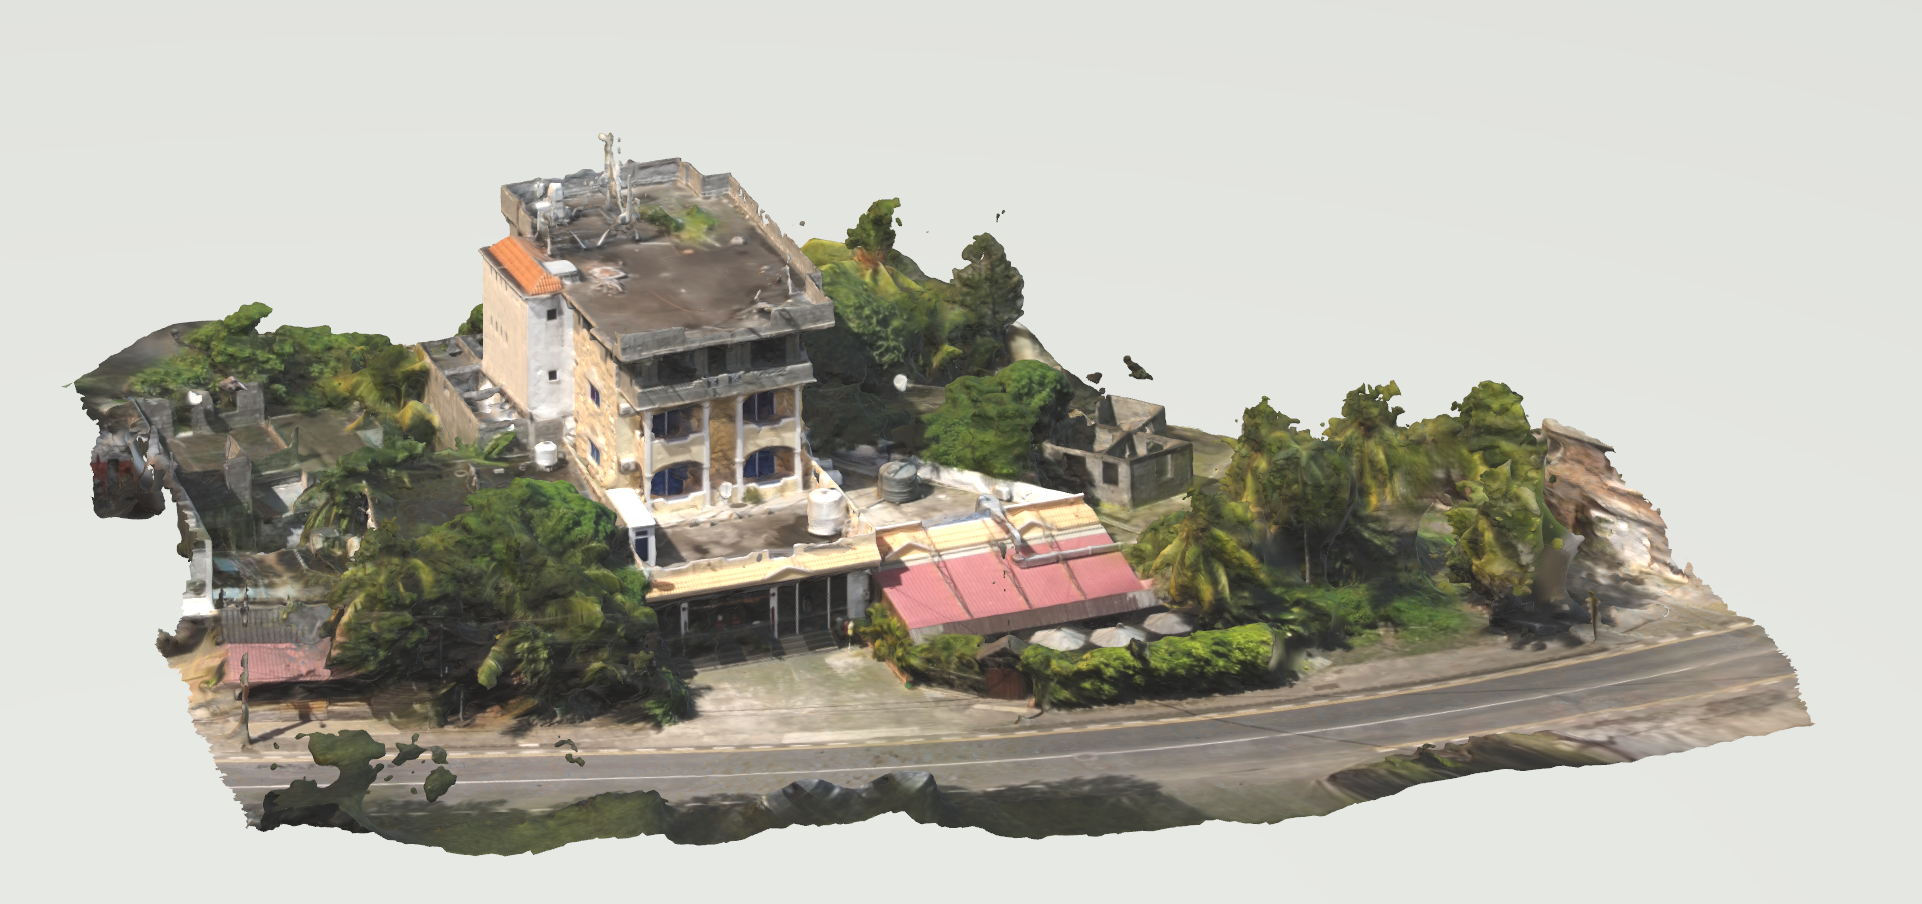
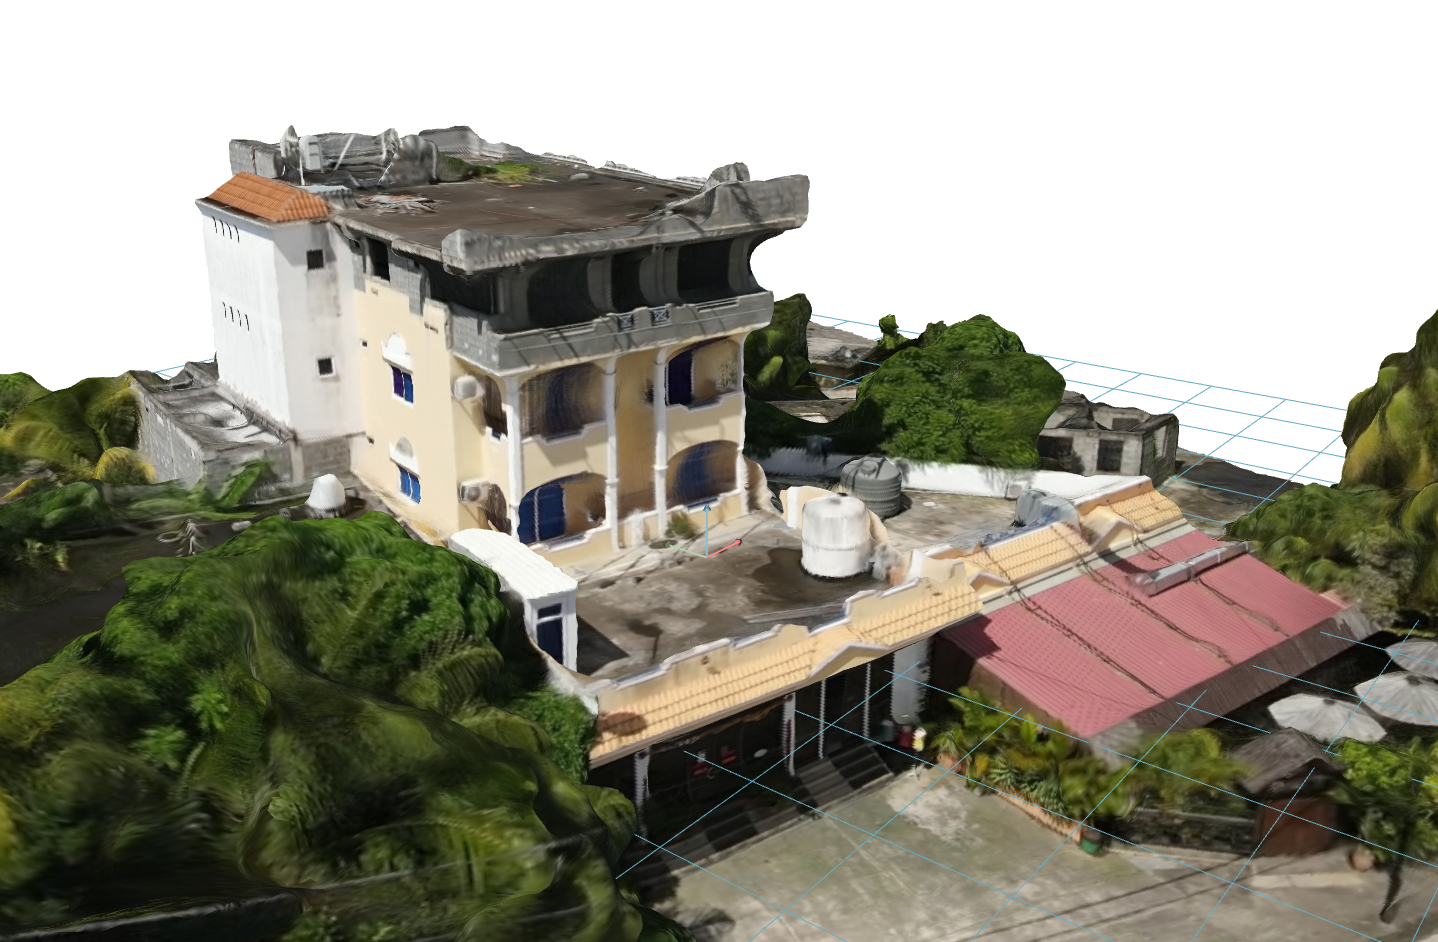
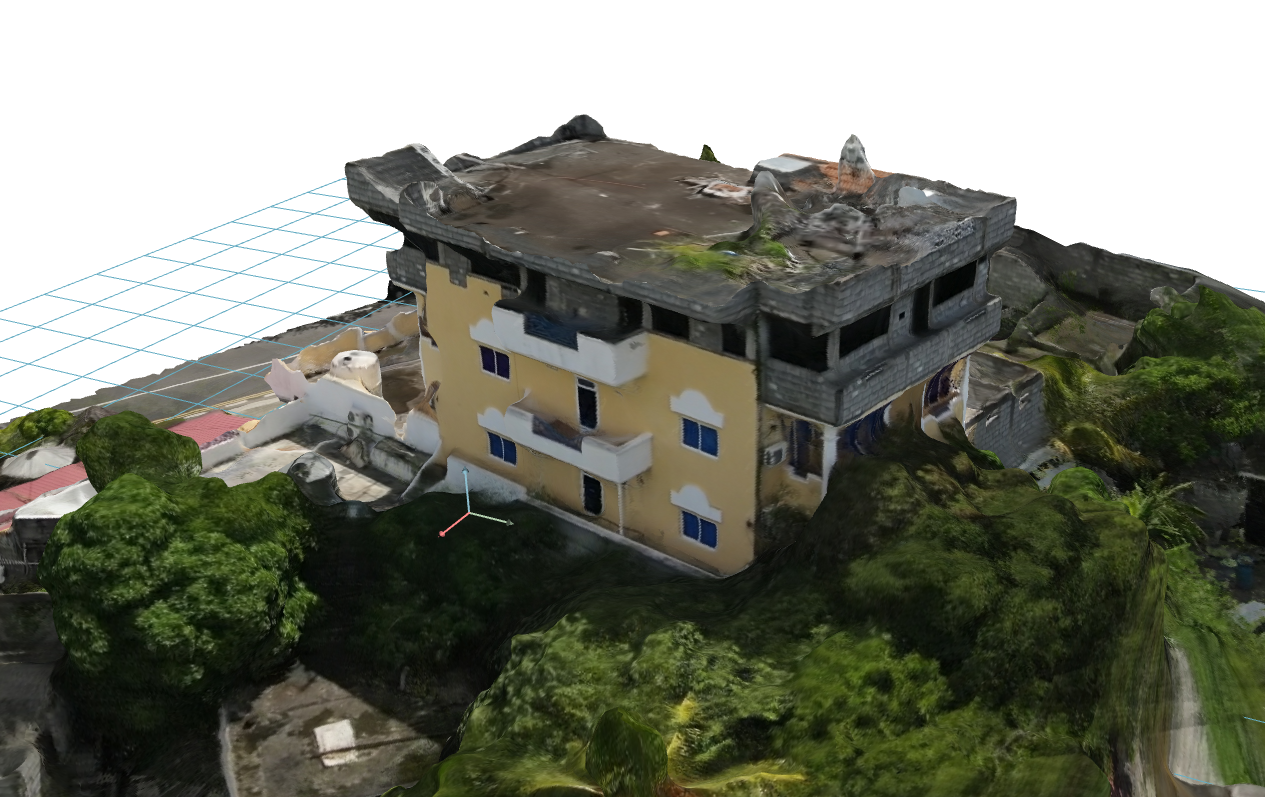
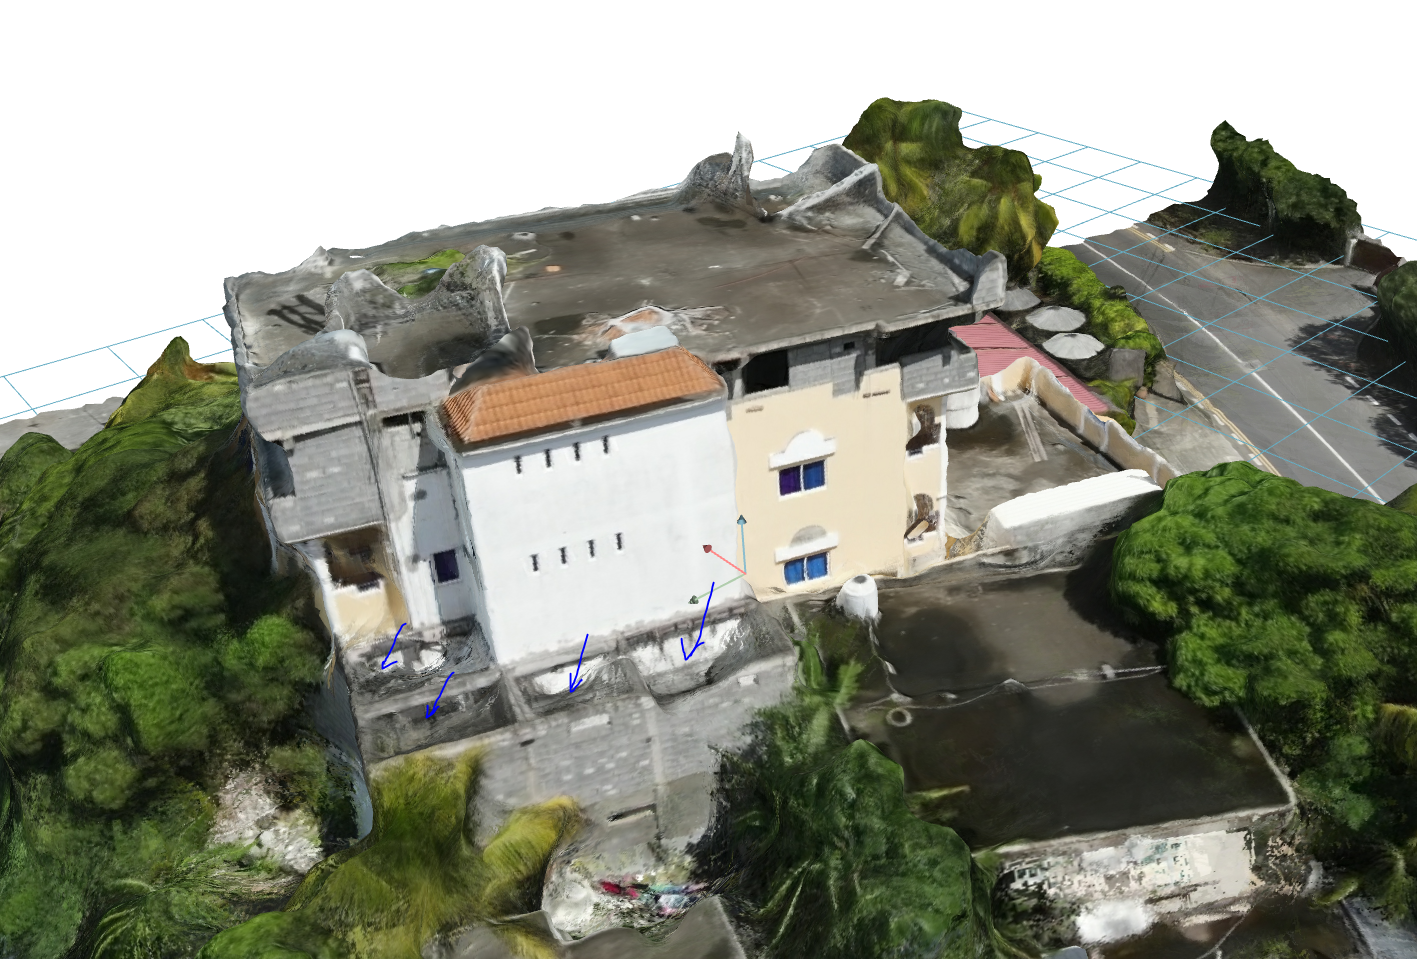
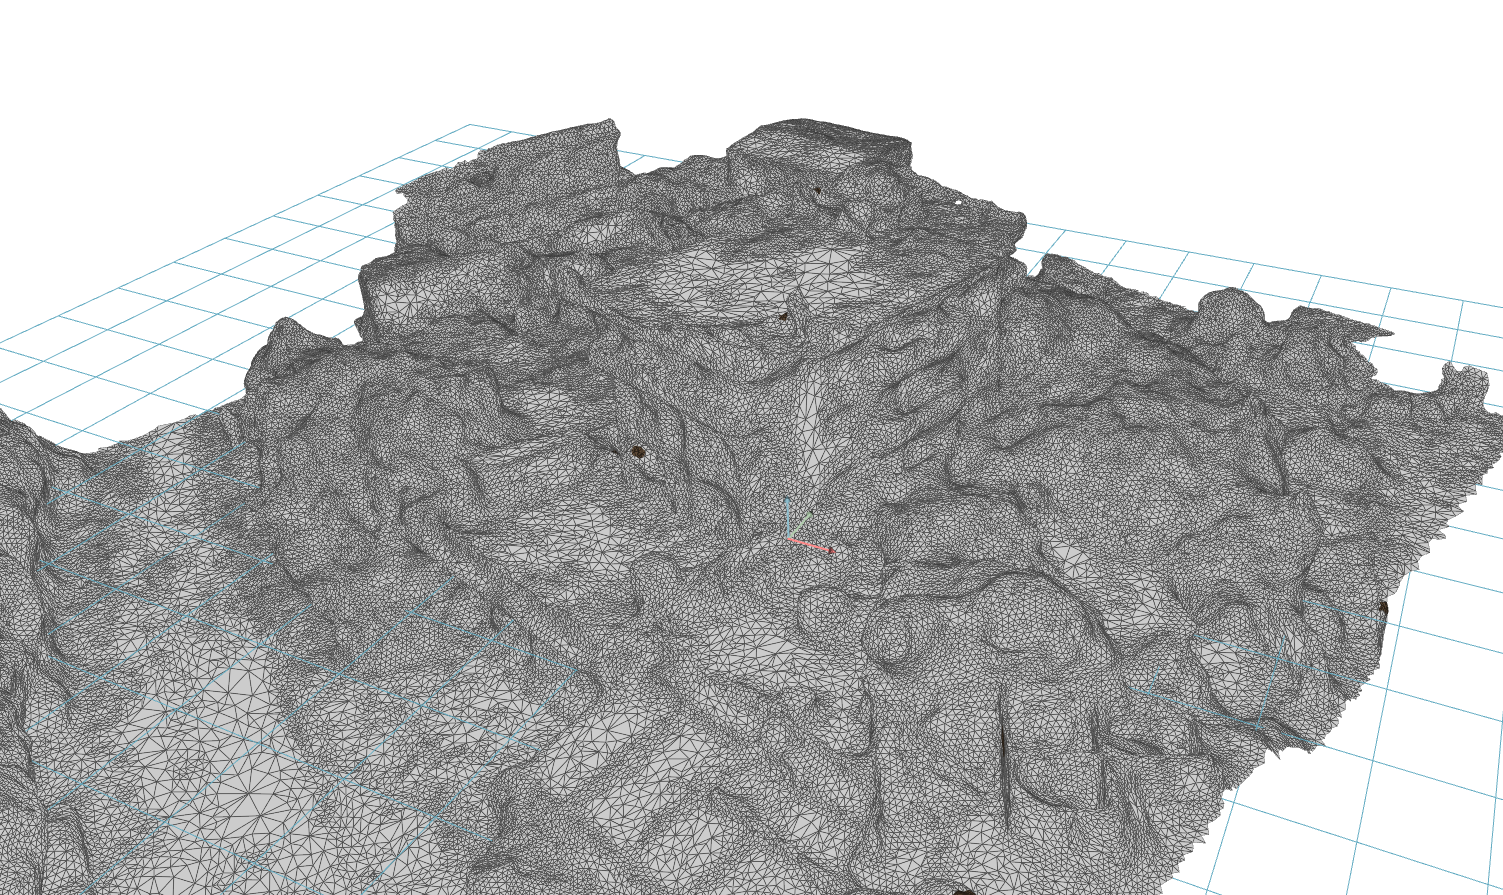
Then Build Mesh
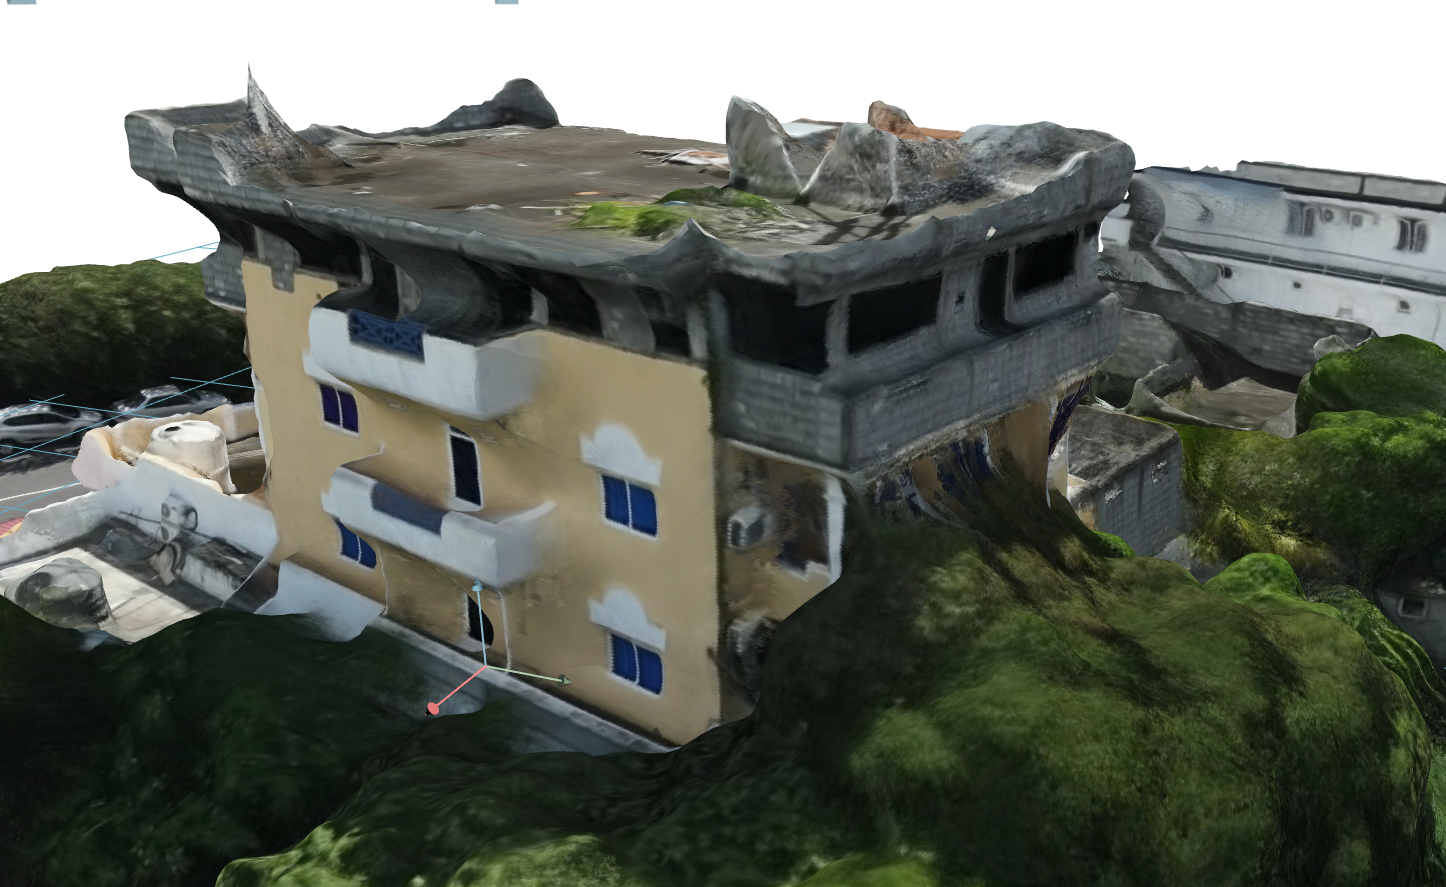
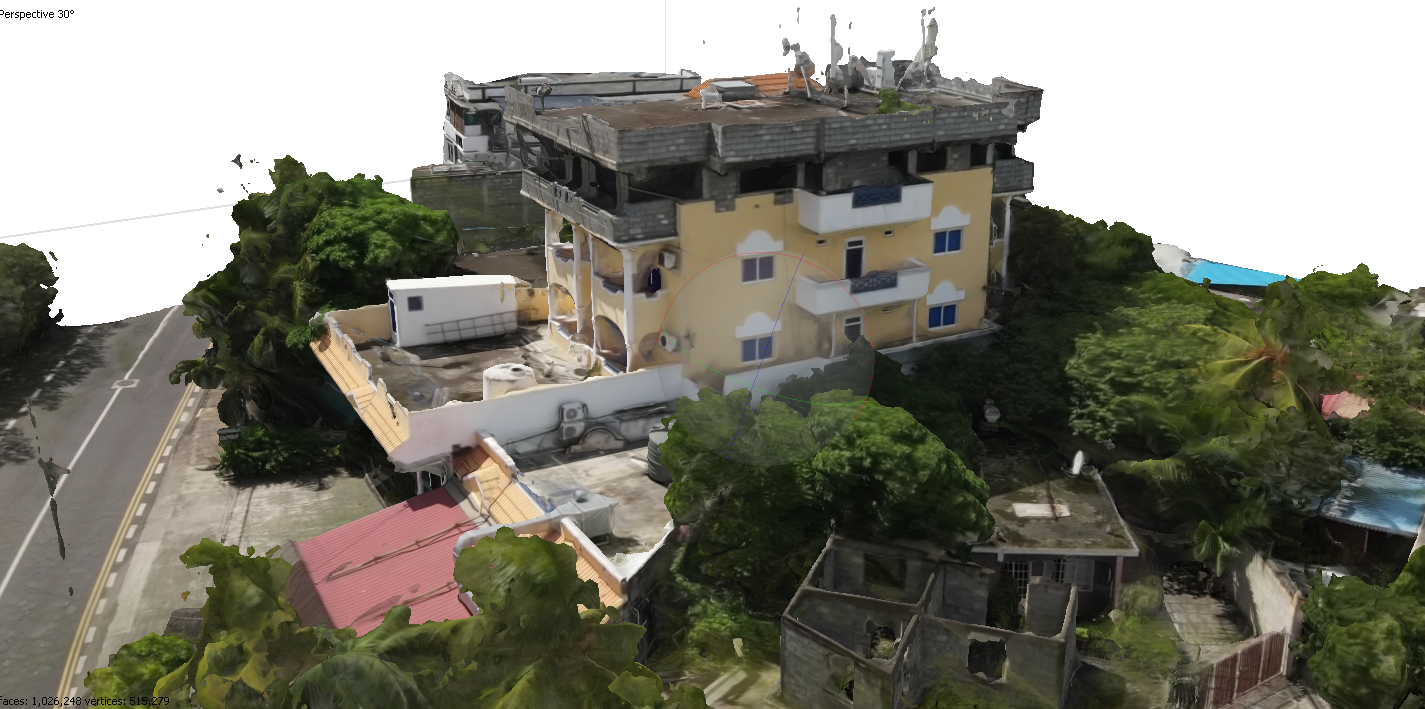
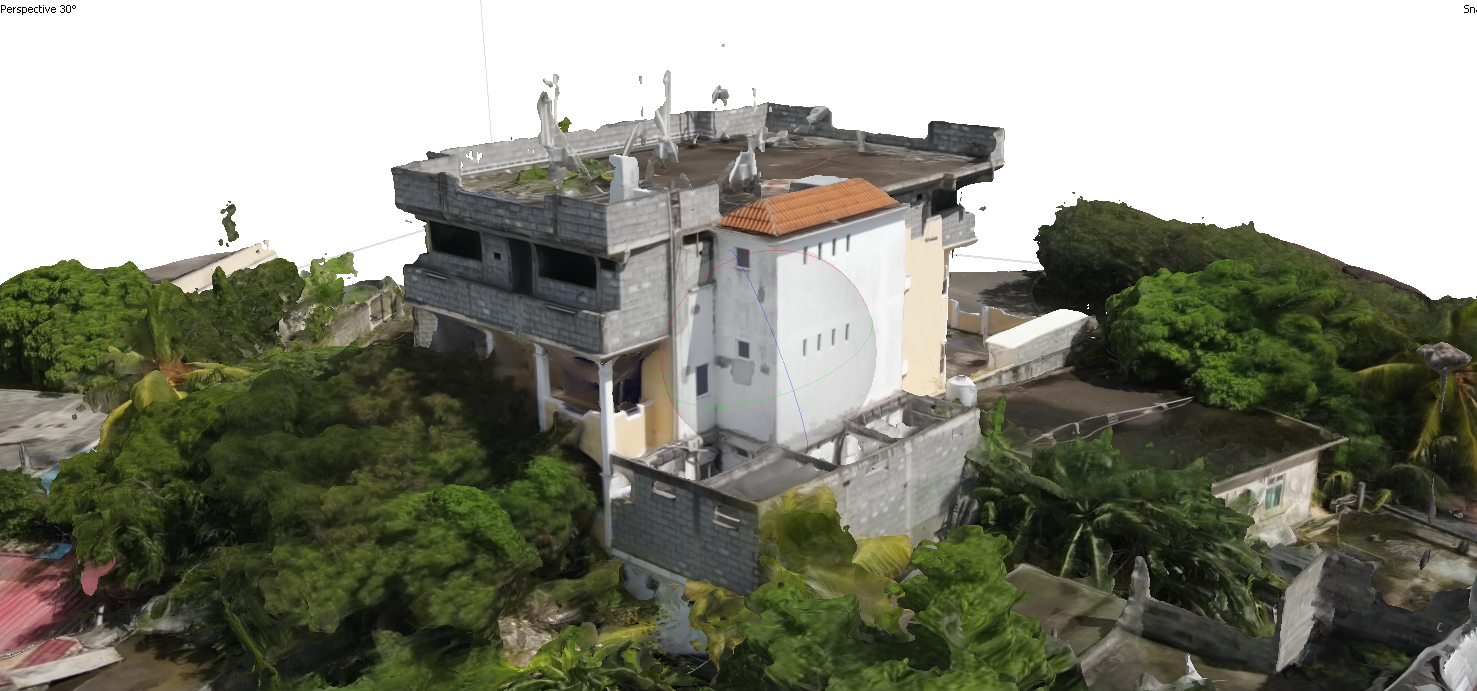
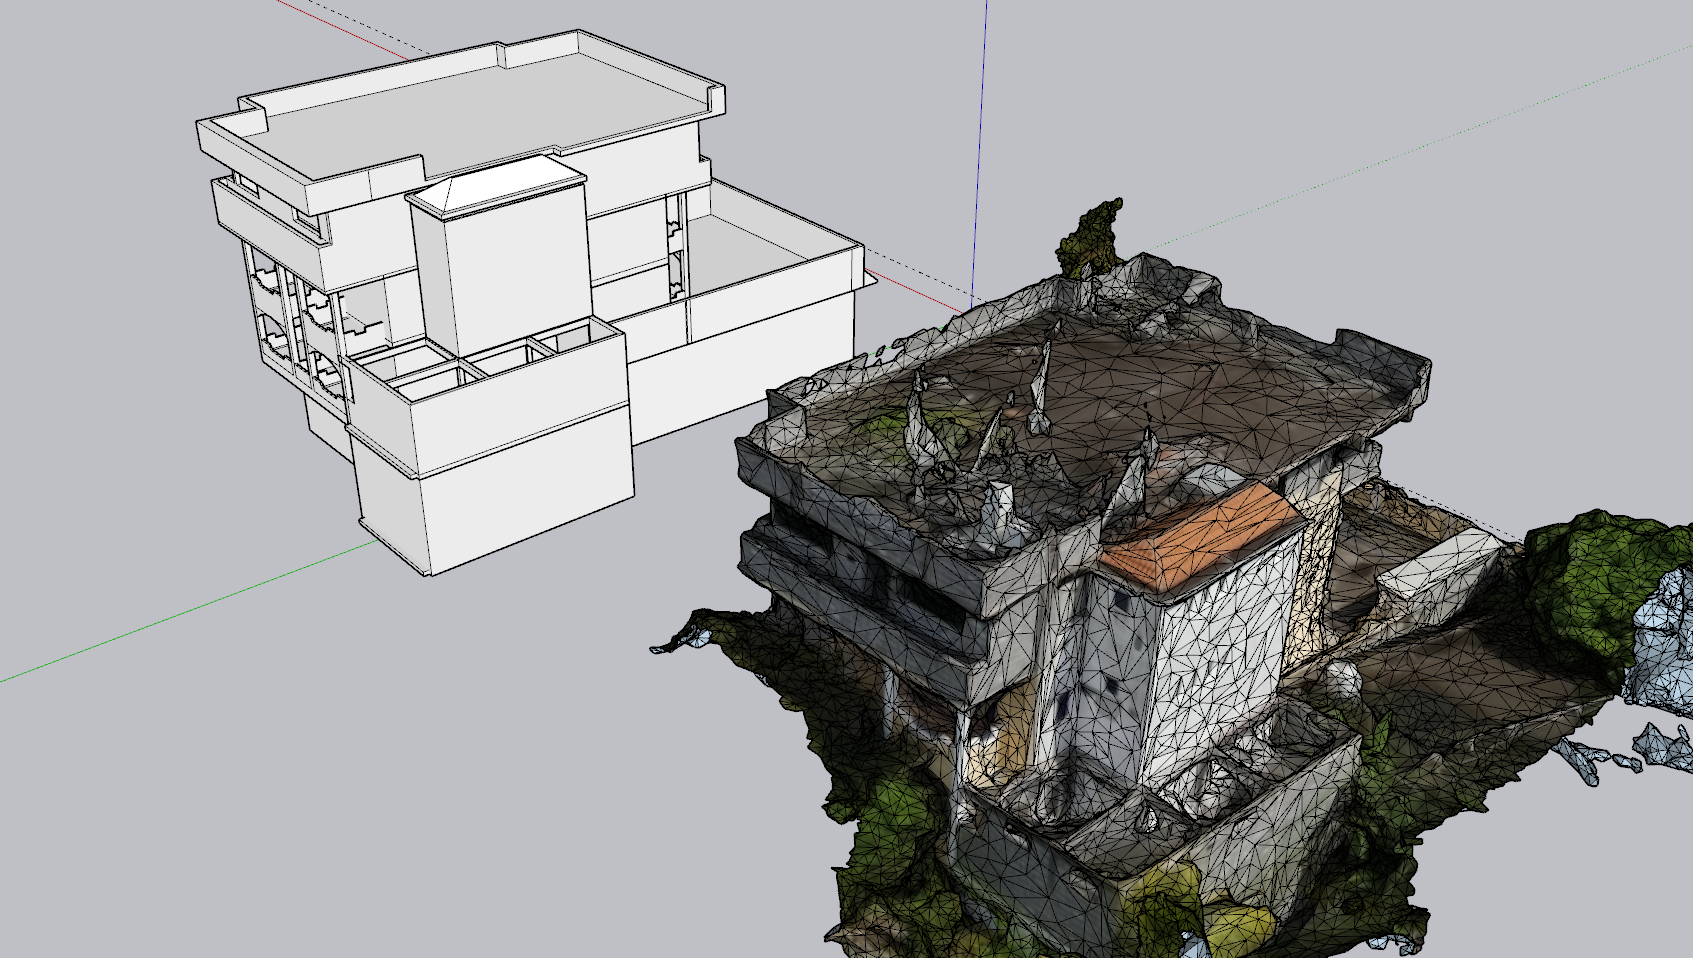
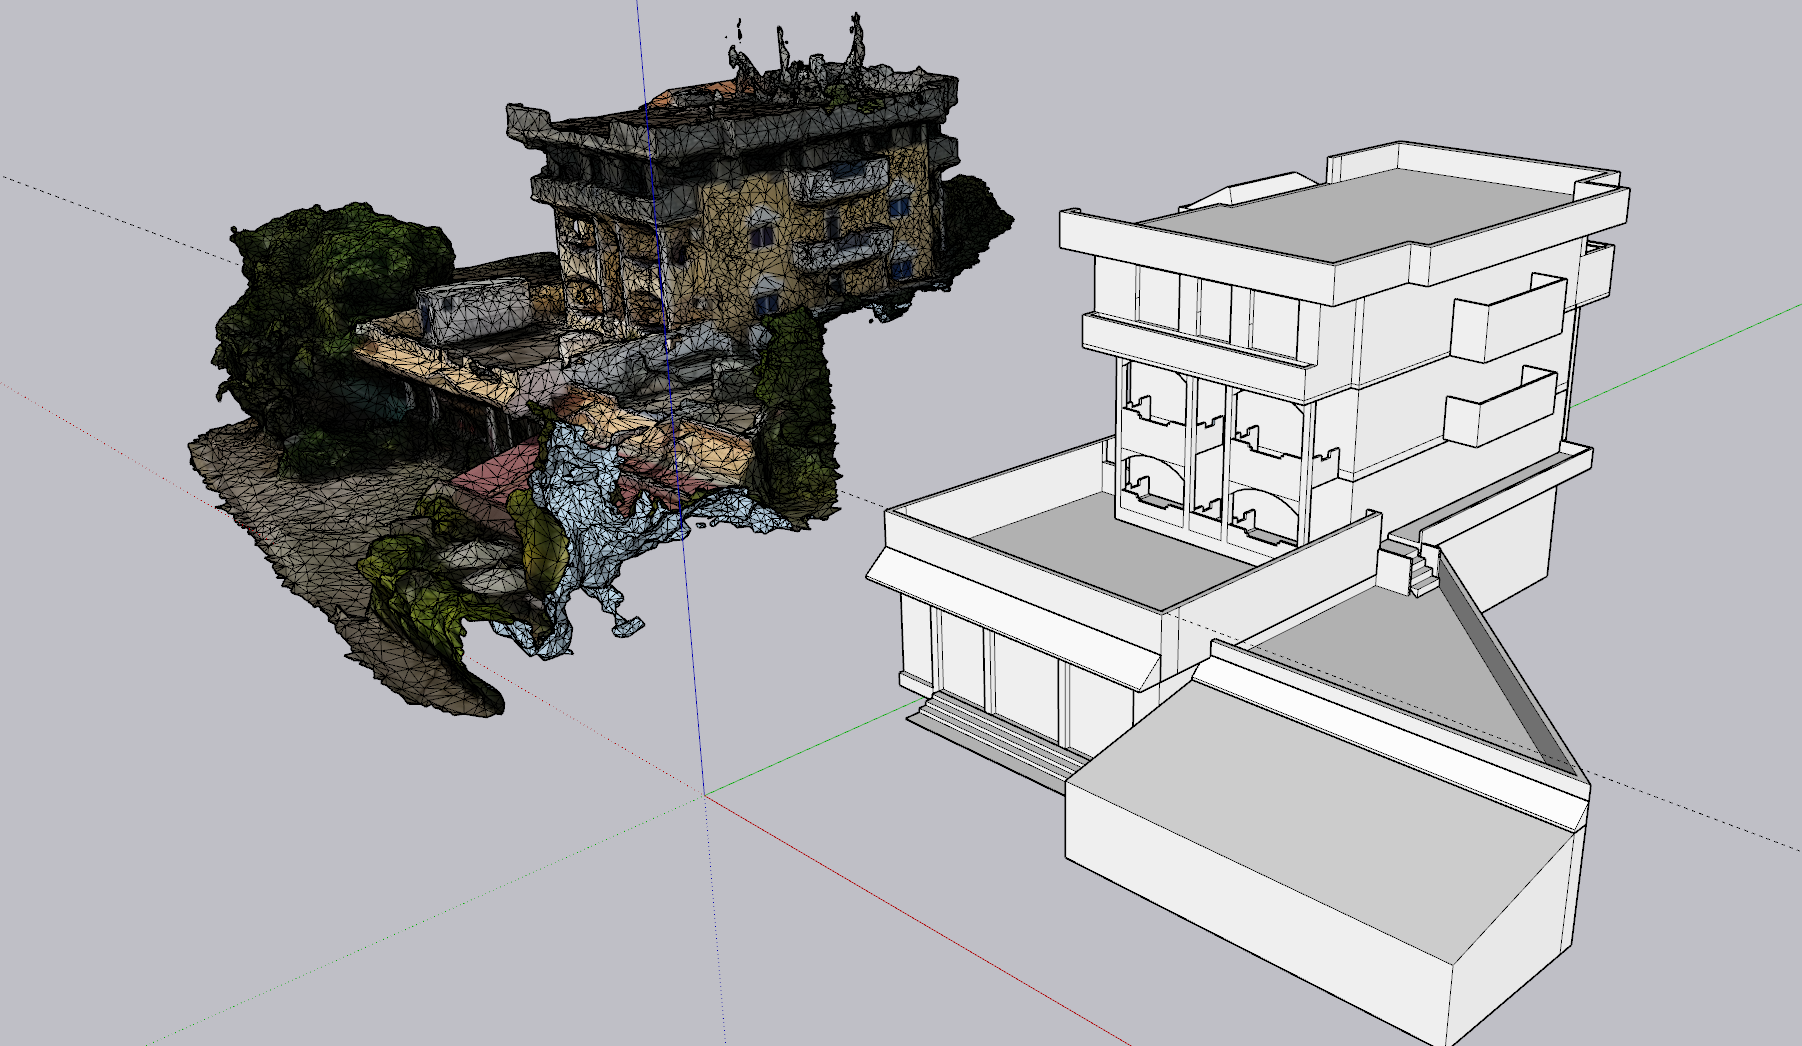
We can compare with Recap this mesh is much more accurate.Even if details are missing due to the distance it has been filmed, surfaces are much more following the shape of the buildings.
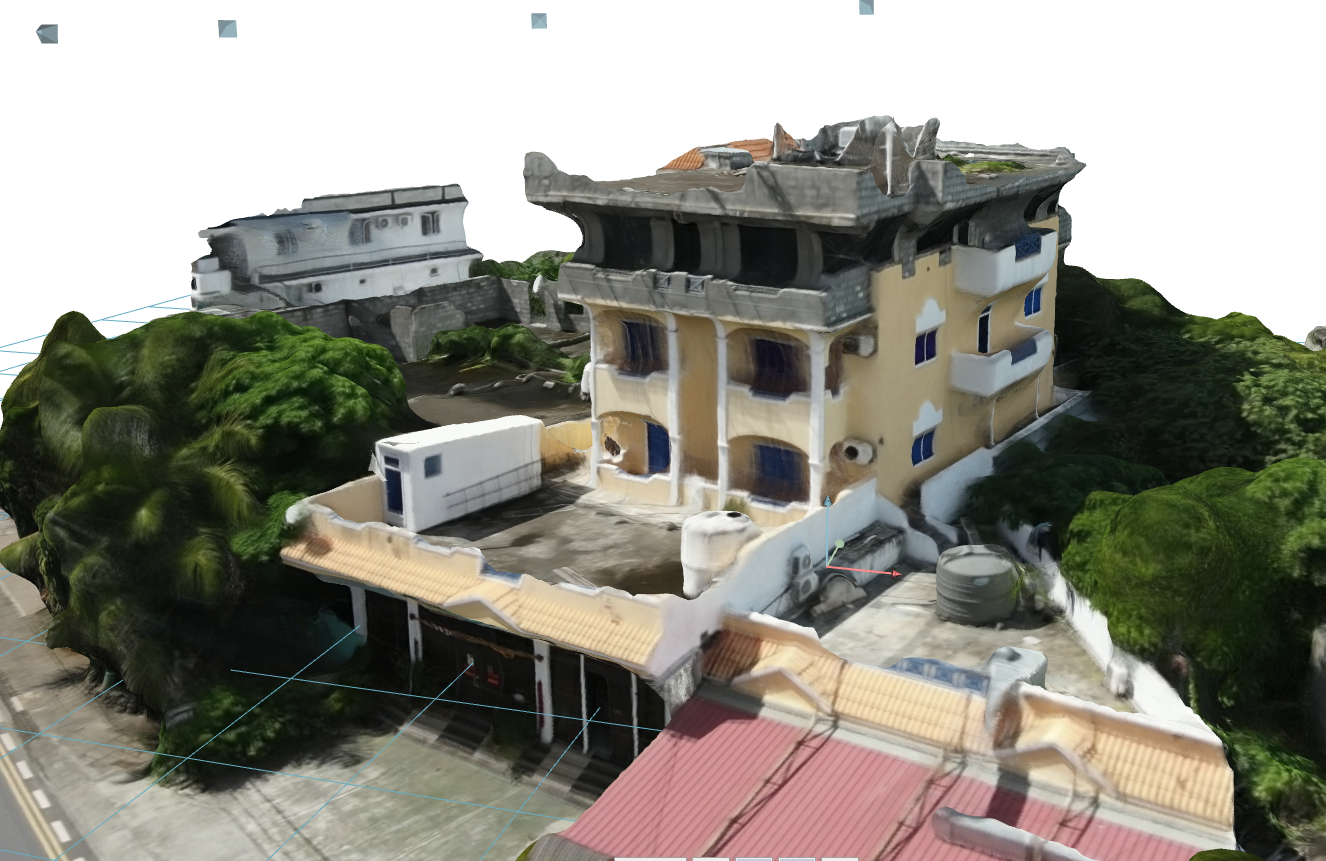
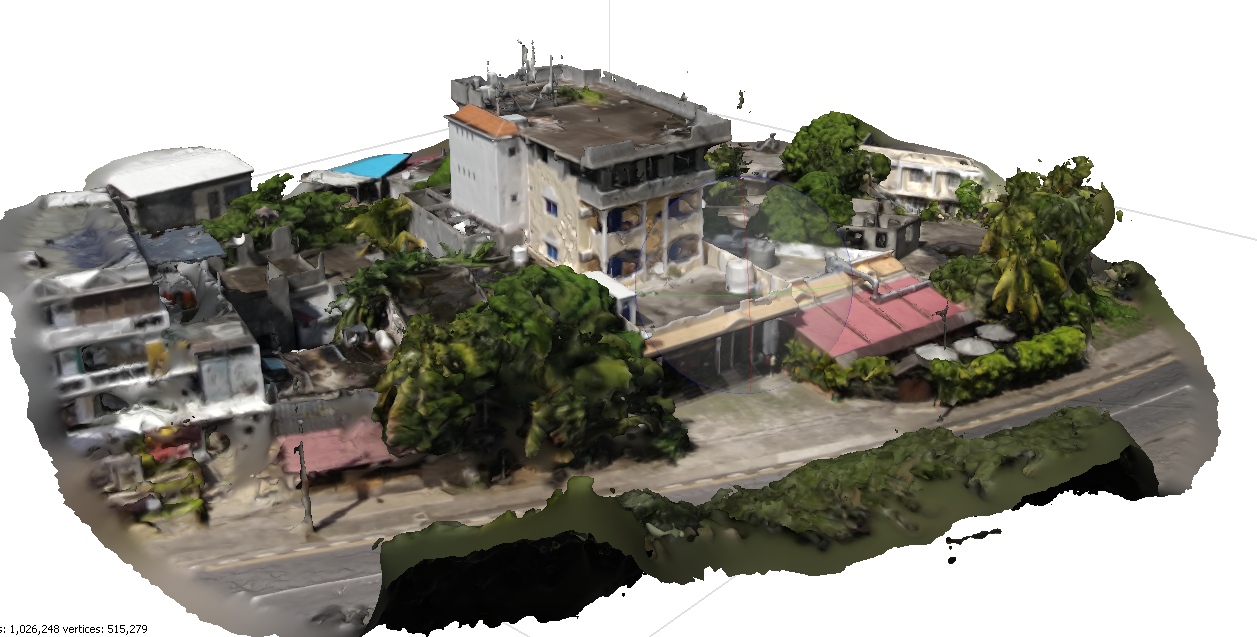
Then apply texture – Build Texture
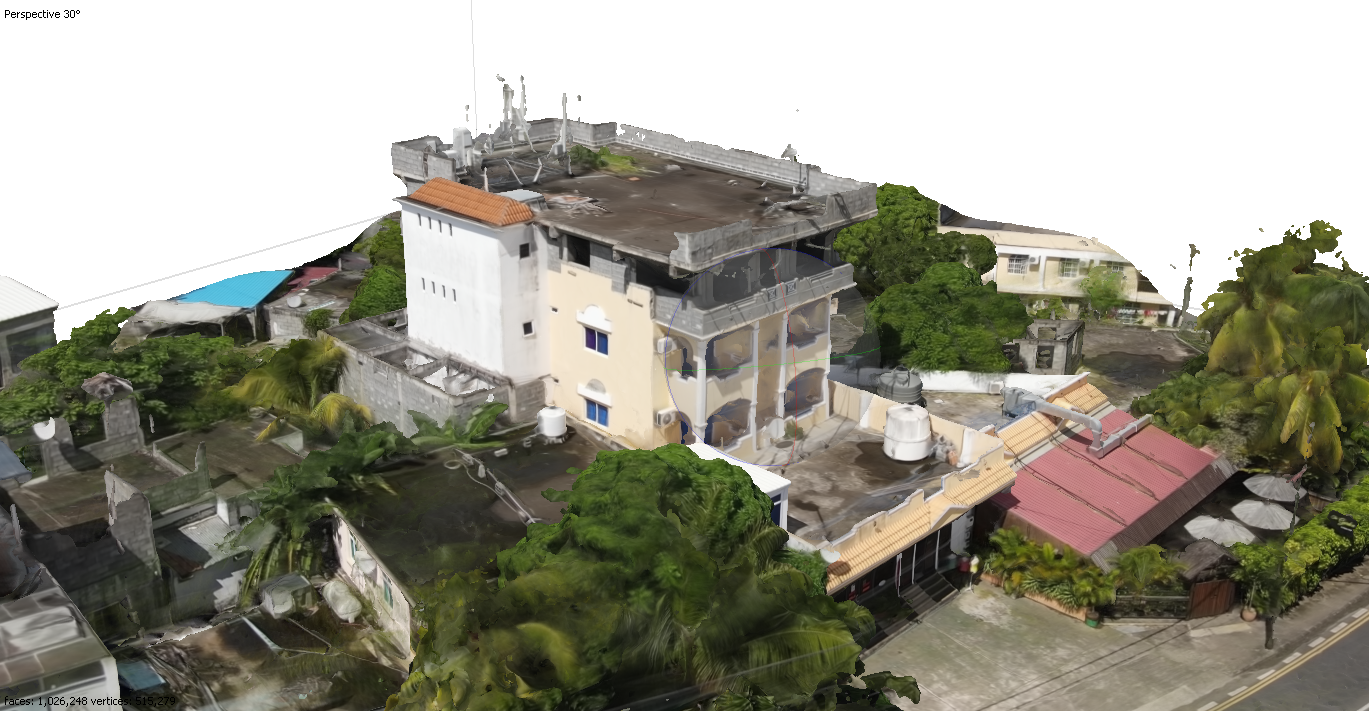
With the texture, it fills like real
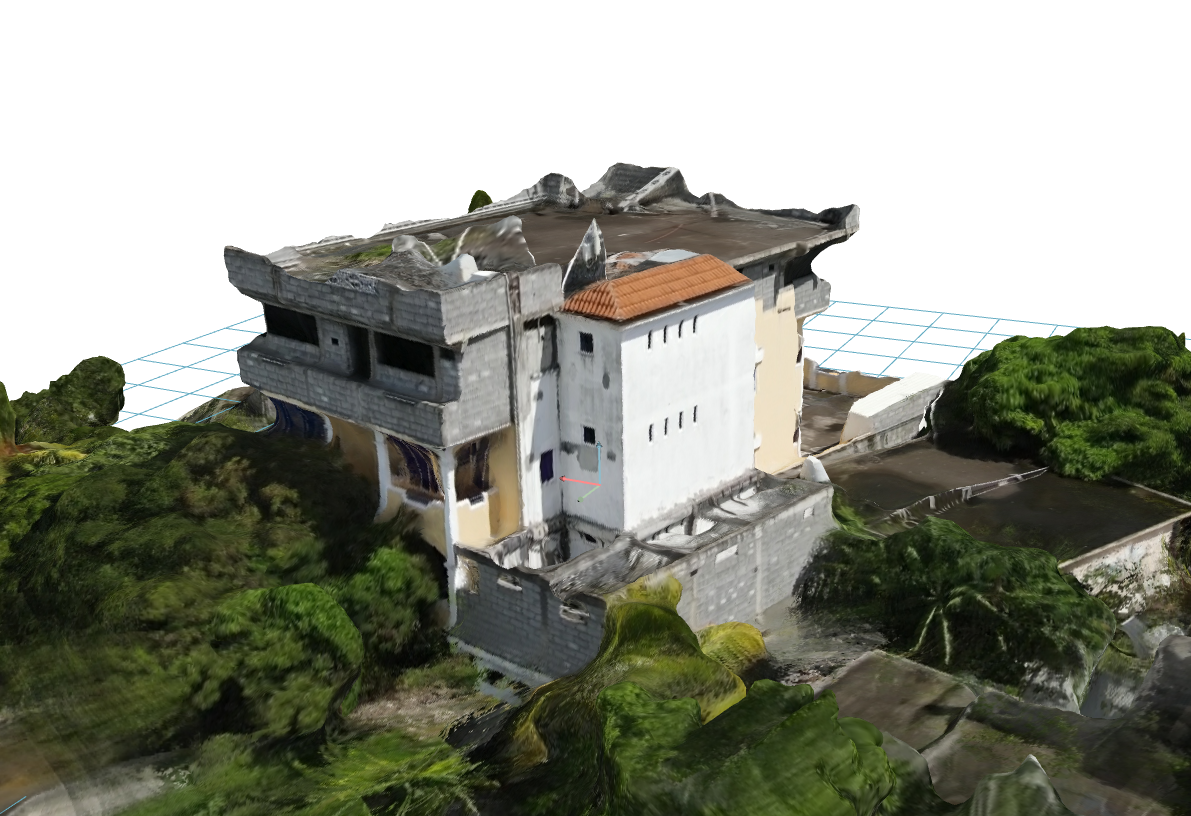
Problem is, is has more than a million of polygons. ![]()
It can be decimated in Metashape or Blender or Meshlab or Meshmixer or whatever can do it.
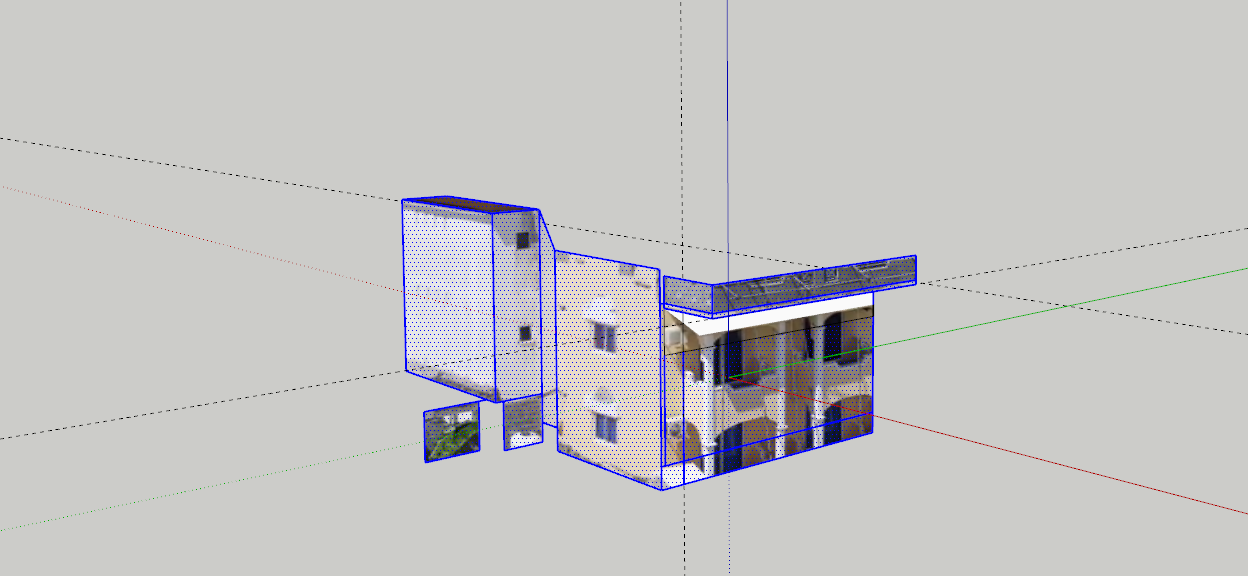
Then is will be needed to remodel to have a clean CAD model.
In Sketchup, the imported mesh as to be simplified, this makes things more complicated.
By the way, it’s also possible in Sketchup to use the Photo Match function to redraw without using photogrammetry. As we’ve got a plenty of photos, it is possible to redraw from them.
The perspective is aligned
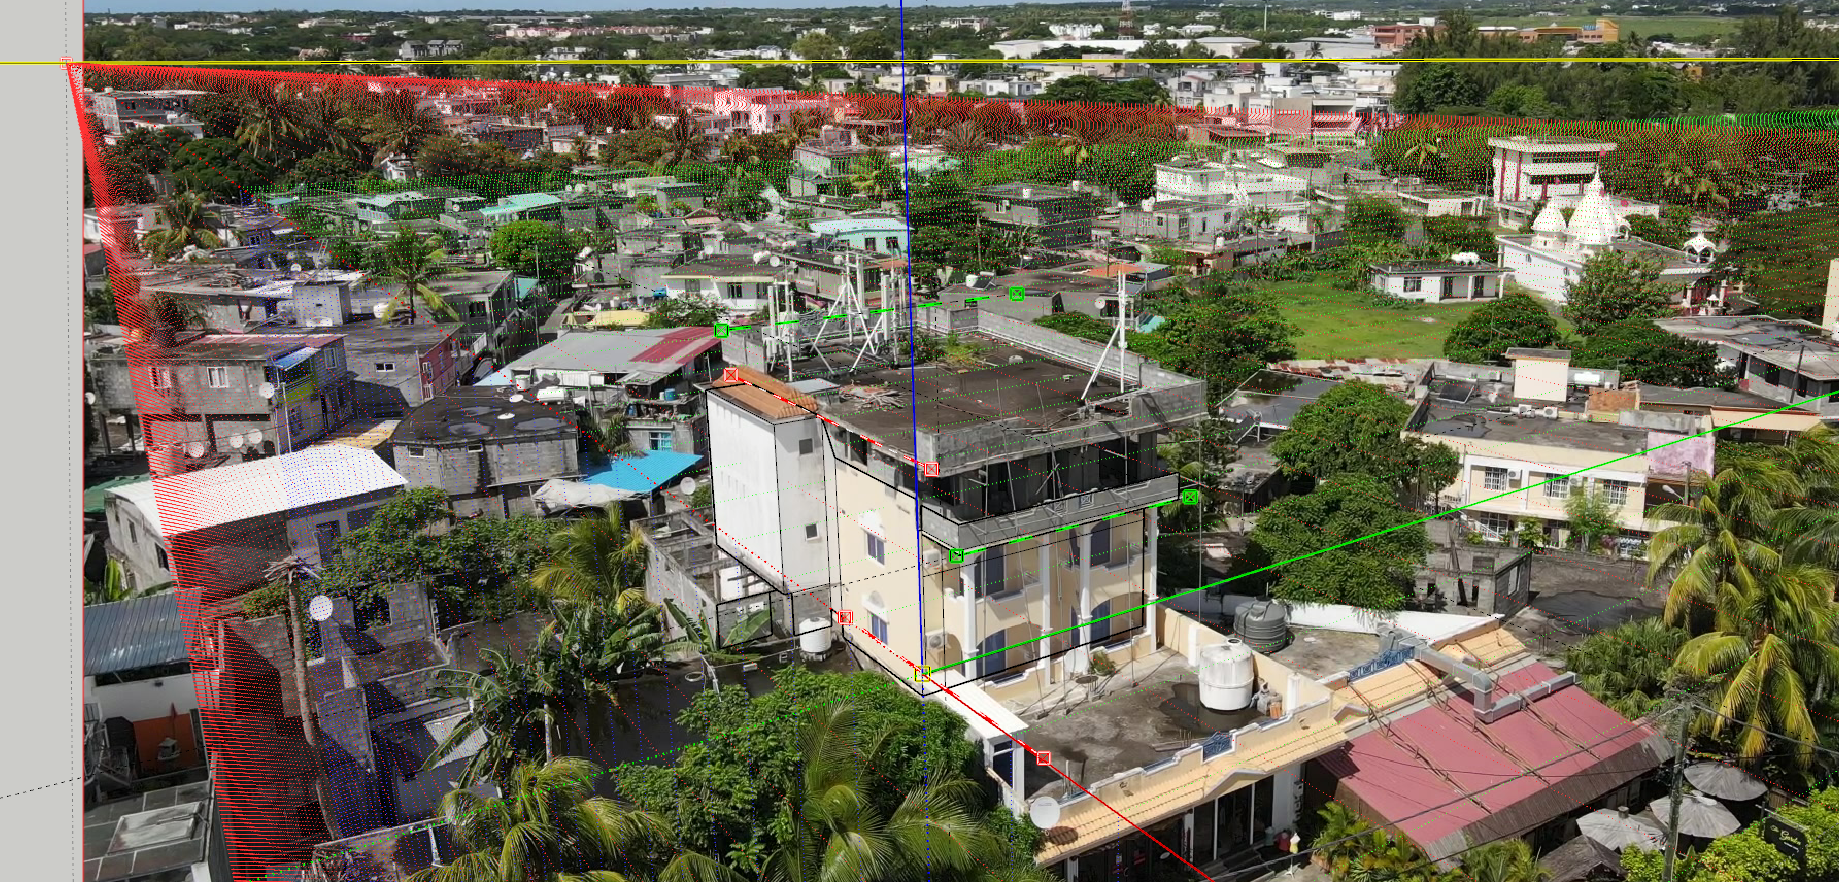
Then shapes are derived from it
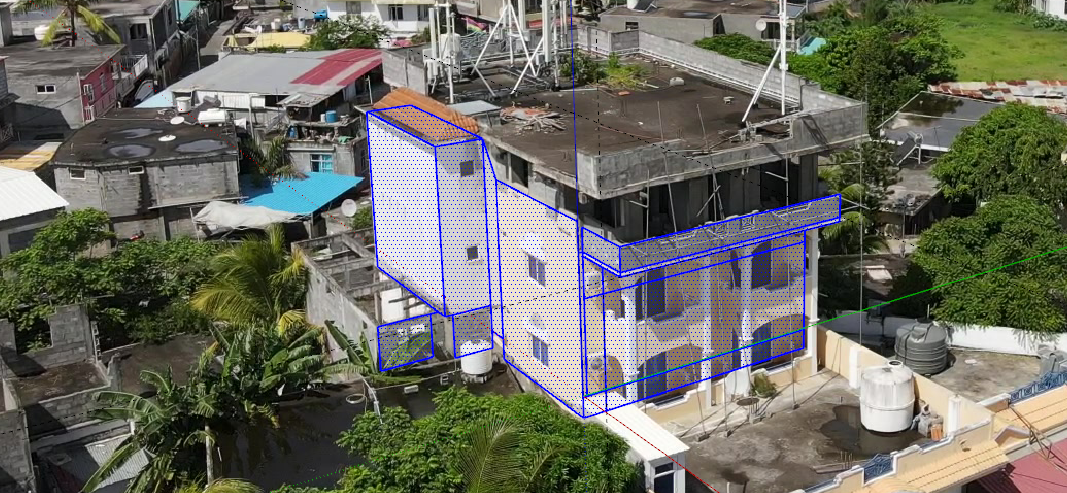
Textures are projected from photos…
And so on….