Task
Tutorial: Generating Architectural Images with the Chroma Model
This tutorial will guide you through a ComfyUI workflow designed to create high-quality architectural images using the Chroma model. The workflow is optimized to handle a detailed architectural prompt and generate a final image.
Chroma
Chroma is a text-to-image generative AI model that is based on the FLUX.1 architecture. It is known for its ability to produce high-quality images from text prompts and for its uncensored content generation capabilities.
Here are a few key points about the Chroma model:
- Architecture: Chroma uses a rectified flow transformer architecture with 8.9 billion parameters, which is a significant reduction from the original 12 billion parameters of FLUX.1. This optimization improves its efficiency and speed while maintaining quality.
- Uncensored: A key feature of Chroma is its uncensored approach, which gives users complete creative freedom and reintroduces anatomical concepts often removed from other commercial models.
- Optimization: The developers made architectural changes to improve the model’s performance, including a drastic reduction in the modulation layer, which led to better adherence to prompts and reduced generative noise. It also uses a custom temporal distribution and Minibatch Optimal Transport to accelerate training and improve stability.
- Accessibility: Chroma is an open-source model available in multiple formats, including standard checkpoints for ComfyUI, and optimized versions like FP8 Scaled Quantization for faster inference on less powerful hardware.
Step 1: Load the Models
The first part of the workflow involves loading the necessary models. These are the foundational components for image generation.
- UNETLoader: This node loads the diffusion model. The workflow specifies chroma-unlocked-v33.safetensors from the diffusion_models directory. You can find the latest version of the Chroma model on Hugging Face.
- CLIPLoader: There are two CLIPLoader nodes, and they load the text encoders. The workflow uses t5xxl_fp8_e4m3fn_scaled.safetensors for the positive prompt and t5xxl_fp16.safetensors for the negative prompt. The fp8 version is recommended for systems with lower VRAM. These files are stored in the text_encoders directory.
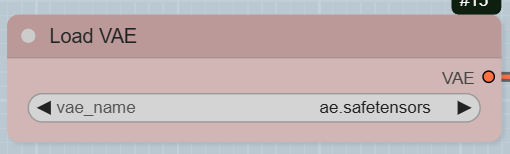
- VAELoader: This node loads the VAE model, specified as ae.safetensors, which is located in the vae directory.

Step 2: Define Image Size and Prompt
Next, you will set the dimensions of the final image and write your prompts.
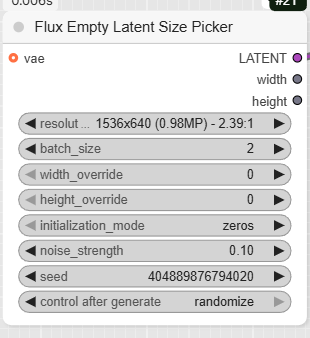
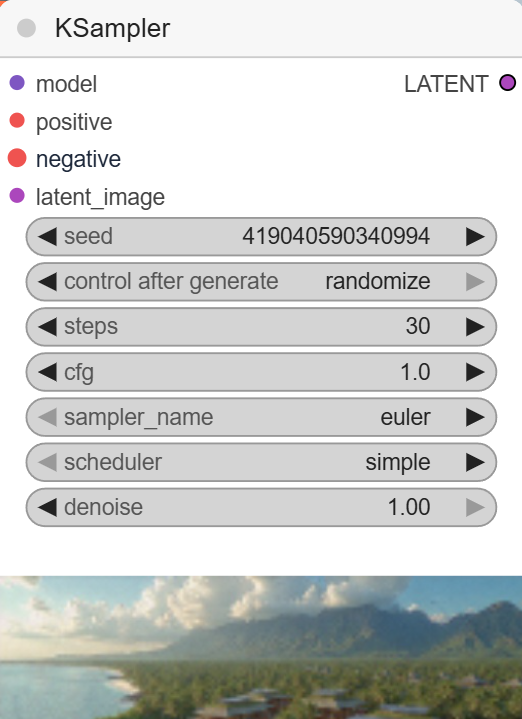
- FluxEmptyLatentSizePicker: This node allows you to set the image resolution and other parameters for the initial latent image. In the workflow, the resolution is set to 1344×768, a 16:9 aspect ratio.
- T5TokenizerOptions: This optional node provides a way to adjust the tokenizer settings, such as min_padding and min_length. The provided note mentions that min_padding 0 might give better results, even though min_padding 1 is the official way to run the model.
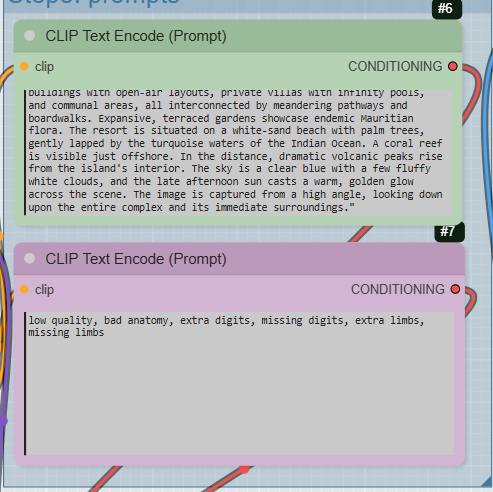
- CLIPTextEncode: This is where you write your prompts.
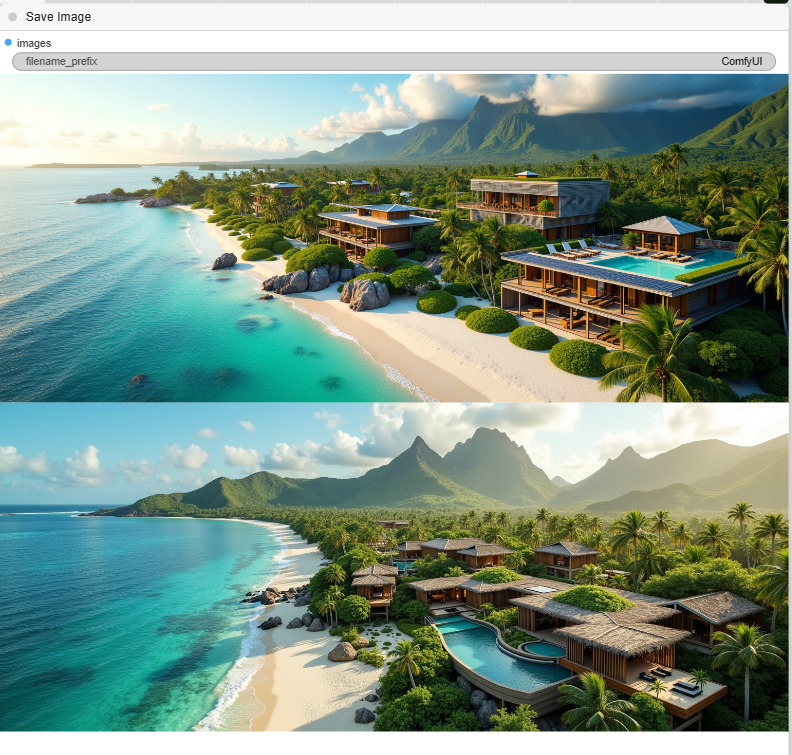
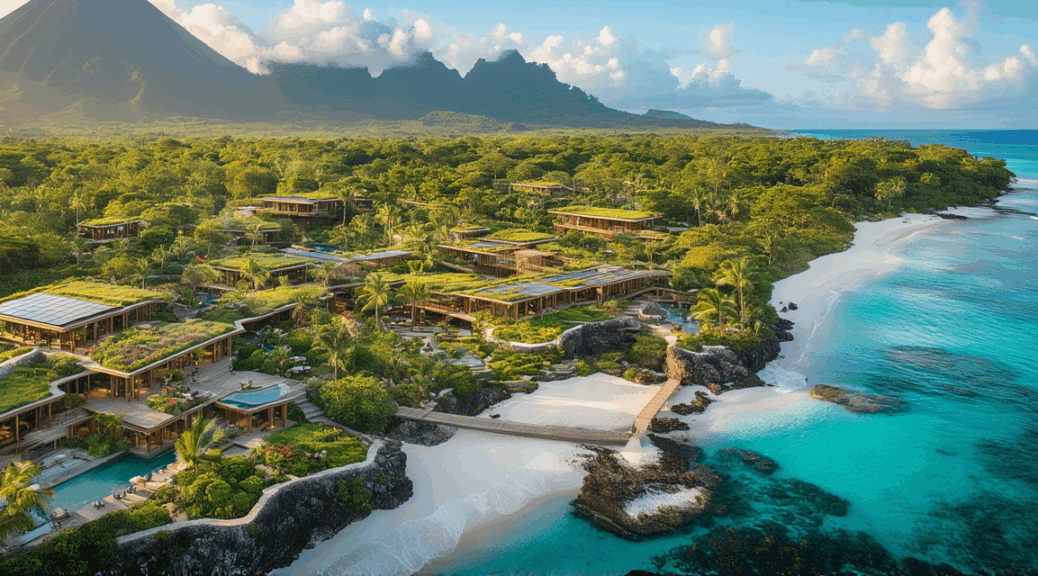
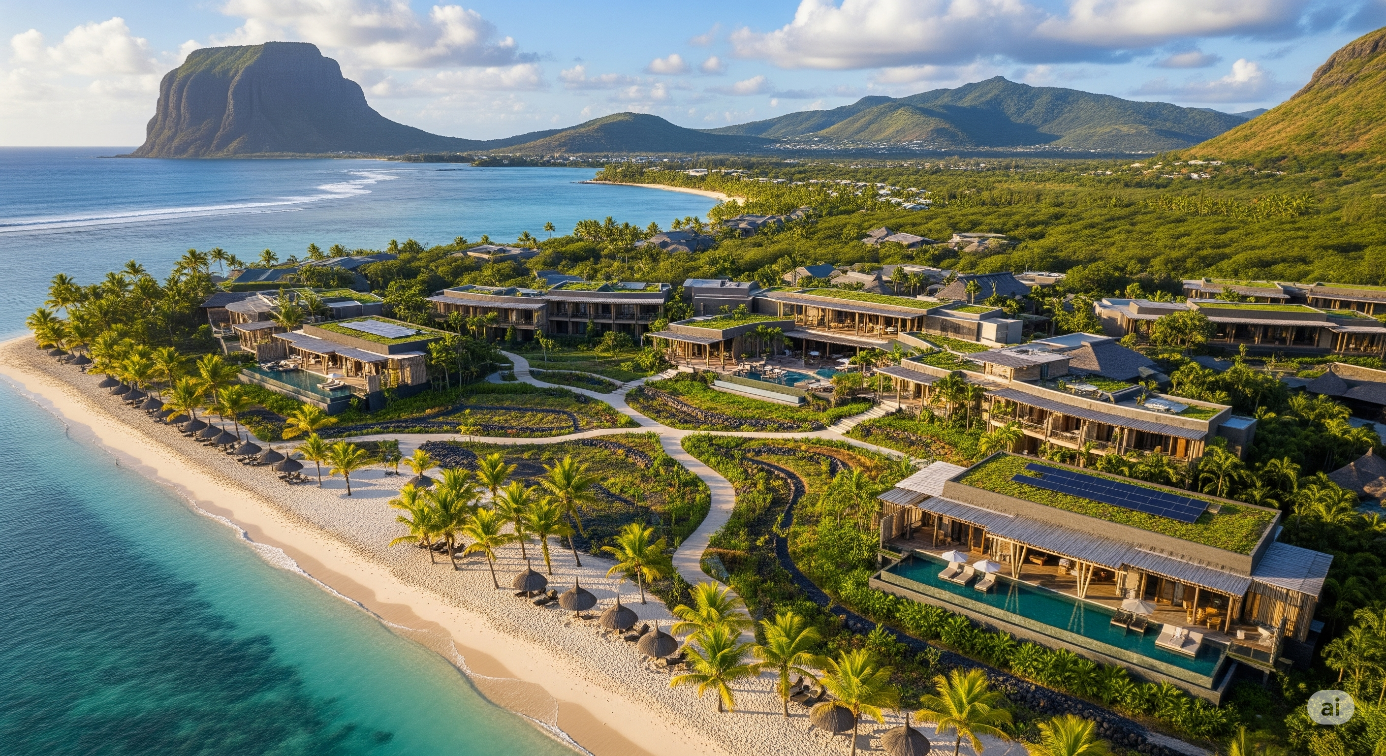
- Positive Prompt: The example prompt is a very detailed description of a « large contemporary building » with architectural features inspired by ocean waves. Using a specific, descriptive prompt like this helps the model generate a more precise image.
- Negative Prompt: The negative prompt is configured to prevent common generation issues by using keywords like low quality, bad anatomy, extra digits, and missing limbs.
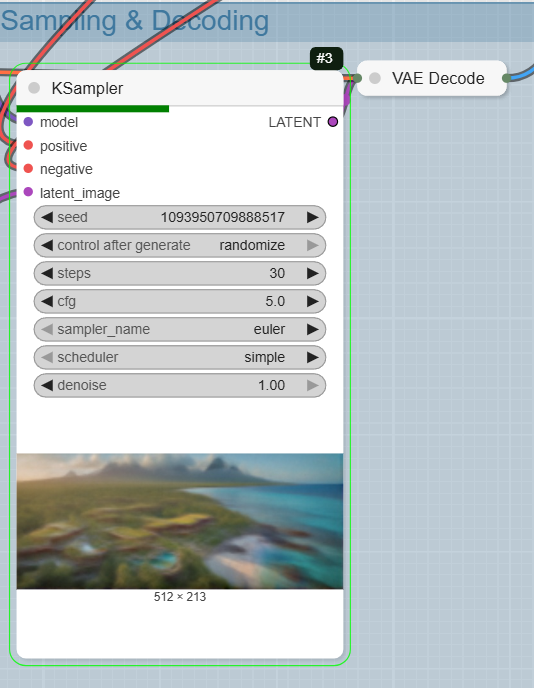
Step 3: Sampling and Decoding
This is the core of the image generation process, where the model creates the image based on your prompts.
- FreSca: This is an optional node that improves the quality of anime-style images. The accompanying note suggests disabling it (using CTRL-B) if you are generating realistic images.
- KSampler: This is the main sampling node that generates the latent image based on your model, prompts, and the latent image size.
- VAEDecode: After the KSampler finishes, this node converts the latent image back into a viewable image.
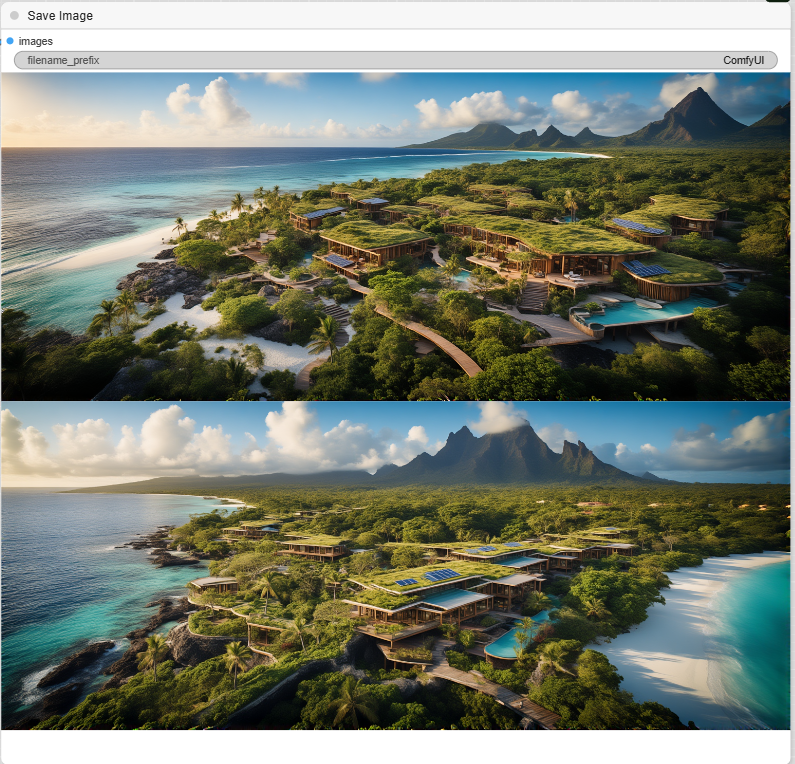
Step 4: Save the Final Image
- SaveImage: The final node in the workflow saves the generated architectural image to your computer.
Same Workflow using Flux.
Put back the CFG to 1
Flux-dev-fp8.safetensors
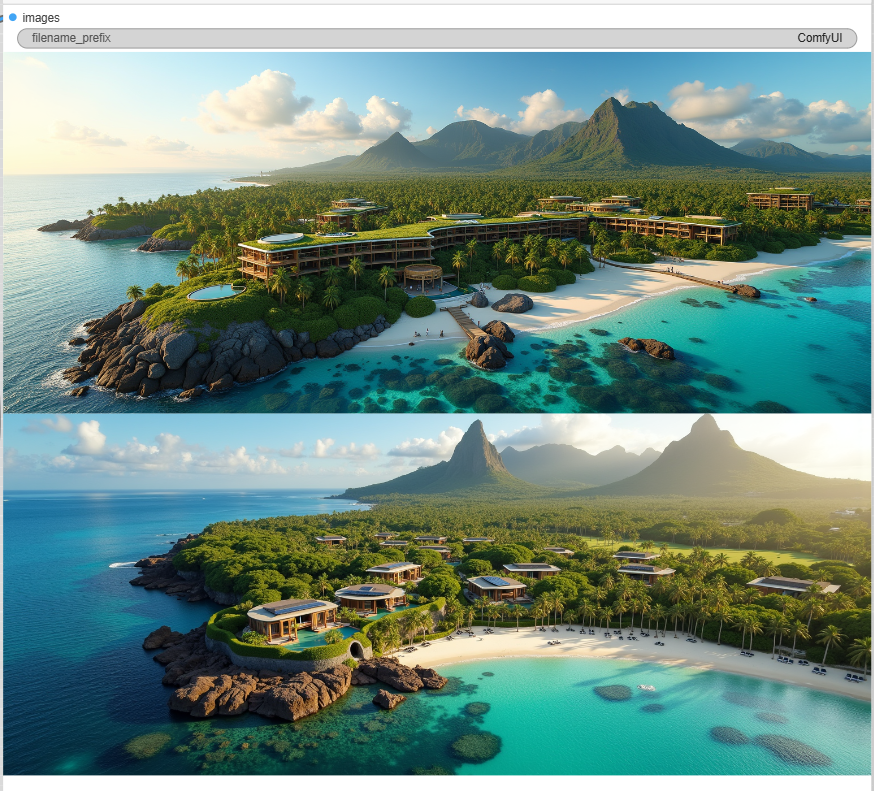
Flux-dev.safetensors