The Hybrid Workflow: A Critical Analysis of Parametric Seeding and AI-Driven Architectural Conceptualization using Beegraphy and Nano Banana
Introduction: The New Synthesis in Architectural Visualization
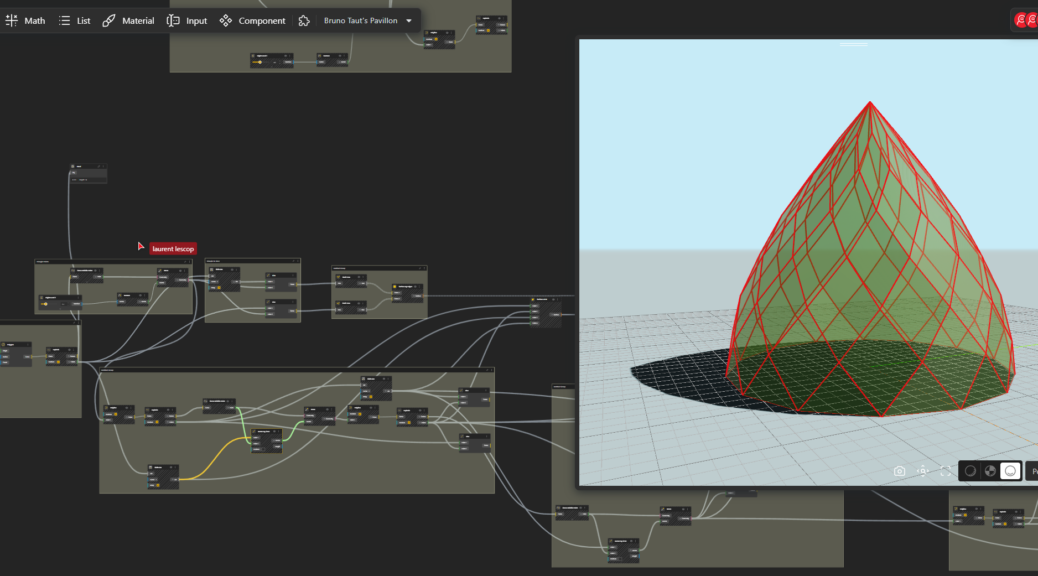
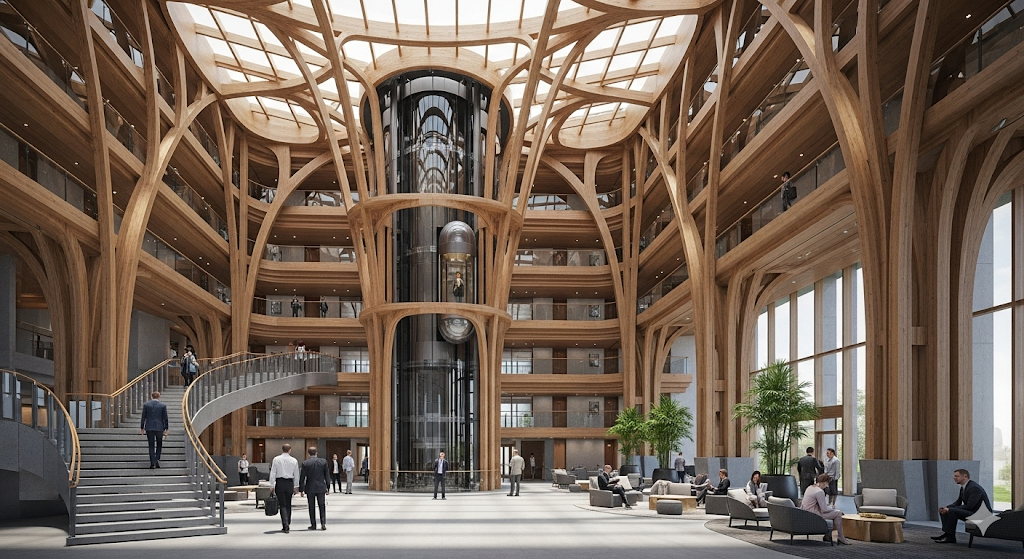
The contemporary practice of architectural design is witnessing a profound shift, marked by the convergence of two powerful yet philosophically distinct technological paradigms: the deterministic precision of computational design and the probabilistic creativity of generative artificial intelligence. This synthesis is forging a new « hybrid workflow » that redefines the process of architectural conceptualization. This workflow leverages the strengths of both domains, demonstrating a novel trajectory that begins with a single, data-rich parametric « seed » and evolves it into a fully articulated architectural space through conversational, AI-driven exploration.
Continuer la lecture de Beegraphy/Nano-Banana – Design from reference