Photogrammetry – reconstruction – 3Dpdf export
Set-up
The photogrammetry has been done with a very small setup. The Sony DSC QX10 has been used for its very small size which made the process easier.
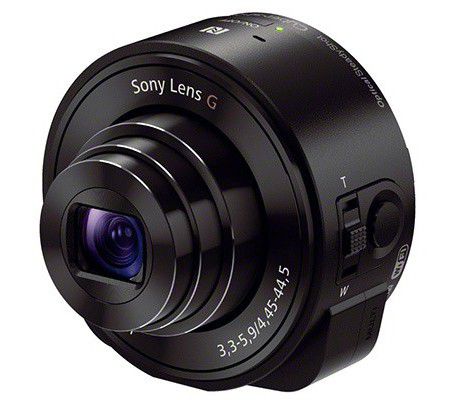
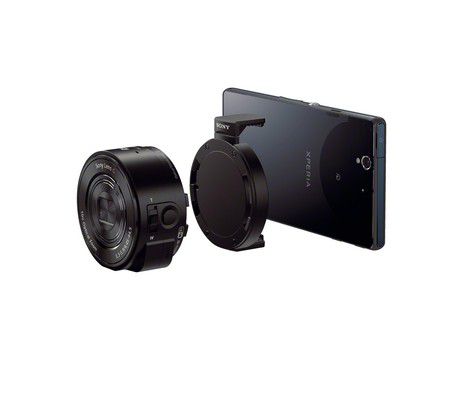
This camera is connected to a smartphone via Wi-Fi, it is then possible to shoot from a distance.
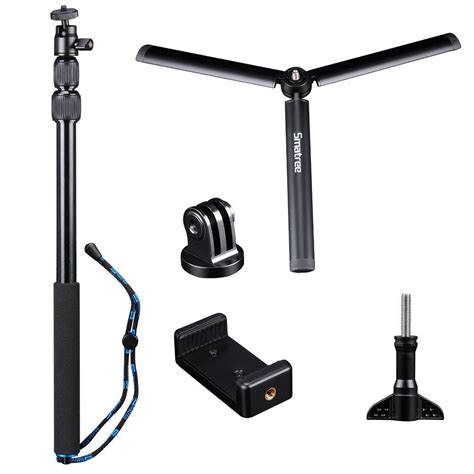
The camera has been fixed on a small tripod for the lateral views and on a Smatree SmaPole Q3S Extensible for the upper views.
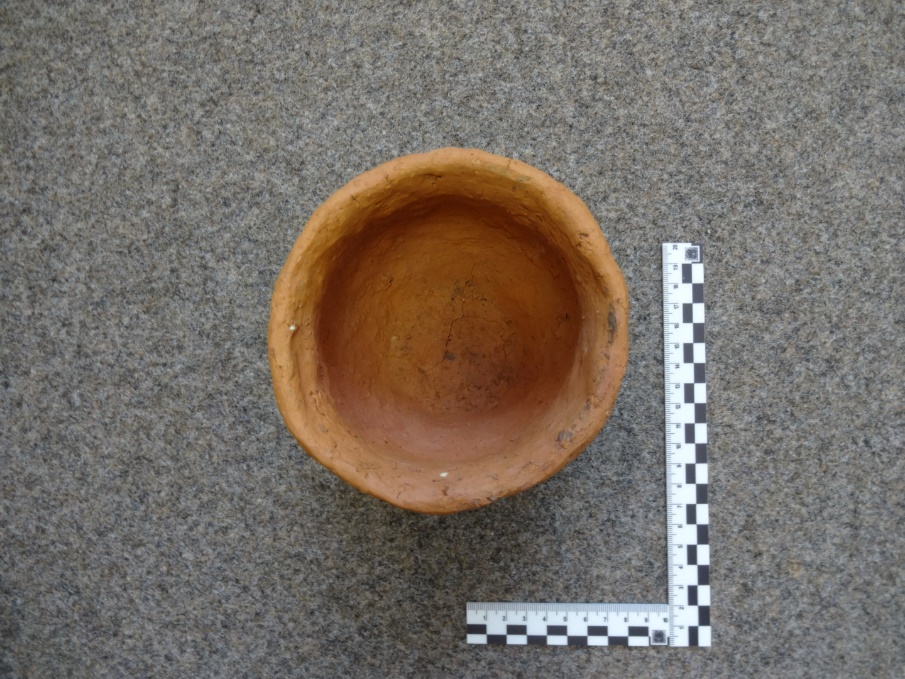
Two rulers for archaeology have been at a 90° angle to indicate the horizontal plane and the scale. This is one of the most important part of the preparation.
The light has to be diffused, natural if possible. It’s important to have a very homogeneous light inside the model.
Capturing process
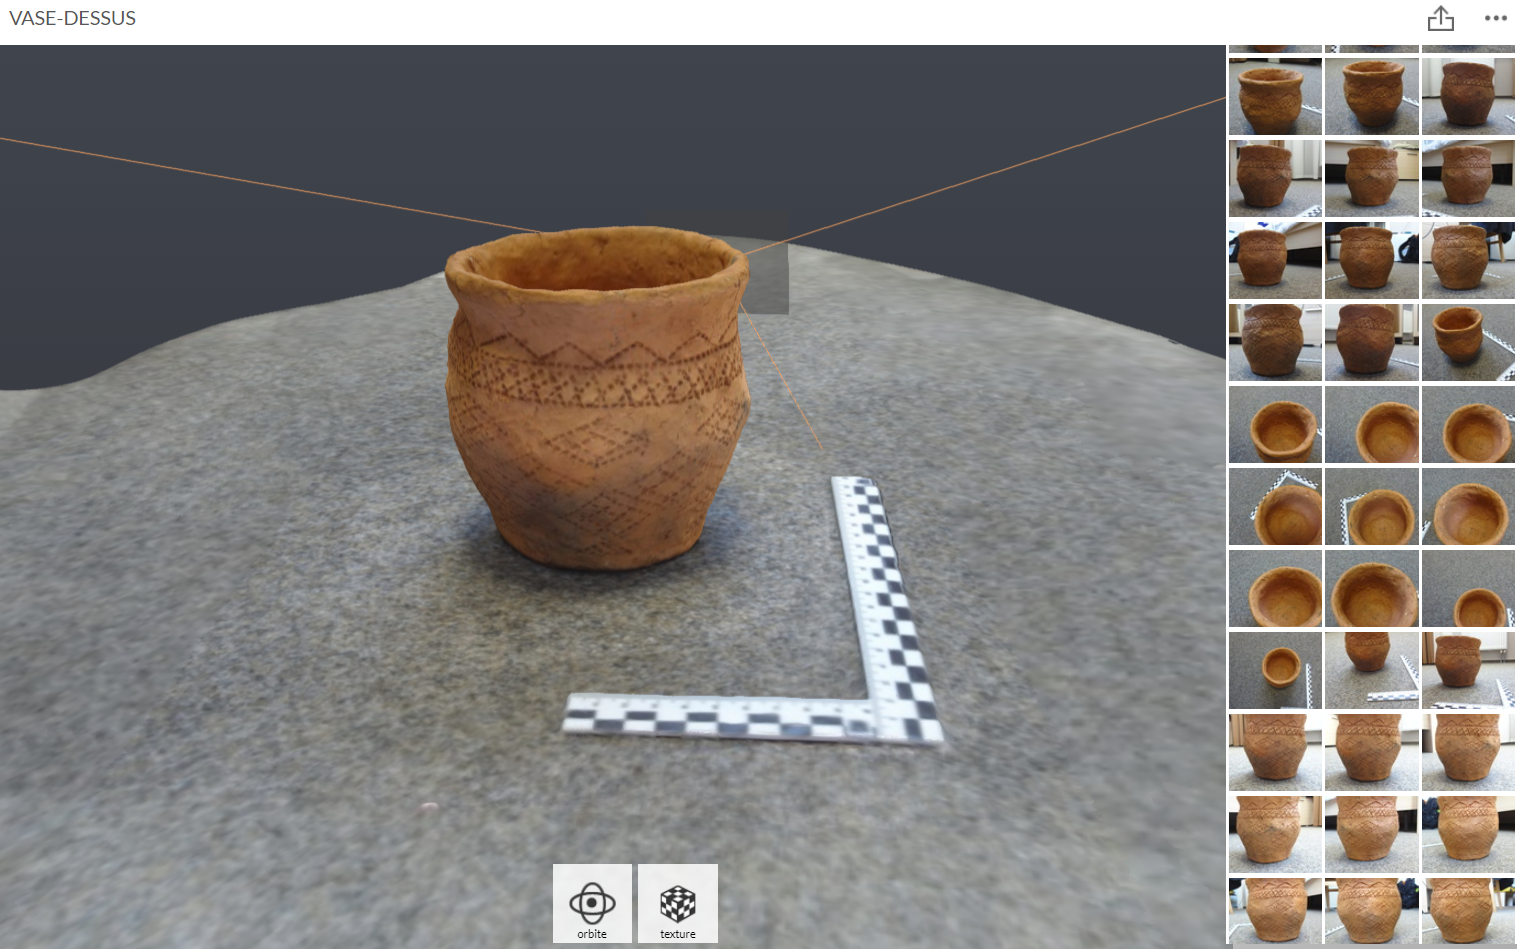
It’s important to start with a view that shows the model in total with the scale. There, the upper view has been chosen.
Then process as usual with a shape of globe around the model
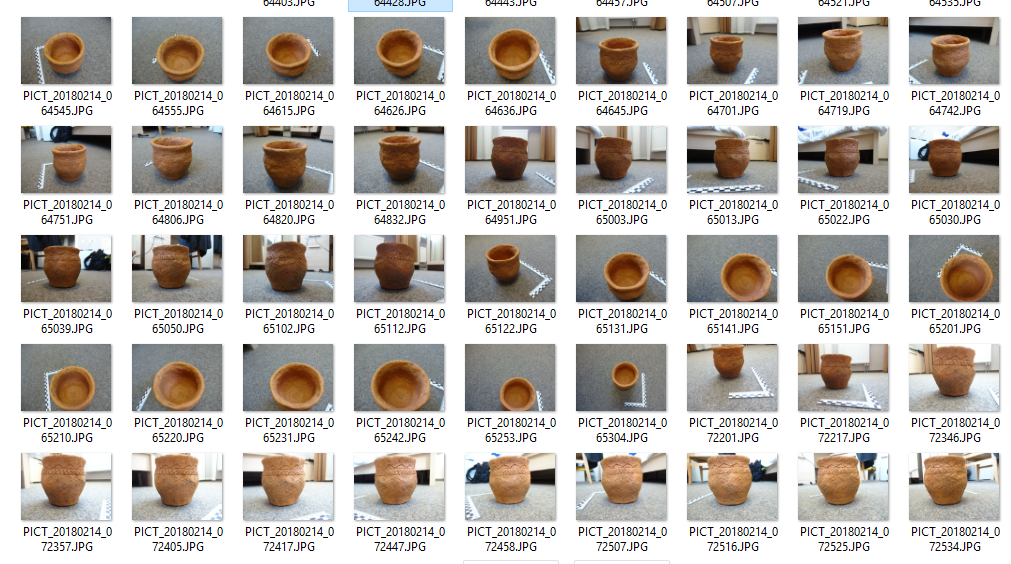
It’s important to be very low to get information inside the model and at the base of it. If possible the Depth of field (DOF) has to be set at 16 or more, depending to the light. The more it is the more the image is focused everywhere. Important never zoom, move the camera instead. That’s why this small camera is useful as it can be very close even inside the model.
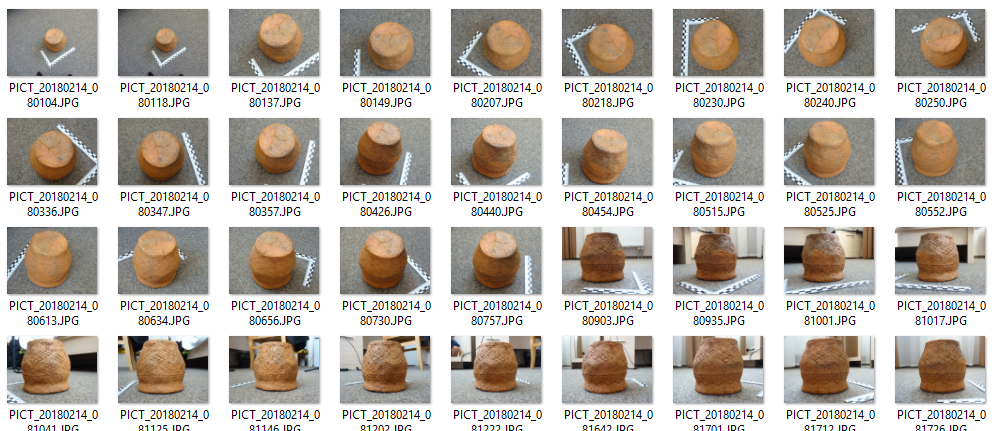
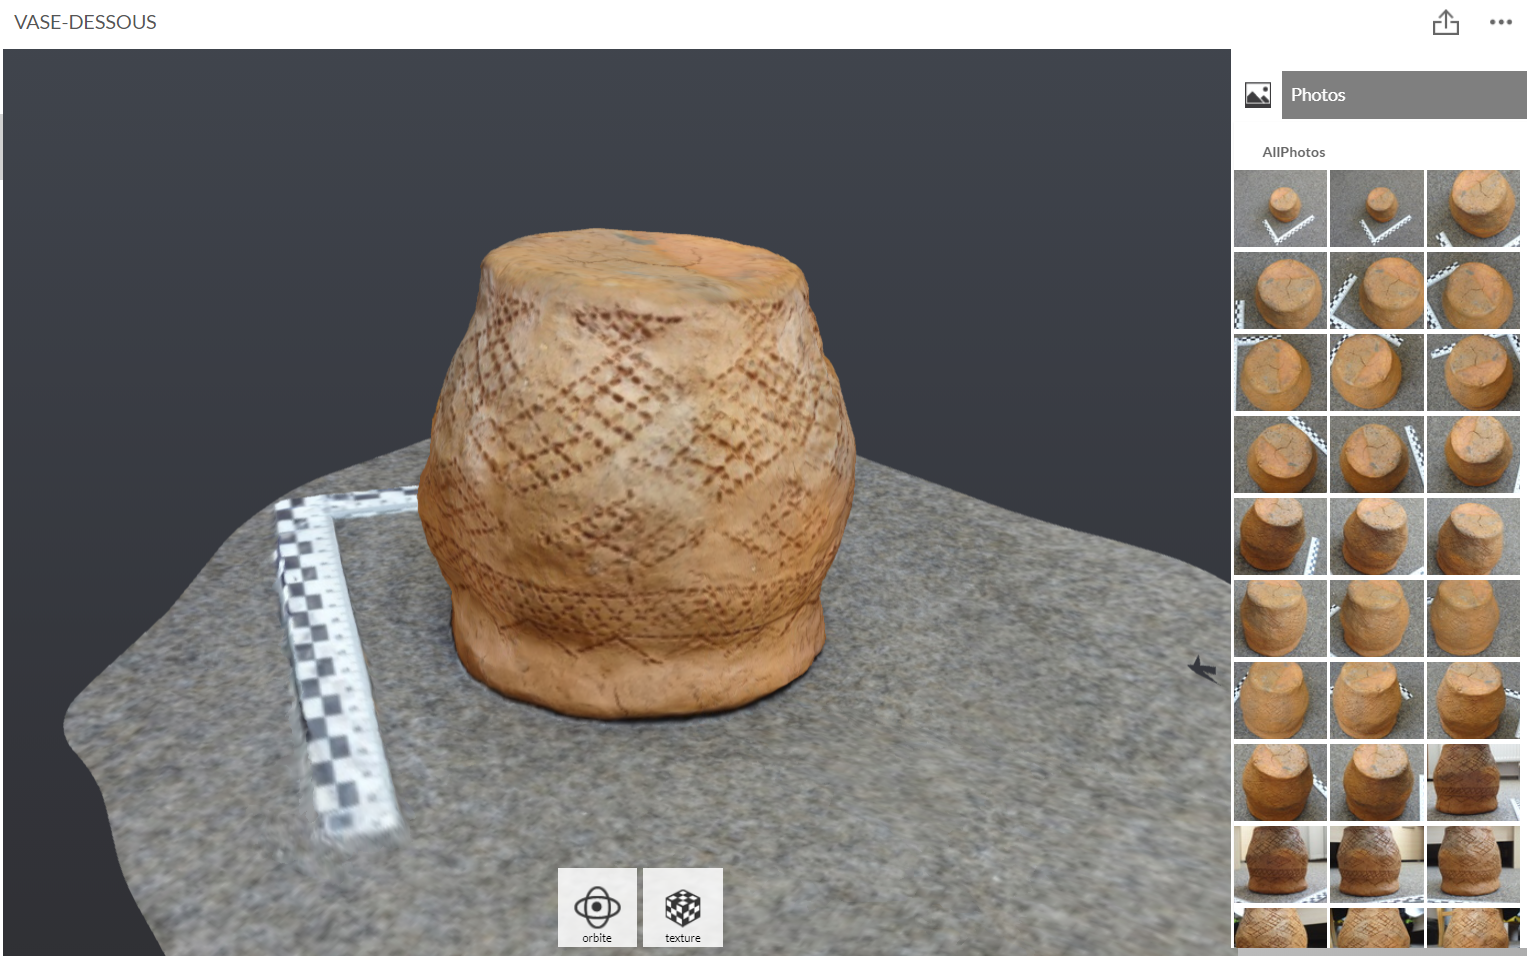
Put the model upside down and process again.
The photos can be sent to RECAP in order to get a complete model with online power resources.
Recap is an Autodesk service that changes a lot. Right now, there is Recap and Recap Photo. https://www.autodesk.com/products/recap/overview
The benefit of recap is to have an online process and a complete model with texture within a short time. Les options are let for tweaking or adapting the quality to the final needs. Anyway, it’s often a good choice mainly with less powerful computers.
Problem is, the reconstruction of the whole model has to be done manually.
Photoscan
In Photoscan, the process is roughly straightforward.
Step 1 aligning

Then
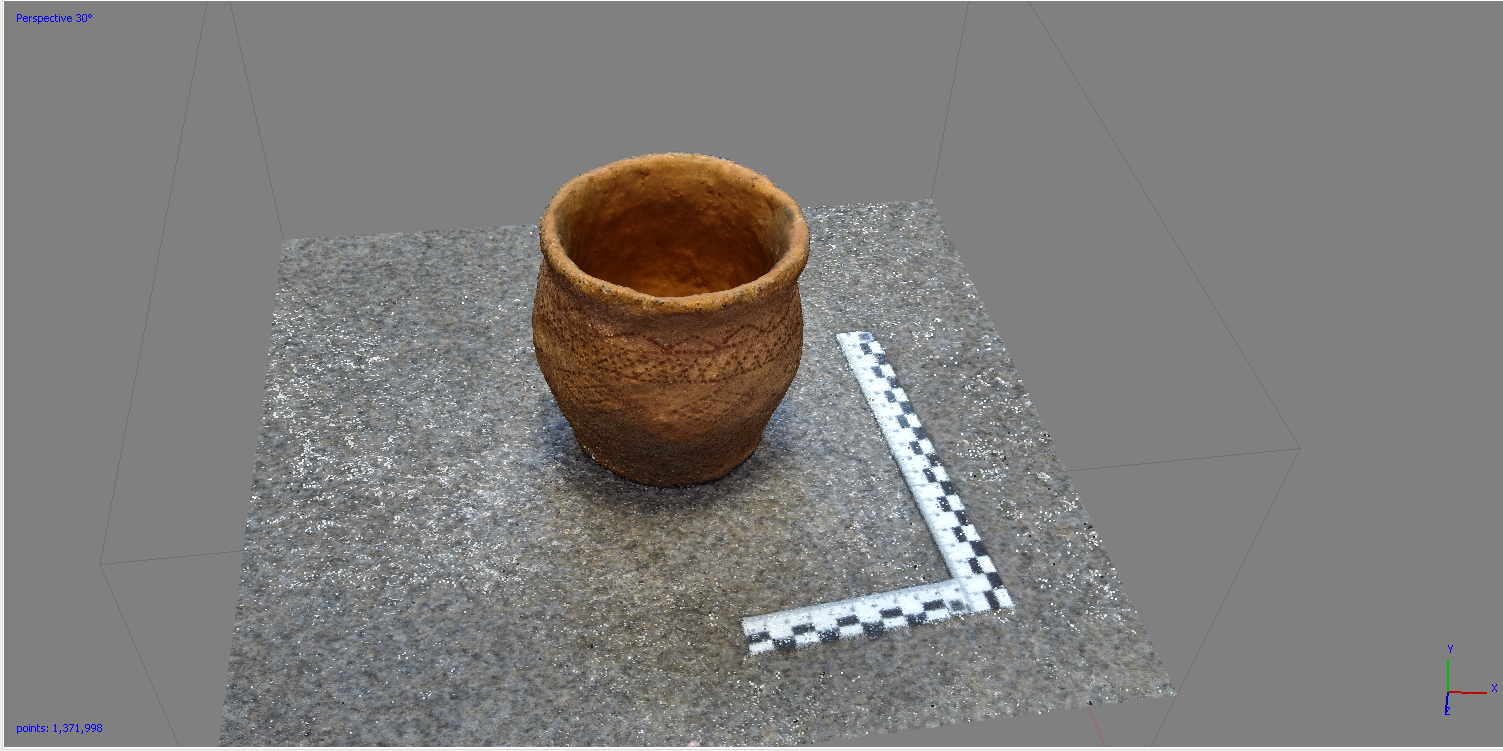
Getting a dense cloud
All parameters are set to High
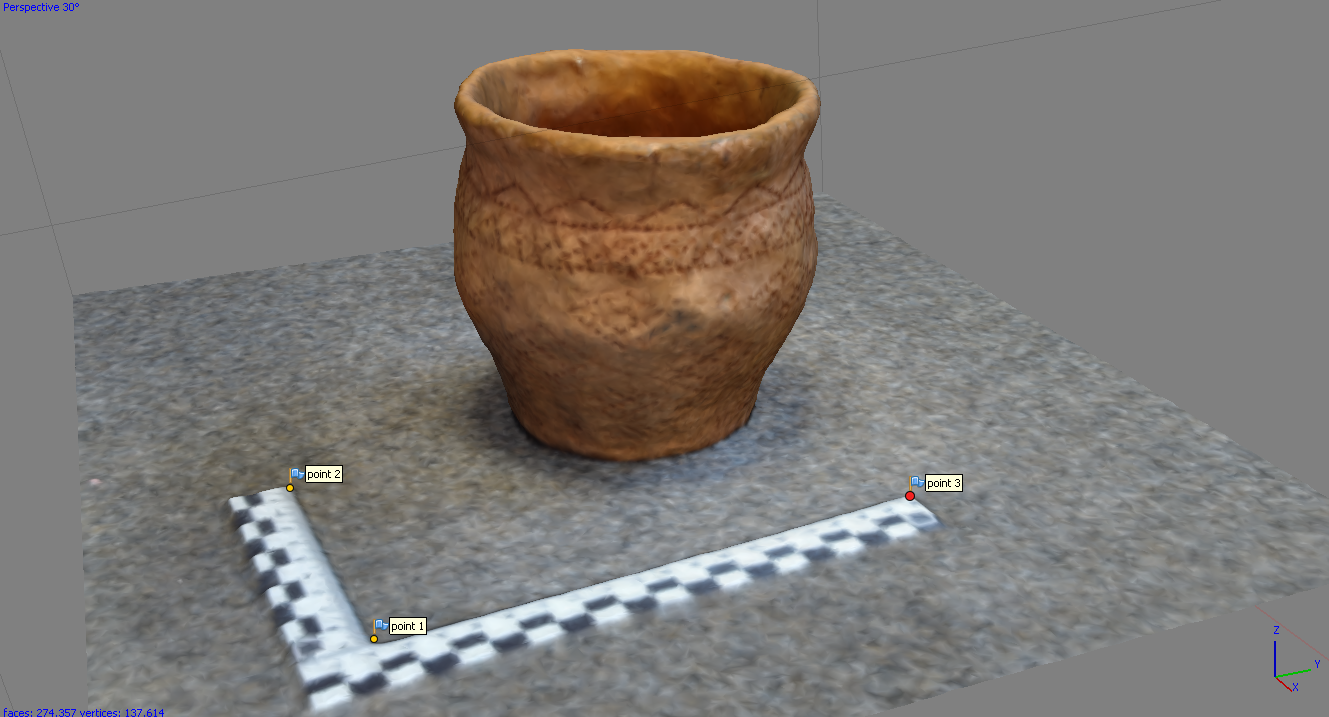
It is possible at the stage to scale and fix the horizontal plane.
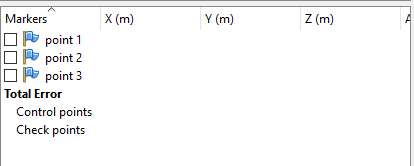
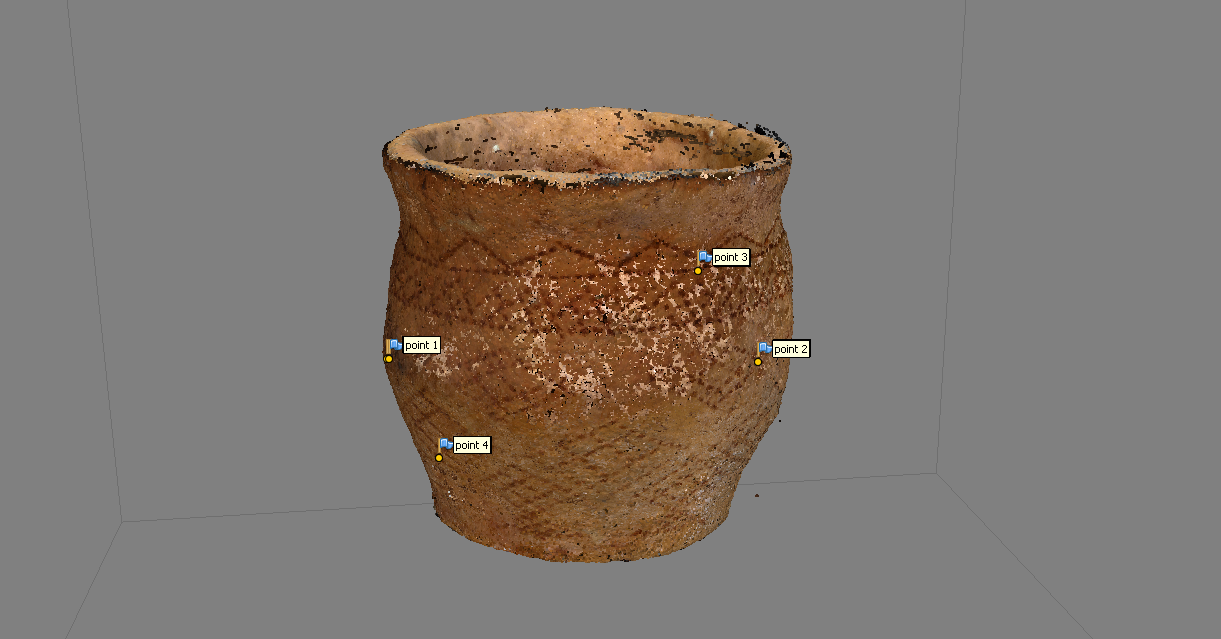
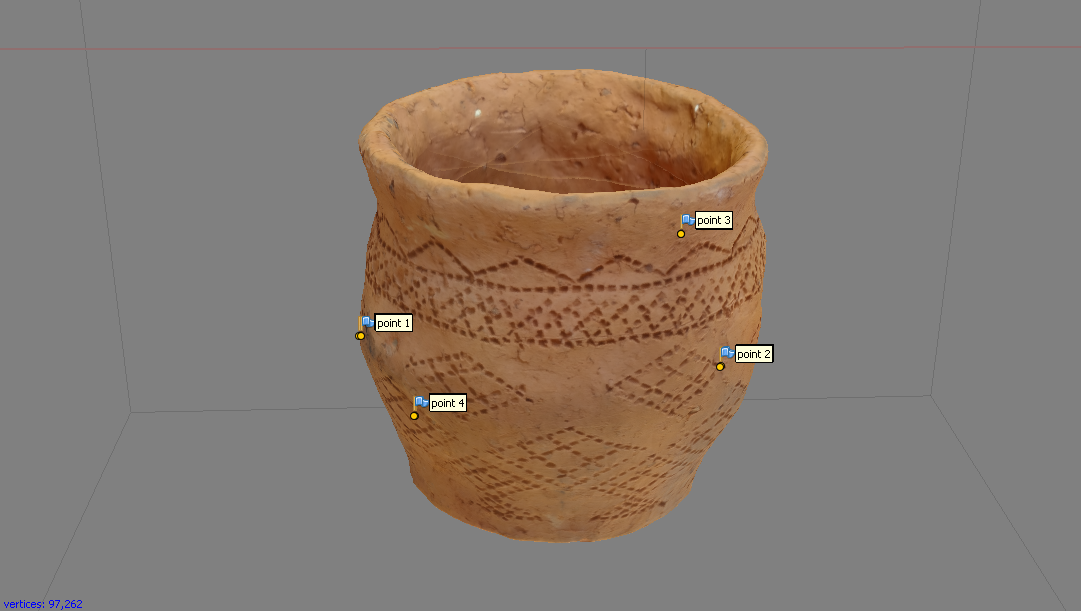
Scaling
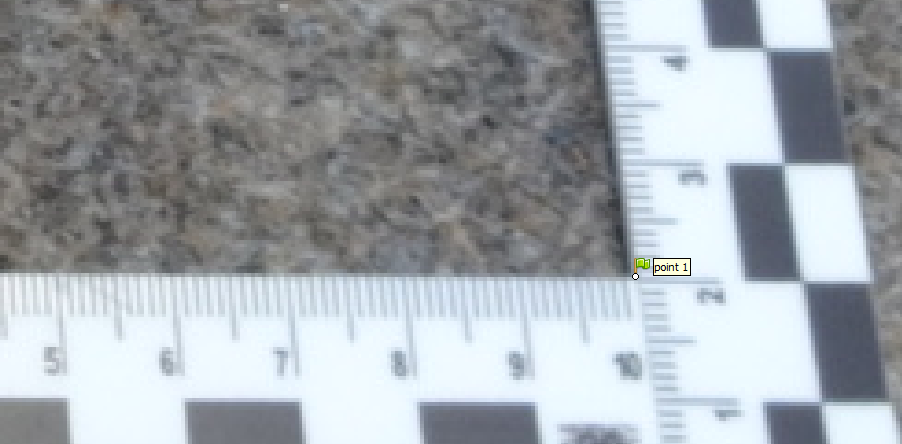
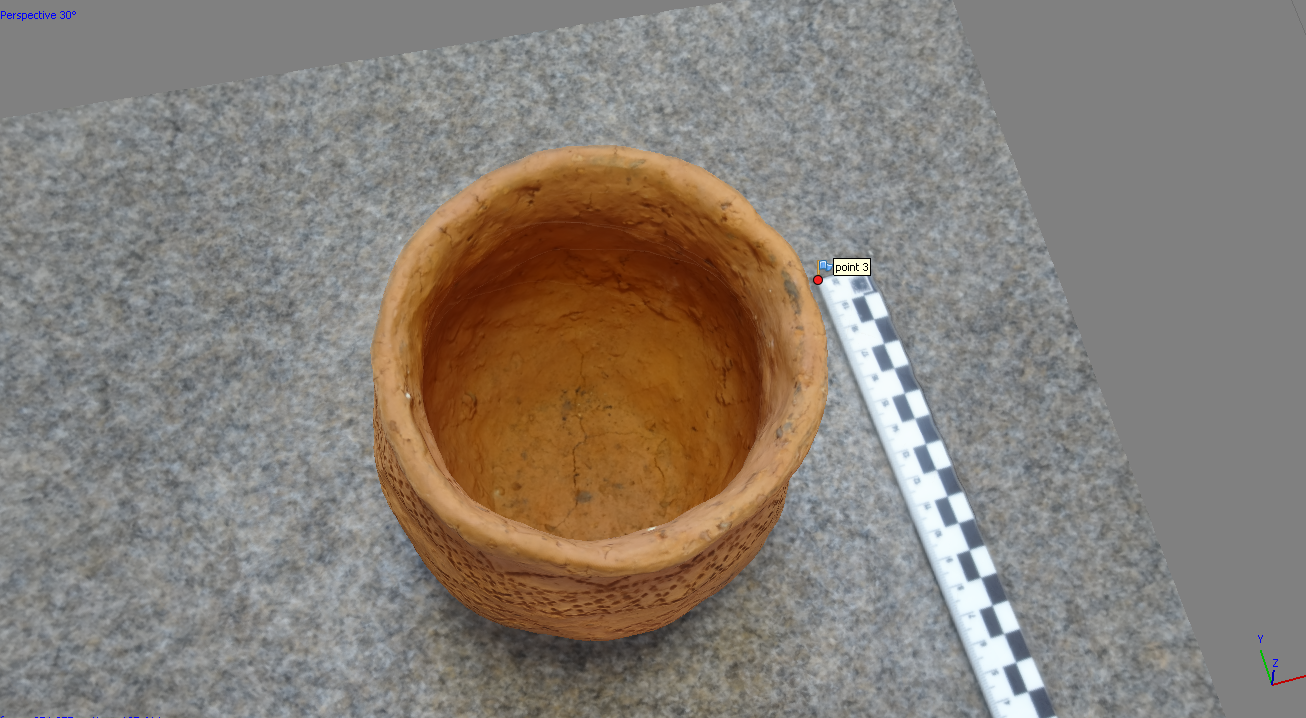
For that click Right Mouse Button and Create a first Marker
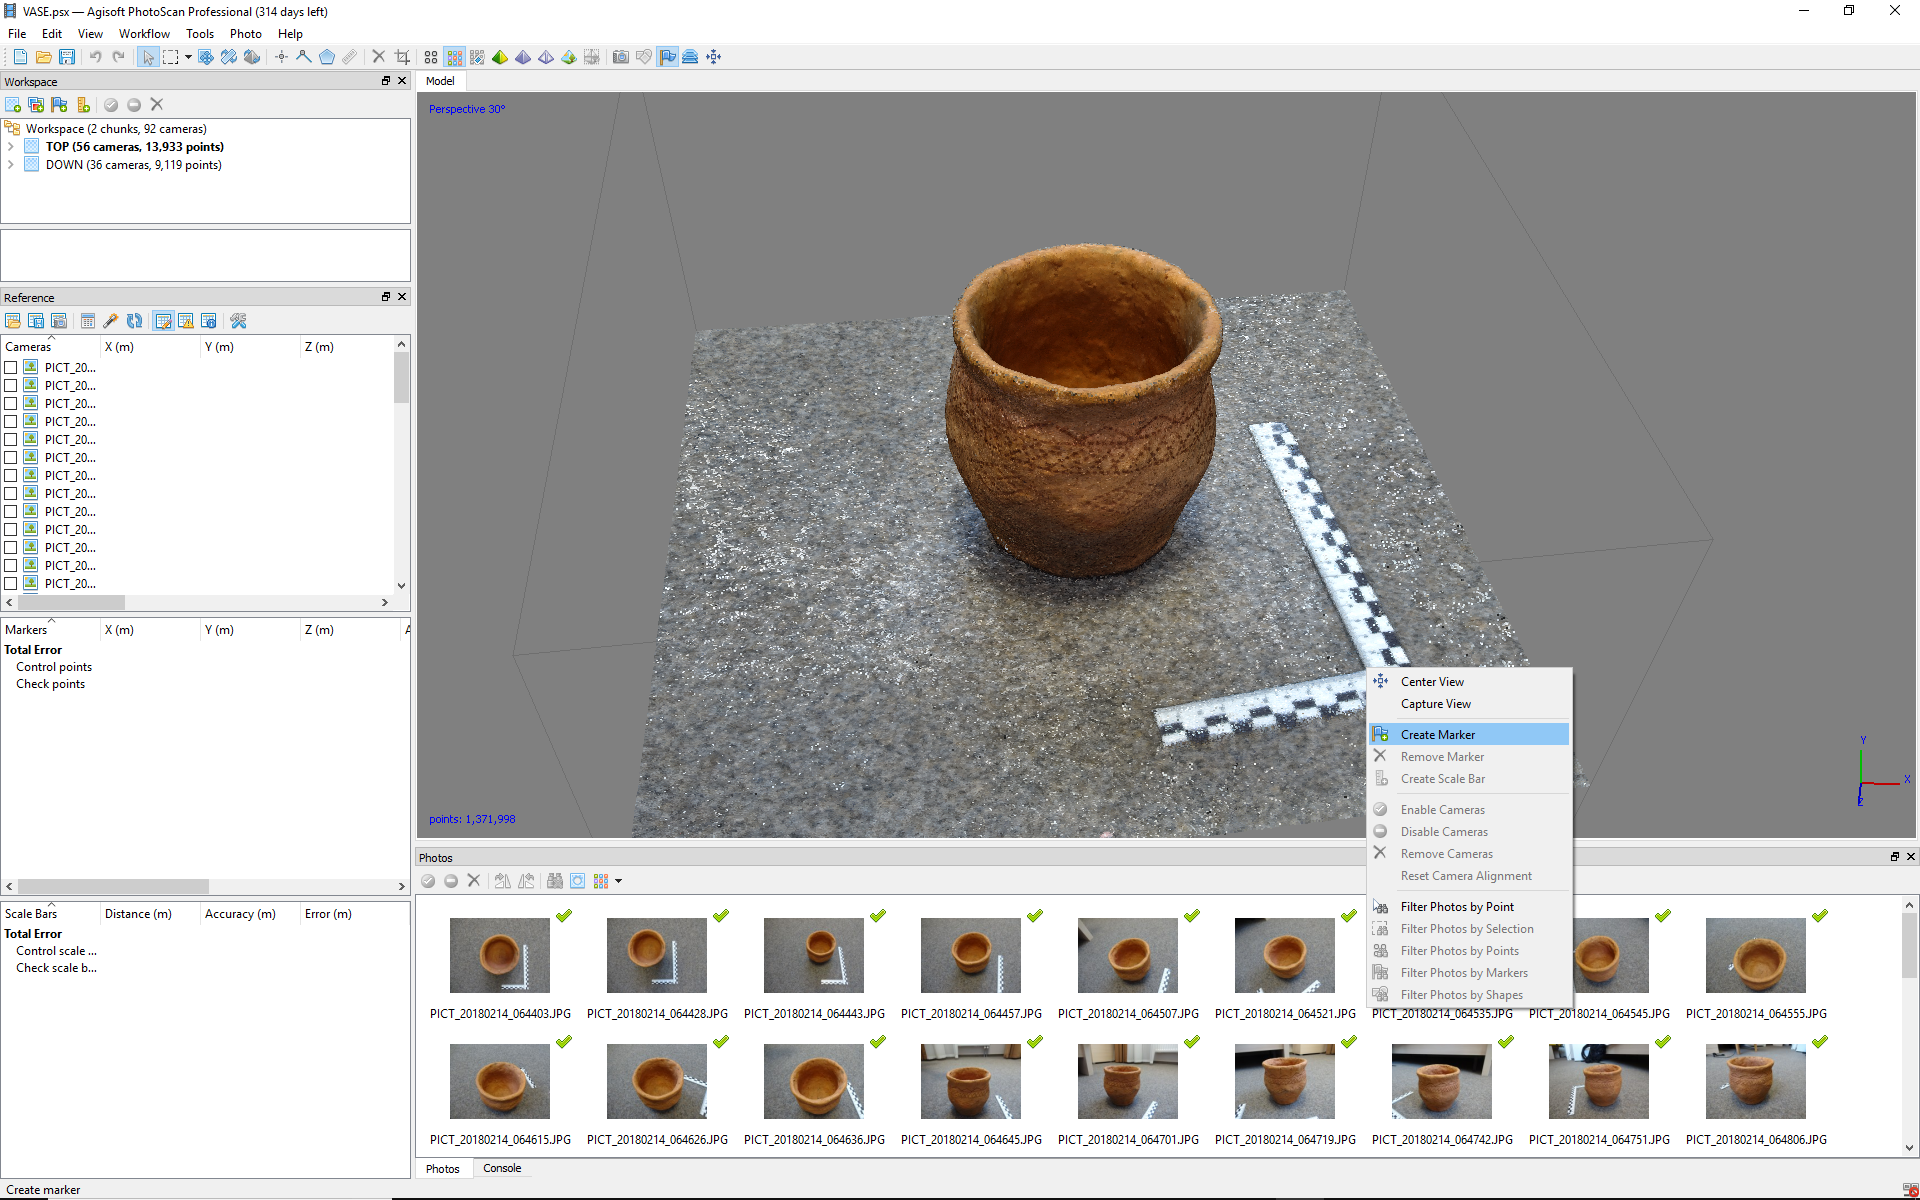
On the photographs it is necessary to check if the marker is at a correct position, if not move it.
3 markers are needed in order to have a correct scales model and a correct horizontal plane;
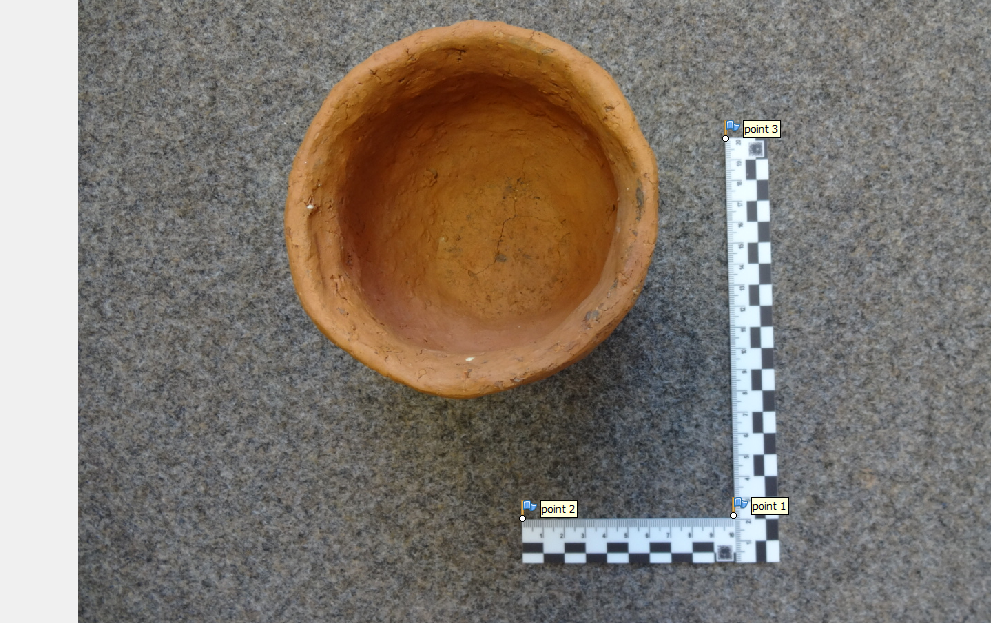
Once done, assign the correct values to the points.
In reference
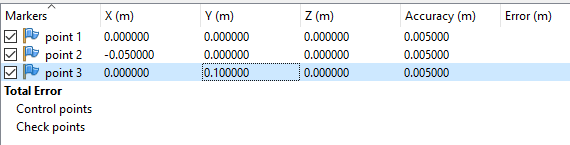
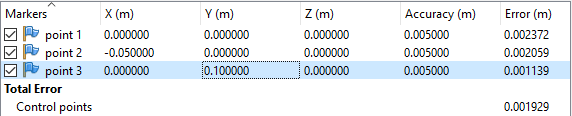
Then click update !!!!

Meshing
Next step is Meshing
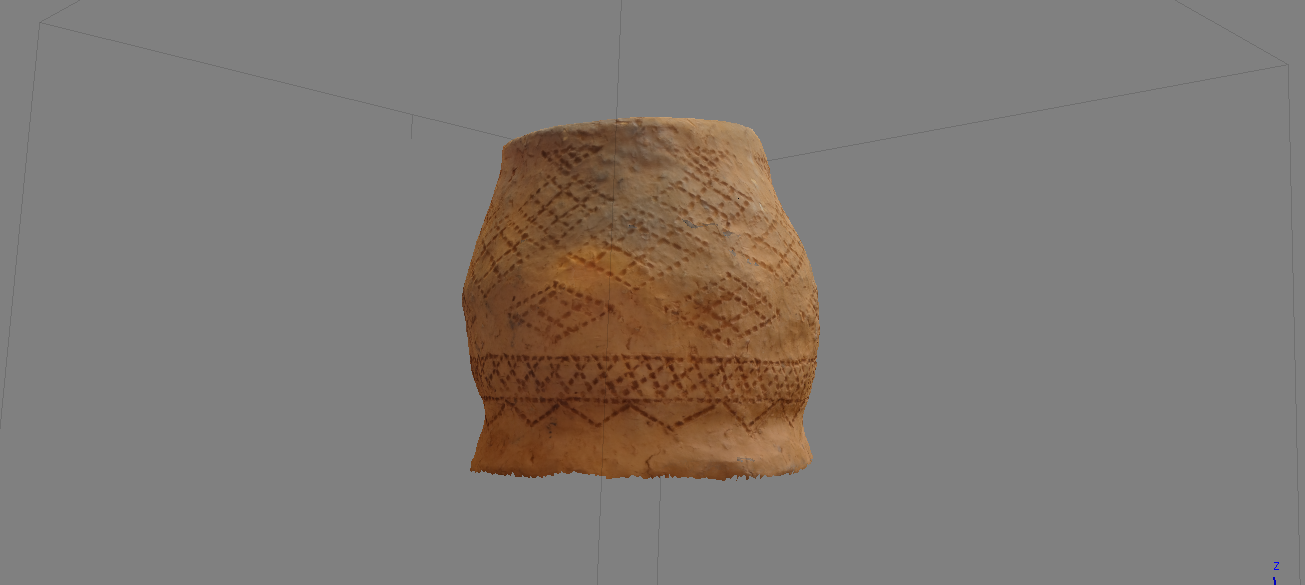
Then texturing
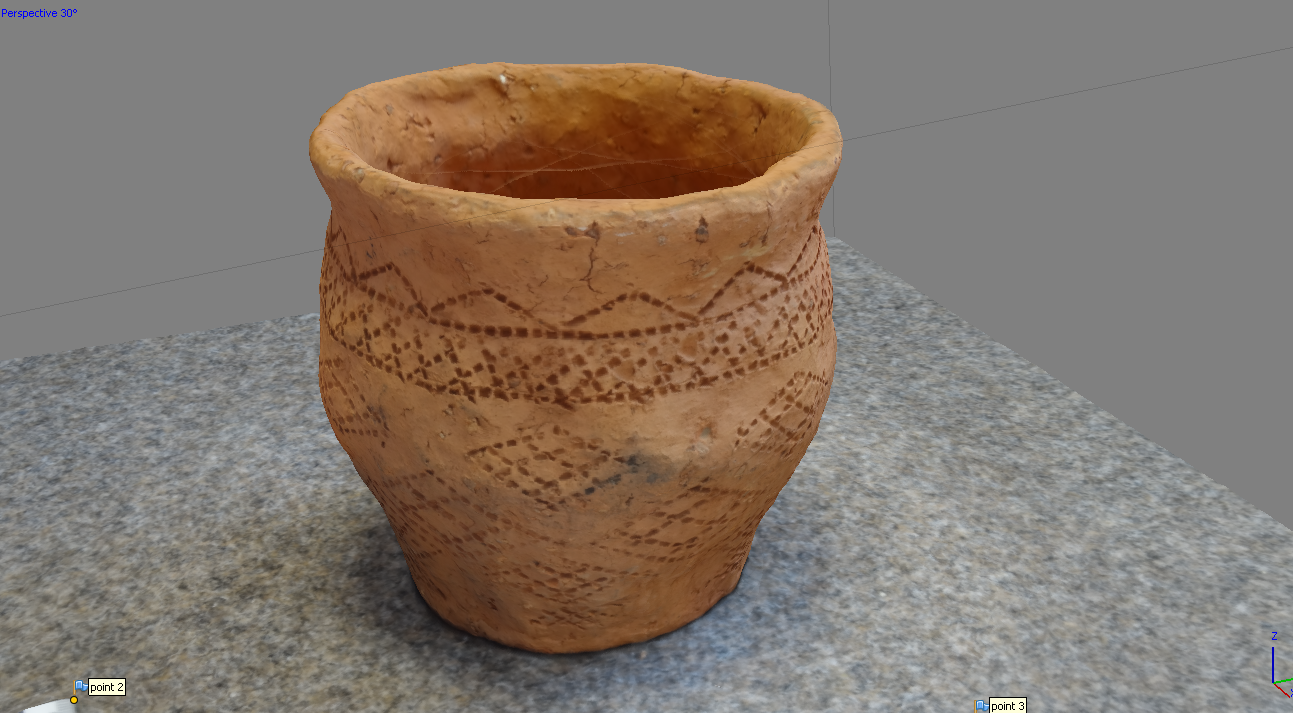
Everything is perfect, even inside the model
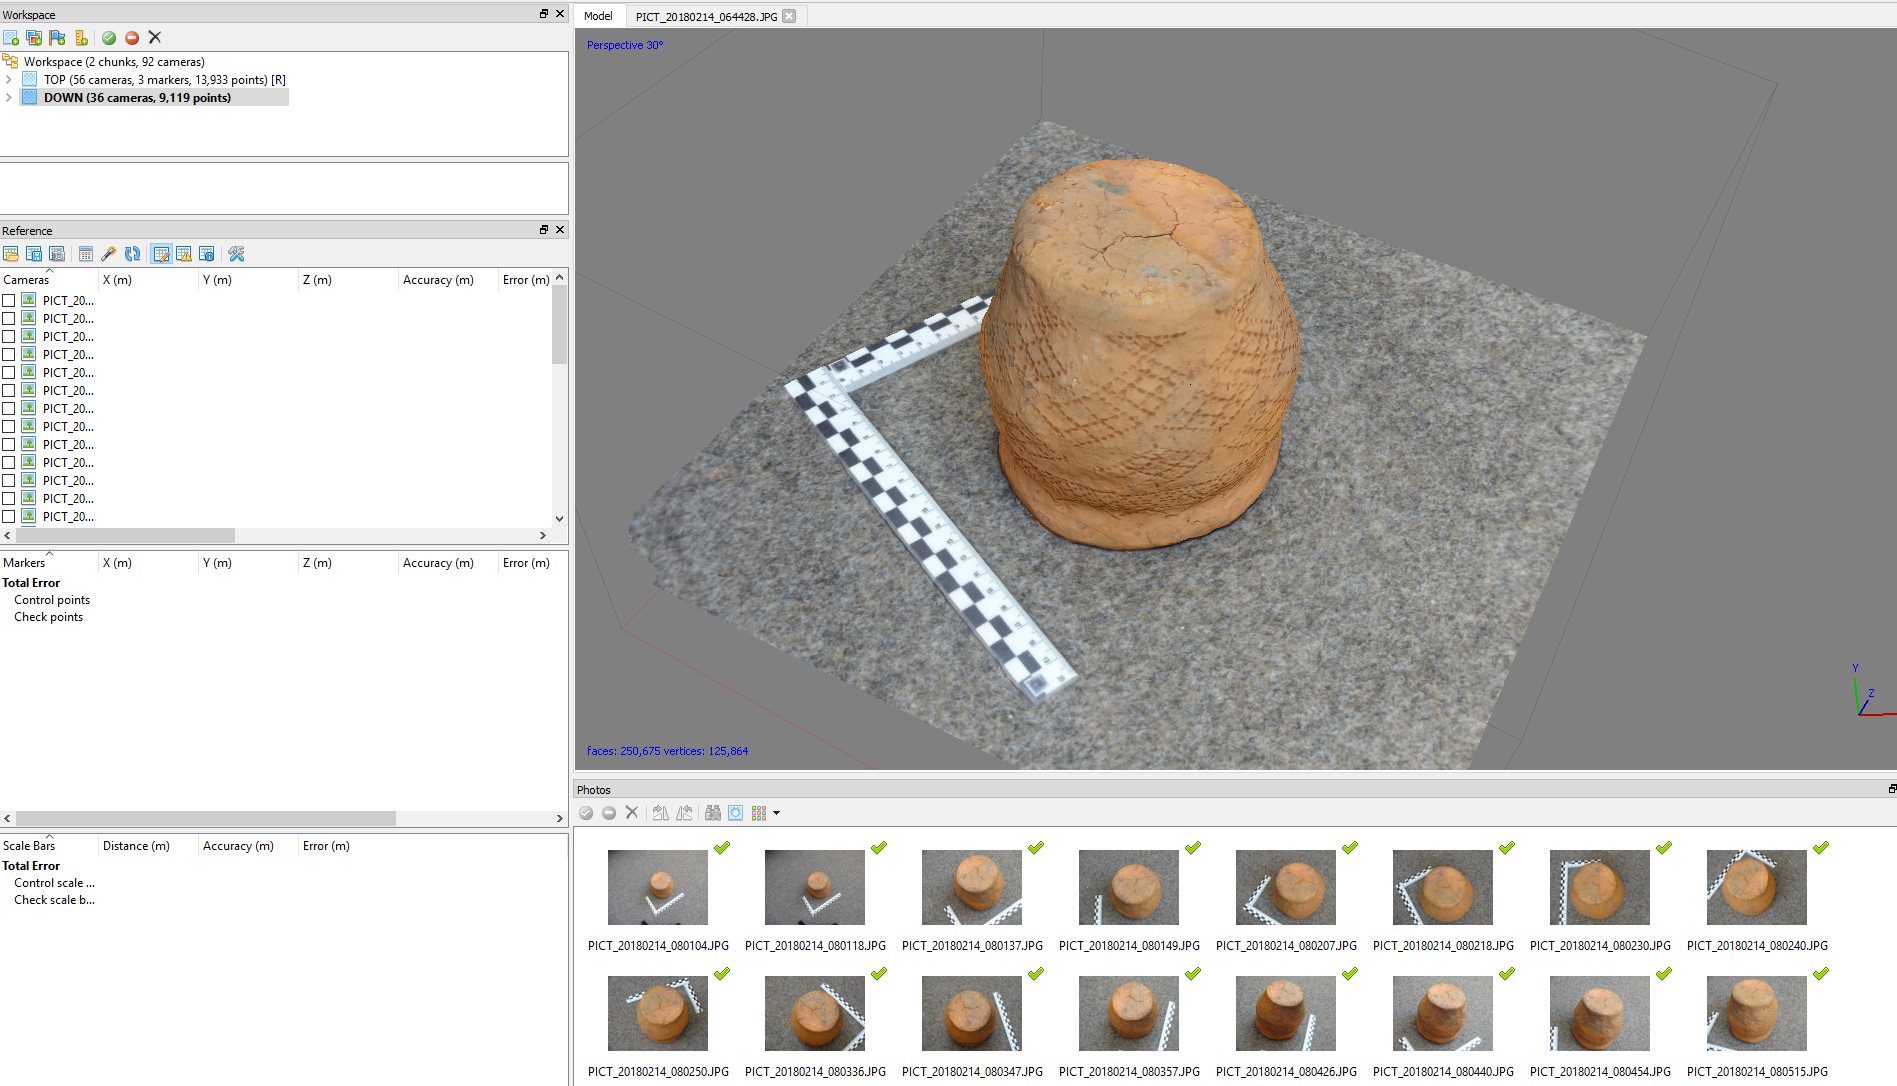
The same process has to be repeated for the model upside down
Processing the other side
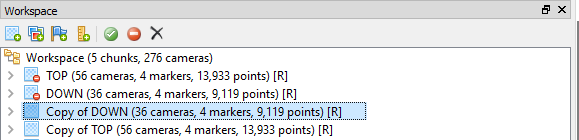
The best is to create a new chunk, rename and repeat the process
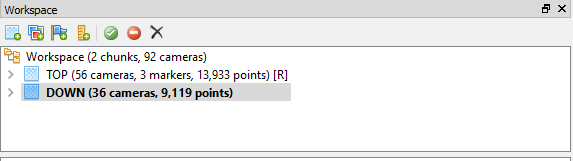
Assembling
The 2 chunks are duplicated
Then the ground and ruler are erased.

The two models are perfectly scaled but now they have to be aligned.
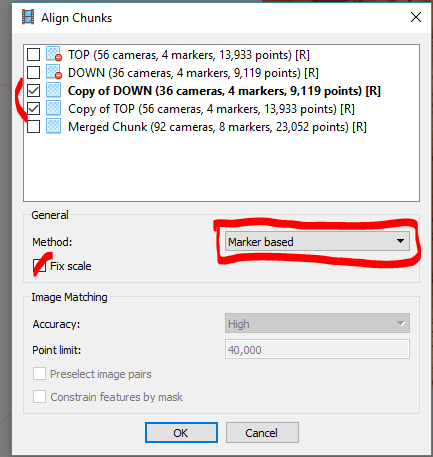
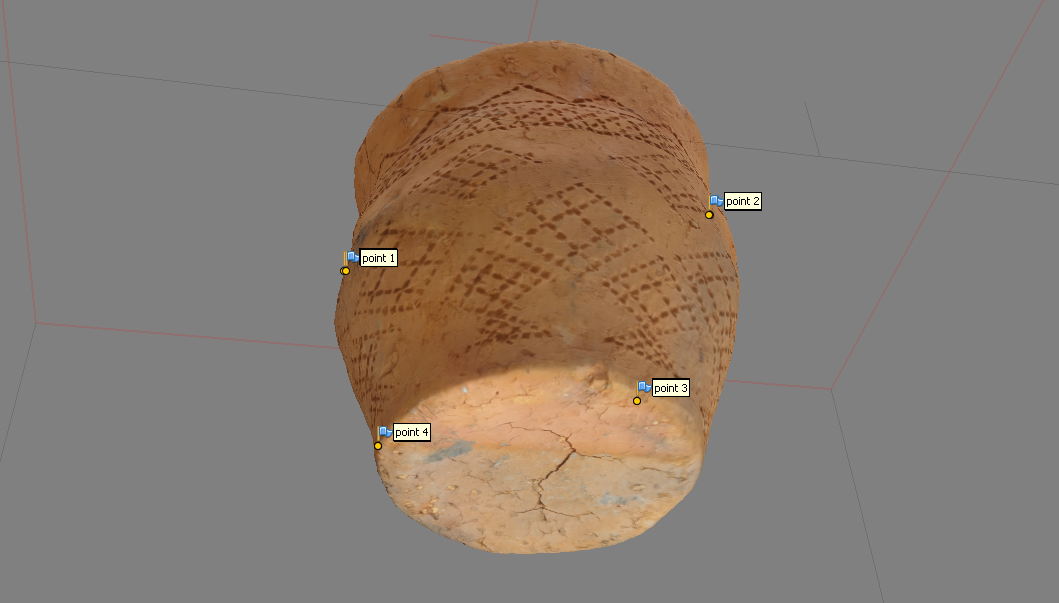
Alignment
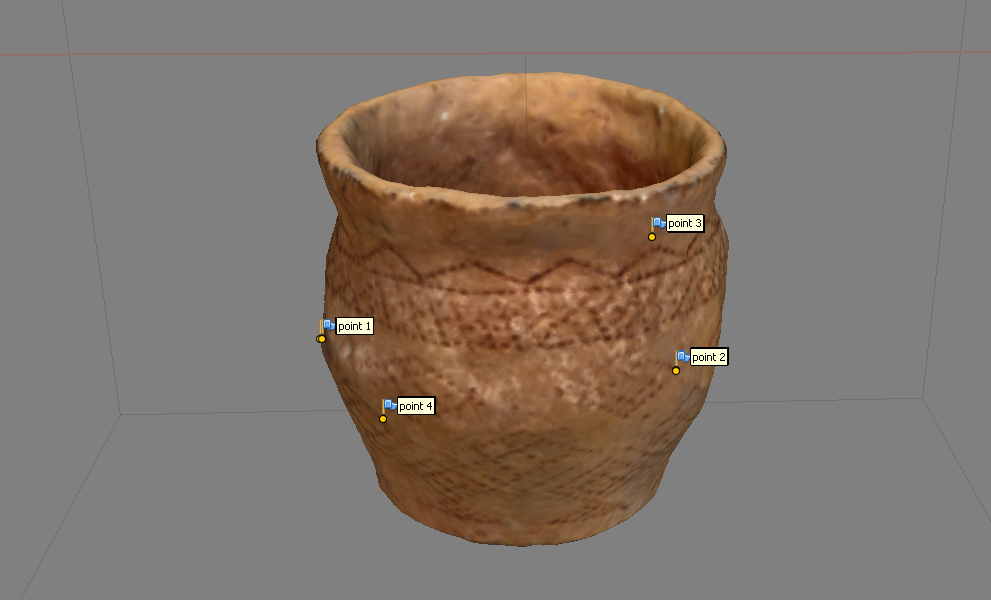
Erase the previous markers and add some at specific location that can be found similar between the top view and bottom view.
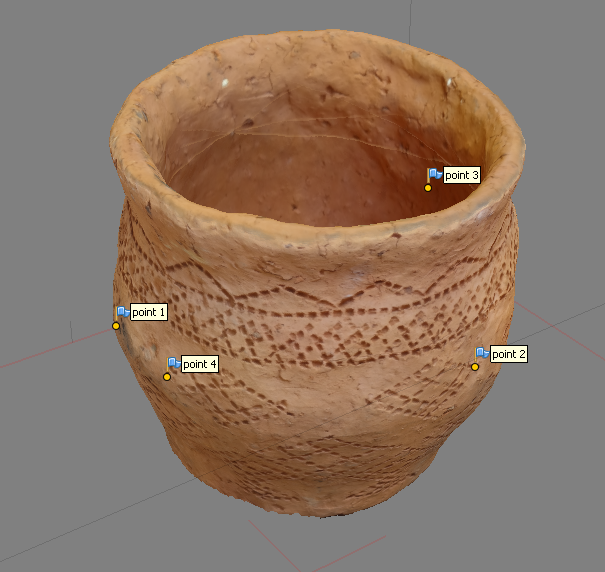
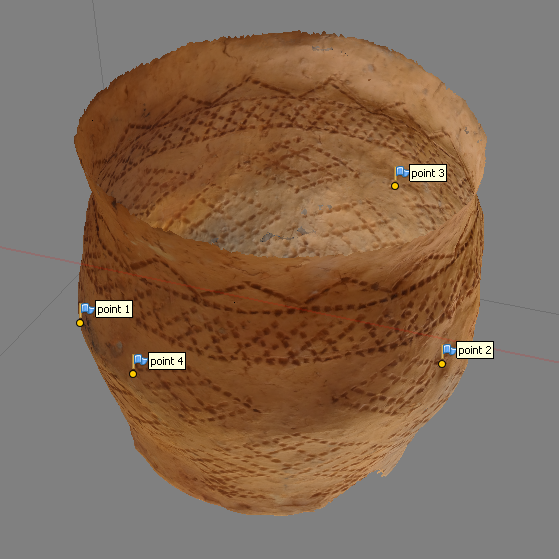
The more Markers are positioned, the more accurate the model is.
Then in the Workflow tab, choose Align Chunks
When done chunks could be merged
Before doing that, it’s better to clean up a little the points that are a little bit out of the model.
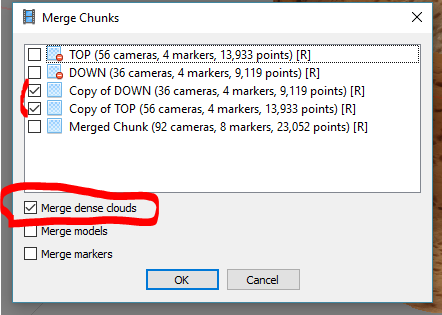
Merging
It’s better to merge just Dense Clouds
Then Build mesh again
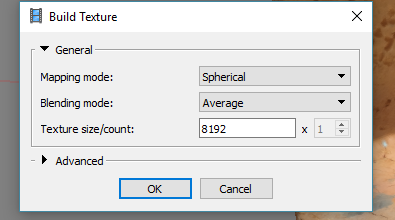
And textures
Depending the texturing mode, textures could be slightly different. Here, the spherical mode has been chosen.
Exporting
Export model to OBJ file

End of part 1
Very cool post. I work on a company who imports decoration and I am trying to do this for the website, to show vases and statues in 3D on their website. The Software you used is the ASgisoft one? I tried some experiments with free software as 3D Zephyr (italian too) and meshroom but I was disappointed. To render the texture on your vase you used just the software configurations or you did by yourself as well? Thanks.