Goal
When information about a site is not available, it is interesting to make a survey by drone to realize a photogrammetry. The photogrammetry will allow to build a 3D model and to extract the necessary information to understand the site.
The preparation of the drone flight is essential. The flight must be able to cover the entire site from different angles. Otherwise, there would be deformations or missing information.
The example presented here presents the workflow for creating a 3D model from an aerial film shot with a drone and the processing of the data for further work.
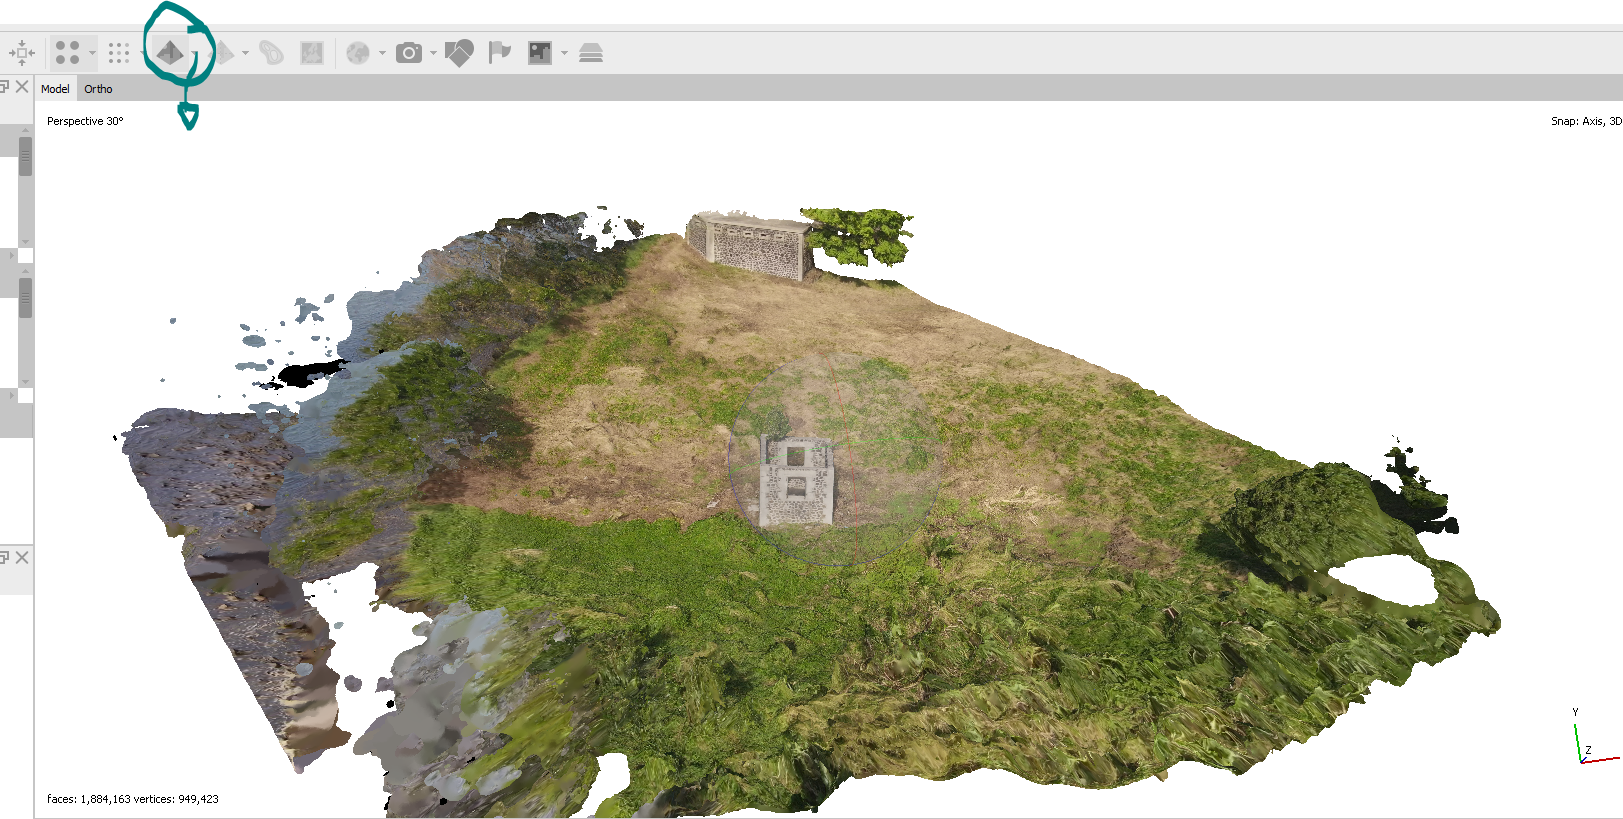
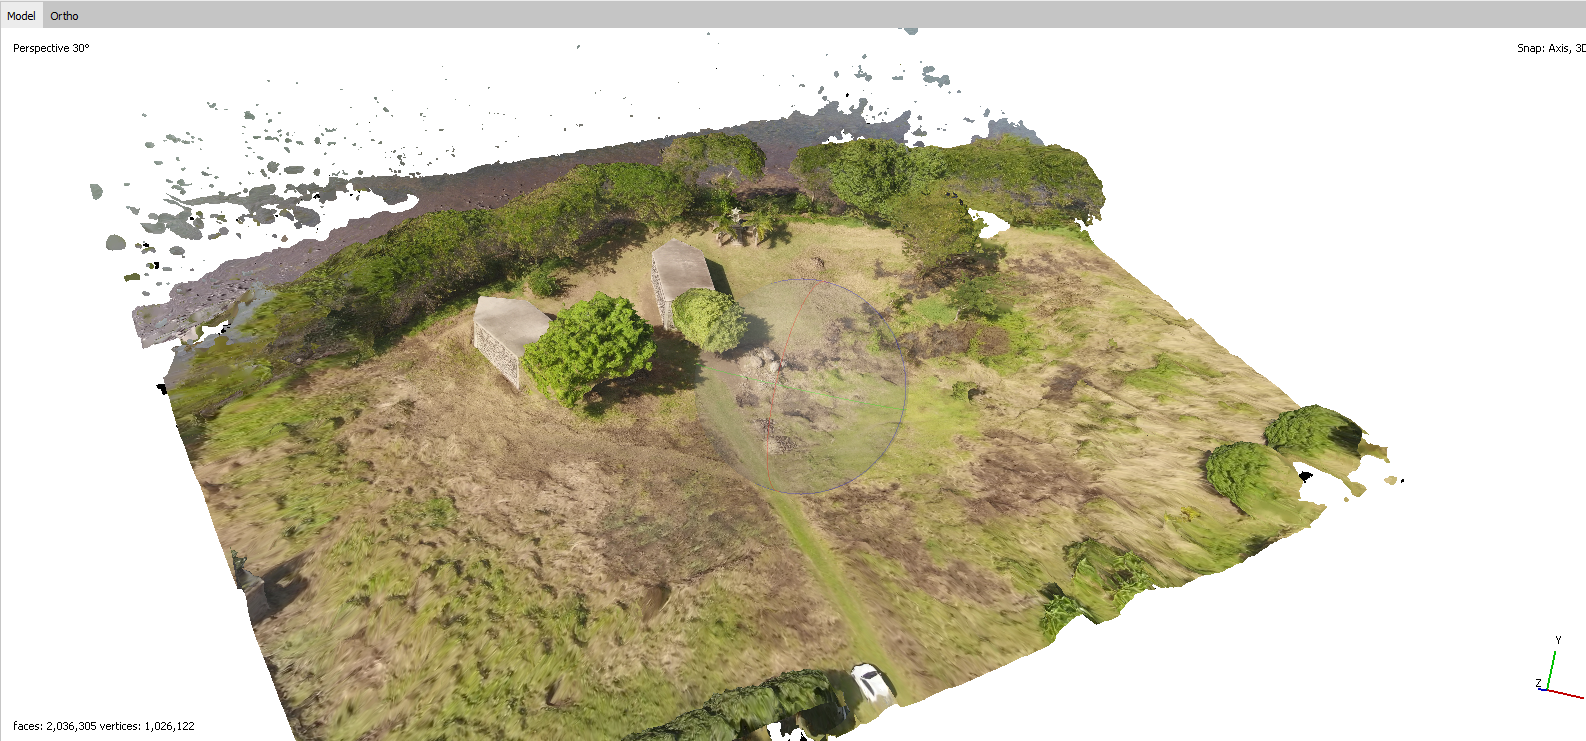
Here, the drone was forced to work in sections. Here are the different views. The work to come will be to assemble the 3D file fragments.
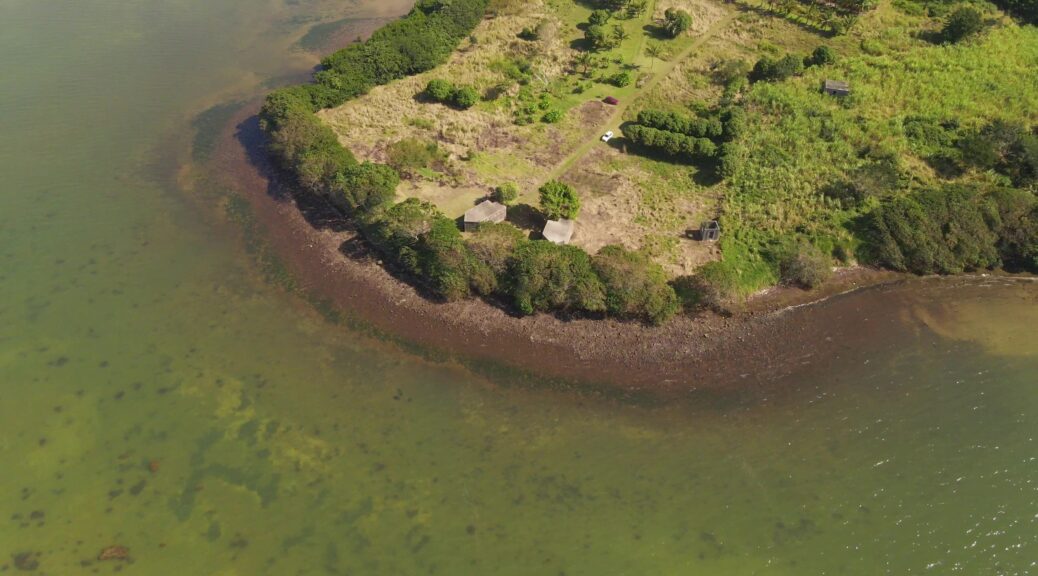
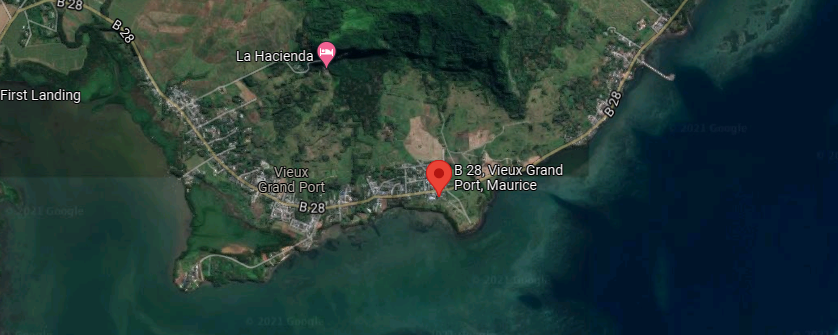
Location
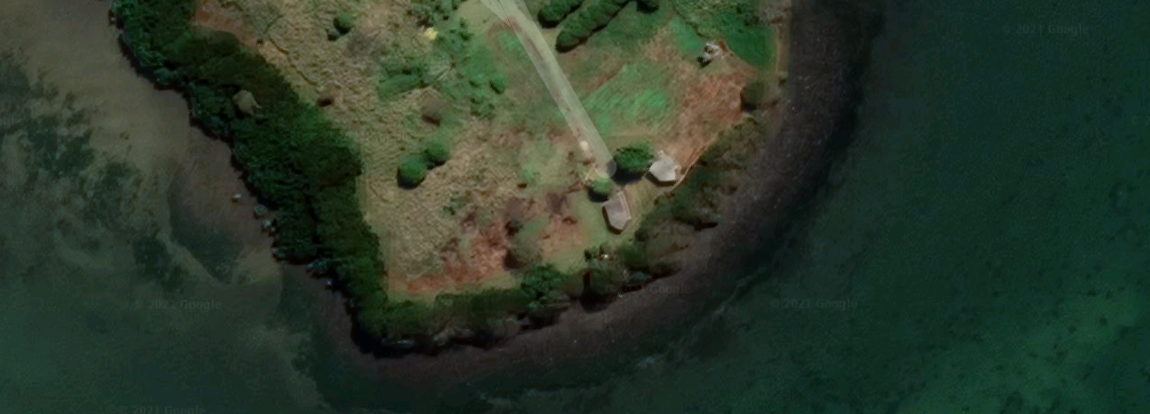
We will work from a drone survey done at the location Batterie de la Reine situated here : -20.375756949812796, 57.728543193103164

extraction of images
For each segment, we use the free software Free Video to JPG Converter (https://www.dvdvideosoft.com/products/dvd/Free-Video-to-JPG-Converter.htm) to convert the movie to jpg images.
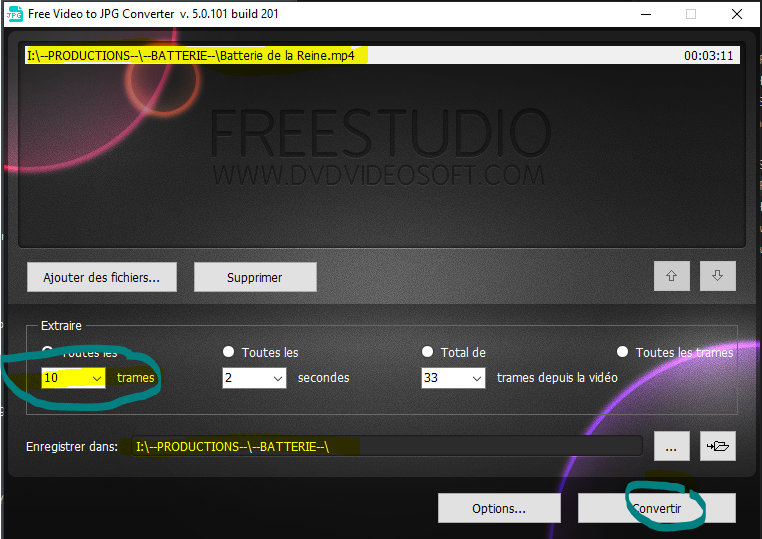
The choice of the number of images depends on the length of the sequence and the movement of the drone. It is therefore necessary to make tests according to what has been filmed. The idea is to have images that follow each other in a fluid way, but still, not to have too many so as not to penalize the calculations.
In short, you have to test.
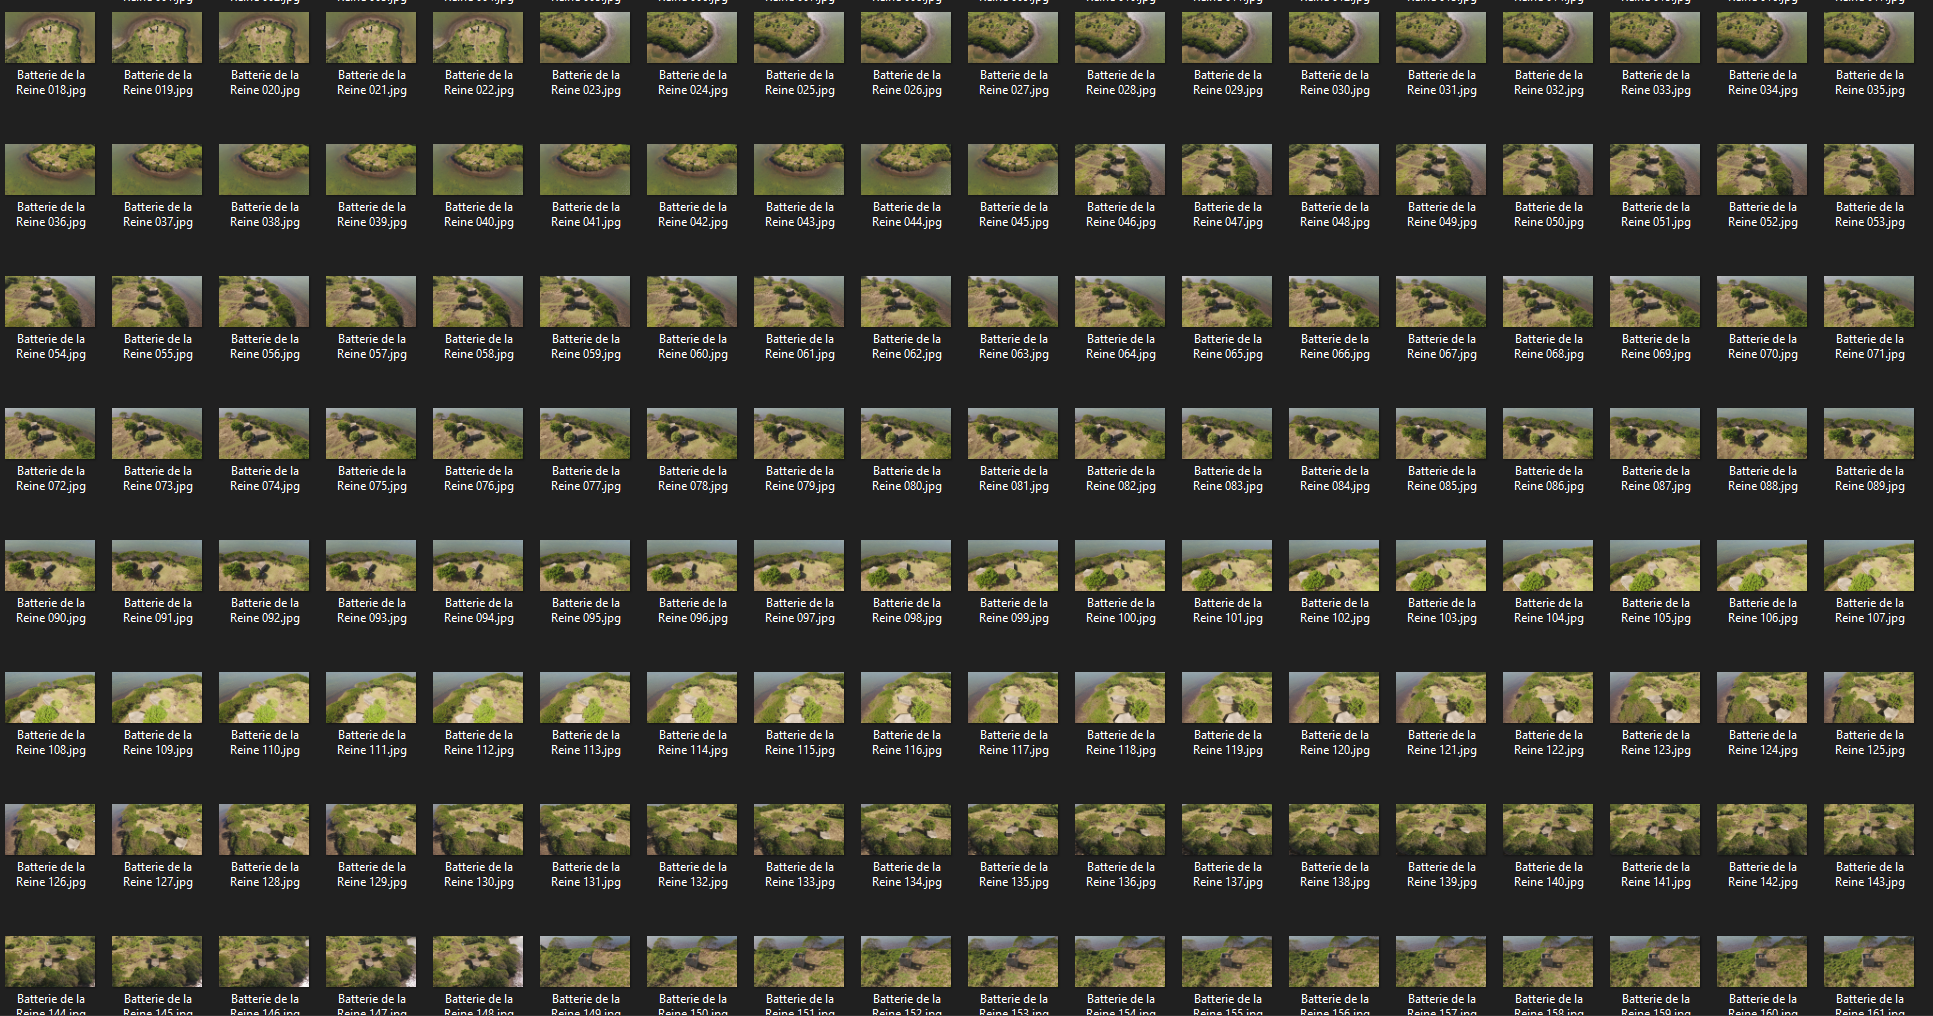
The extraction creates a large collection of images. Beware, photogrammetry consumes a lot of storage space, it must be planned in advance.
Metashape
We will use Metashape, Agisoft’s flagship software, one of the best for photogrammetry. It can be loaded here. https://www.agisoft.com/
The workflow is quite simple, just let yourself be guided by the menus.
Open Workflow Menu
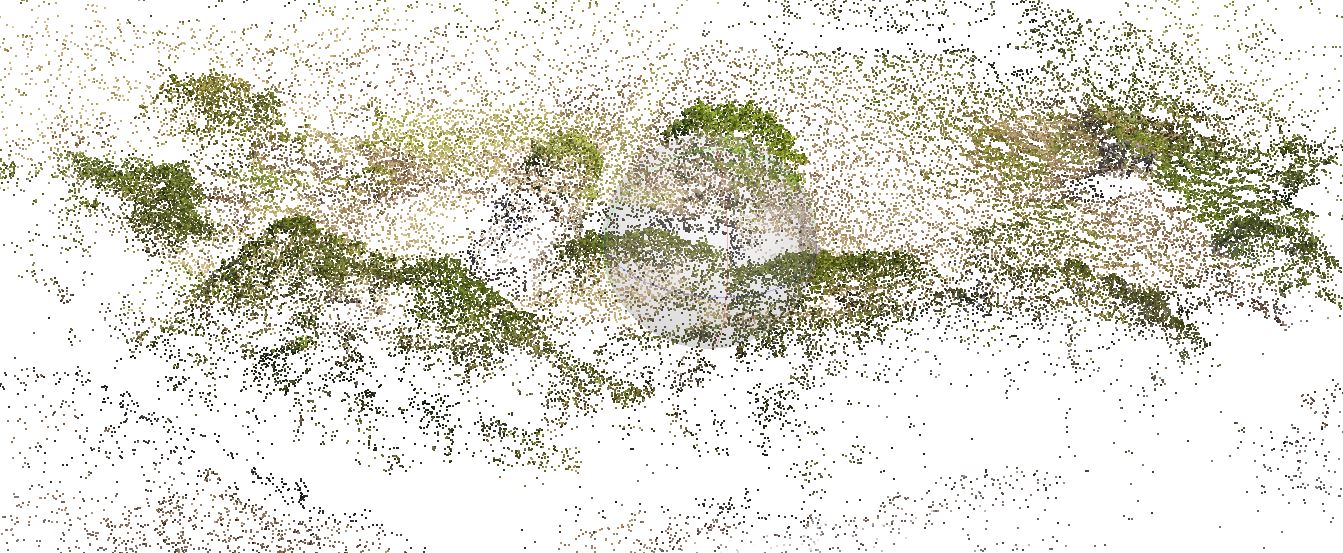
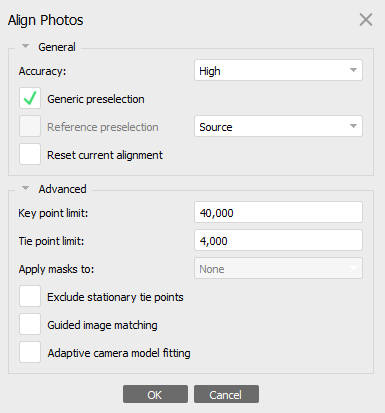
Then compute Align Photos
Operate as followed
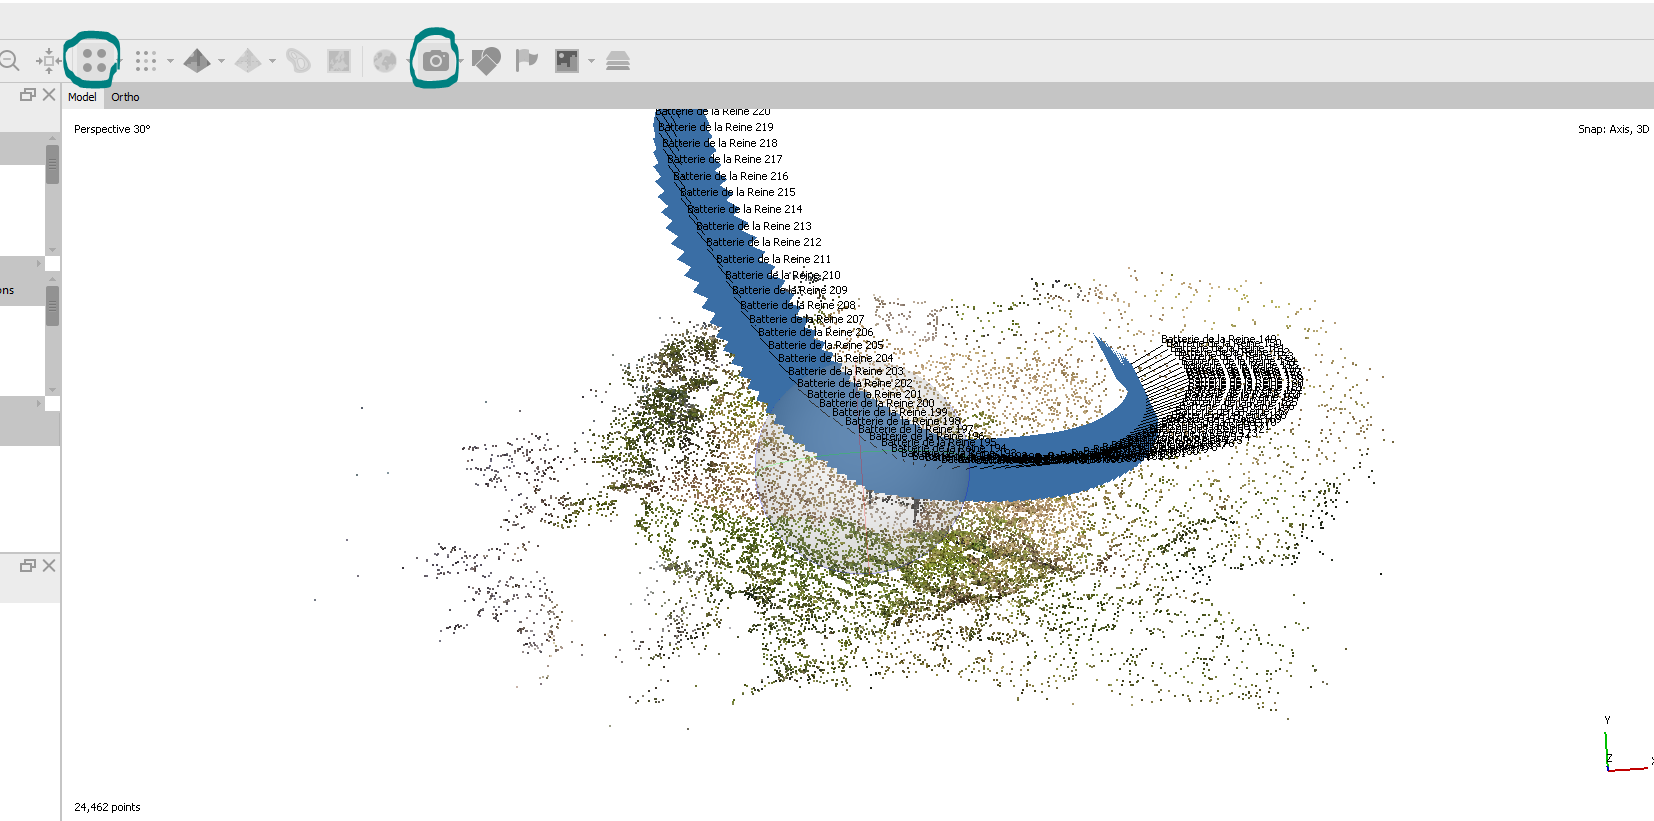
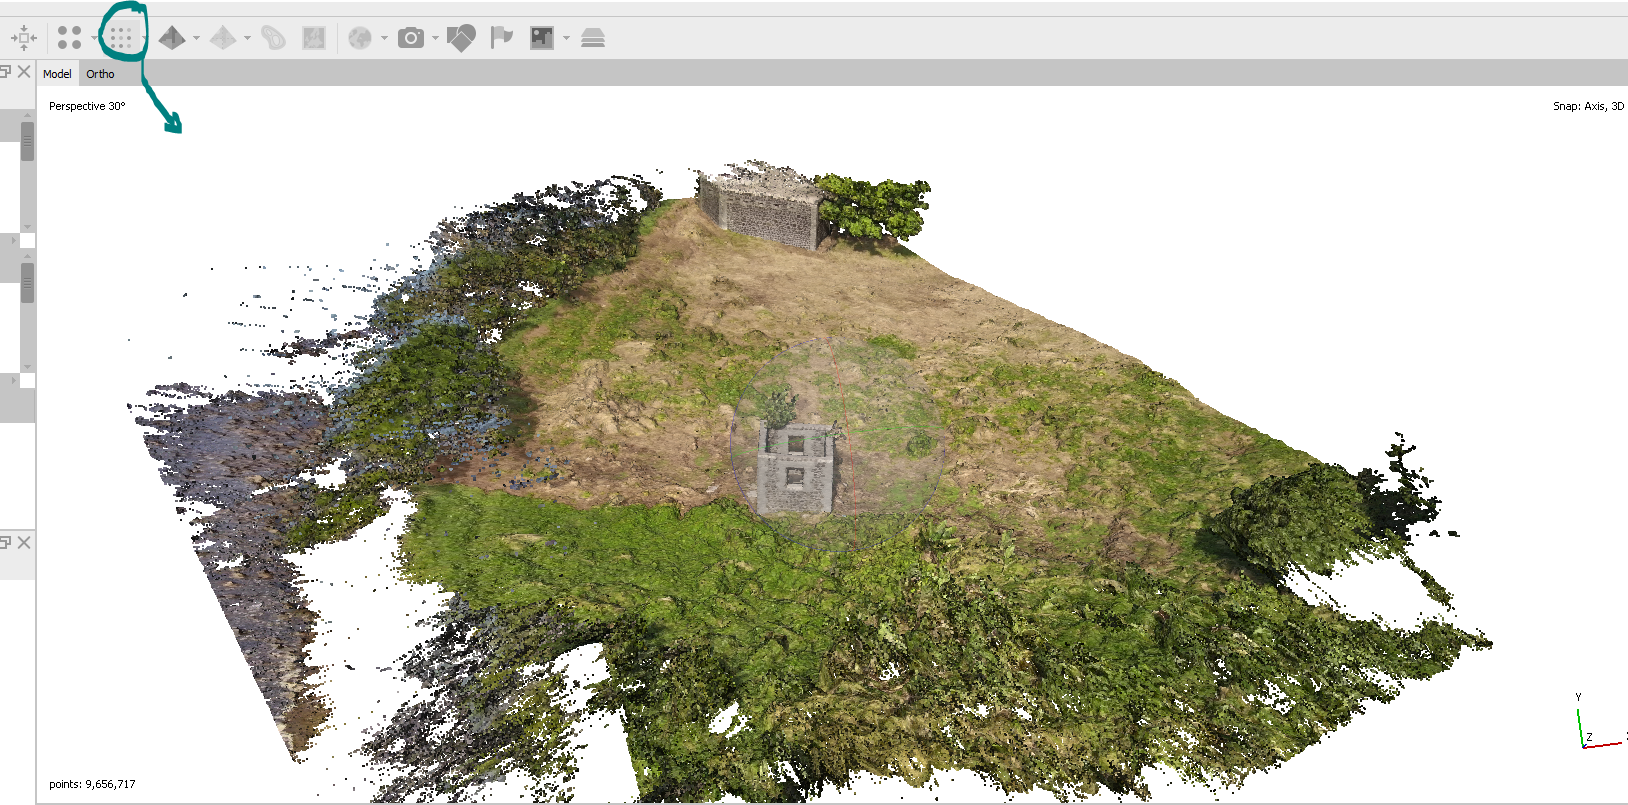
You get a light CloudPoint. To view the camera path activite Show Camera button.
Go back to workflow and activate Build Dense Cloud
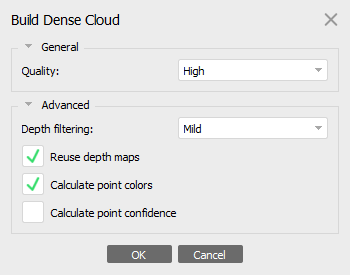
To visualize the result Click on Dense Cloud button
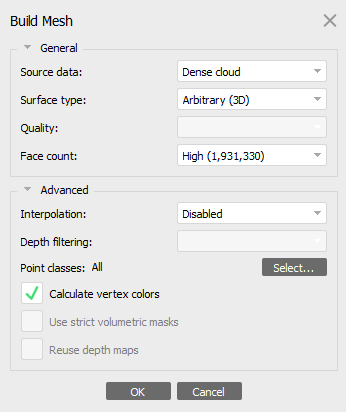
Then back to Workflow and choose Build Mesh
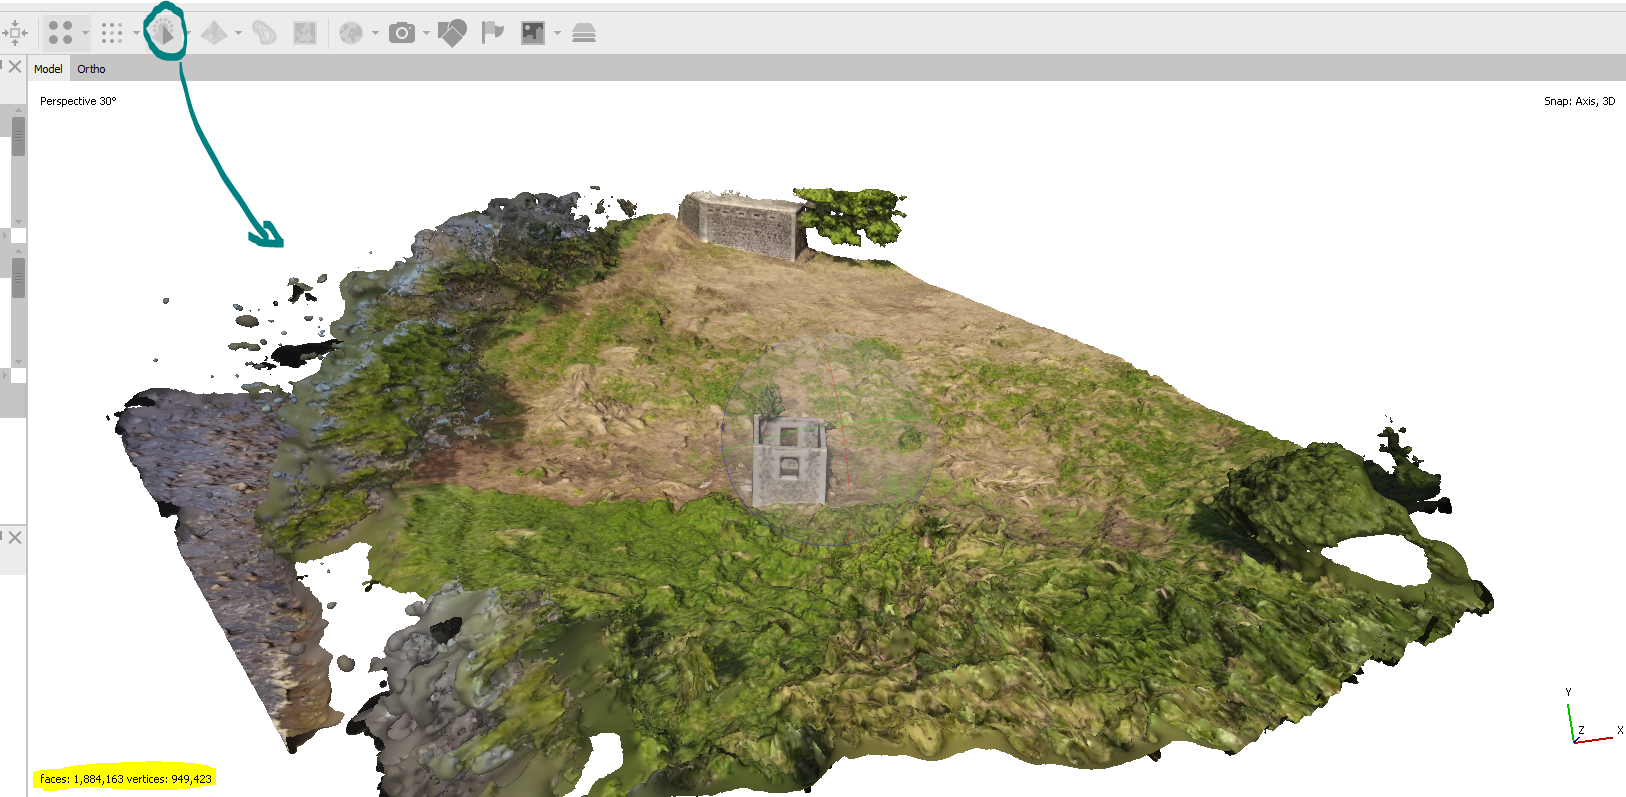
To visualize the result Click on Model Shaded button
Last step, go back to Workflow and click on Build Texture
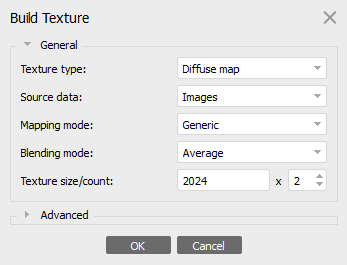
To visualize the result long Click on Model Shaded button to activate Model Textured button.
Calculating other parts
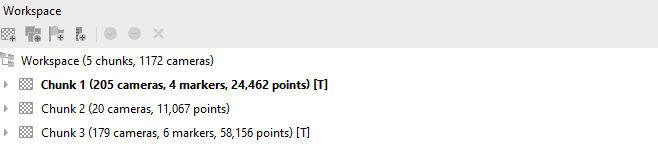
In the Workspace, add new chuck, and then restart the process with a new set of photos
Assembling parts
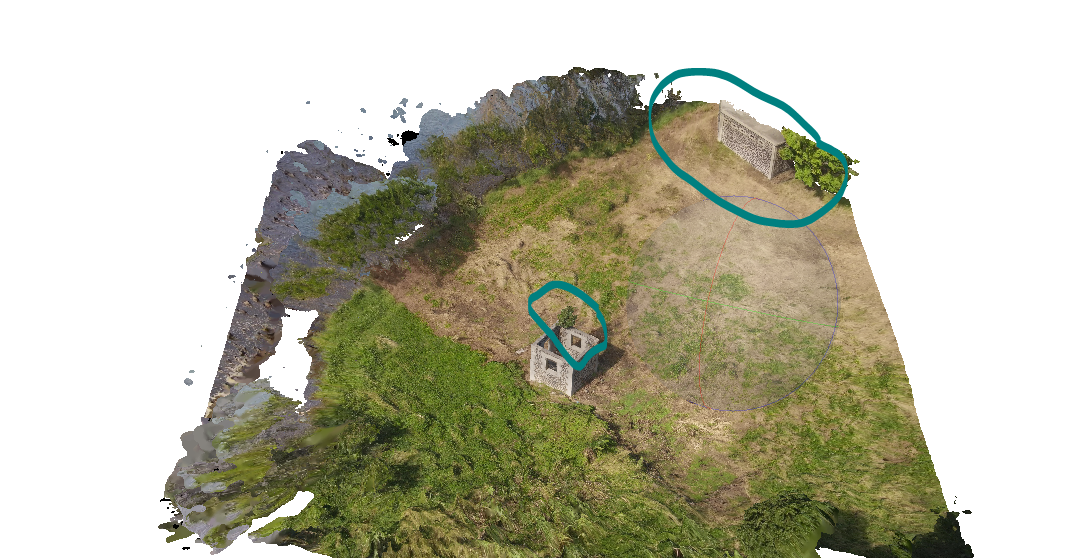
To assemble, we need to choose common geometry between the two Chunks.
We have this in the first one
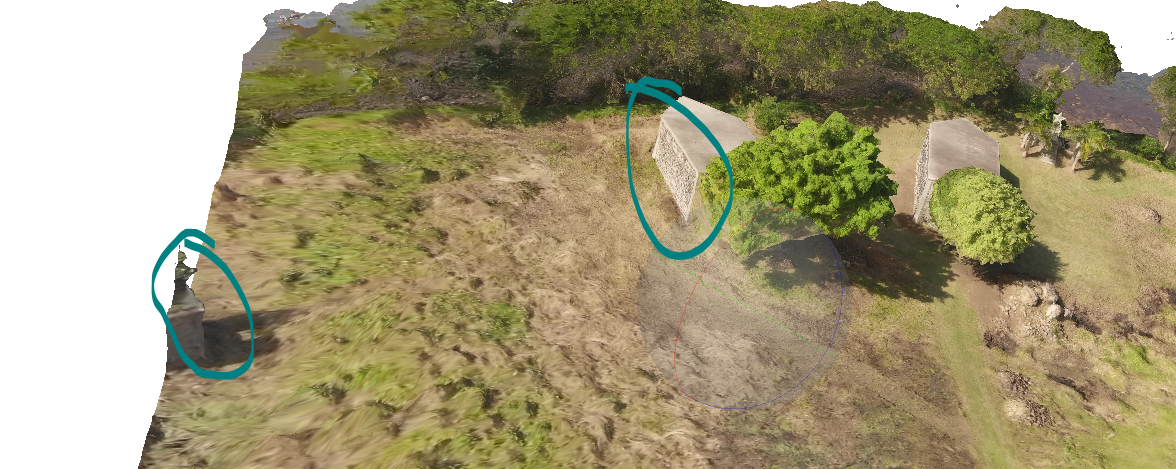
And that in the second chunk
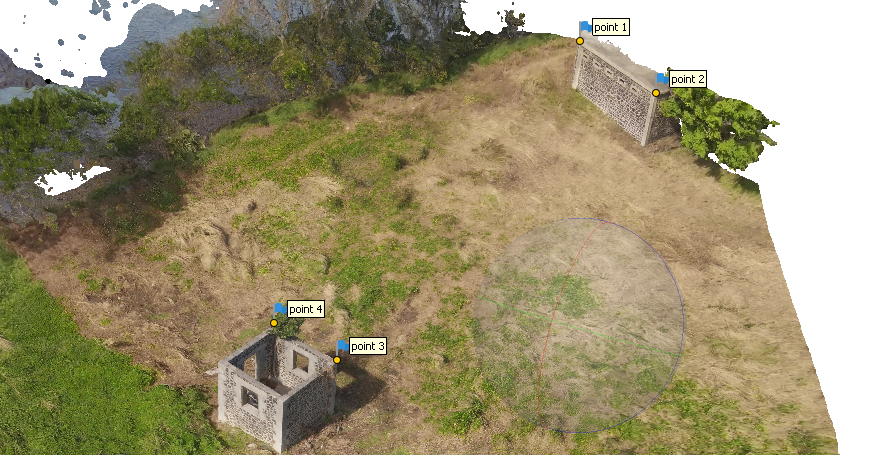
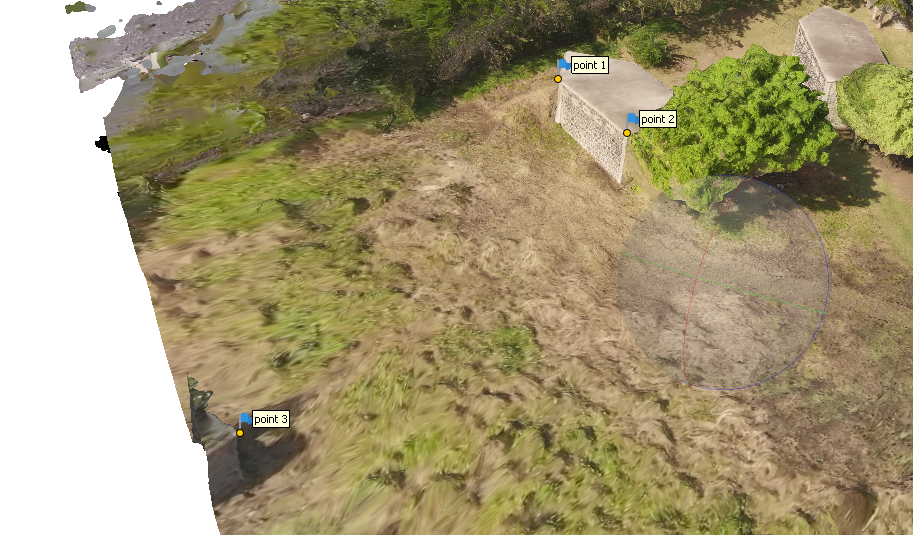
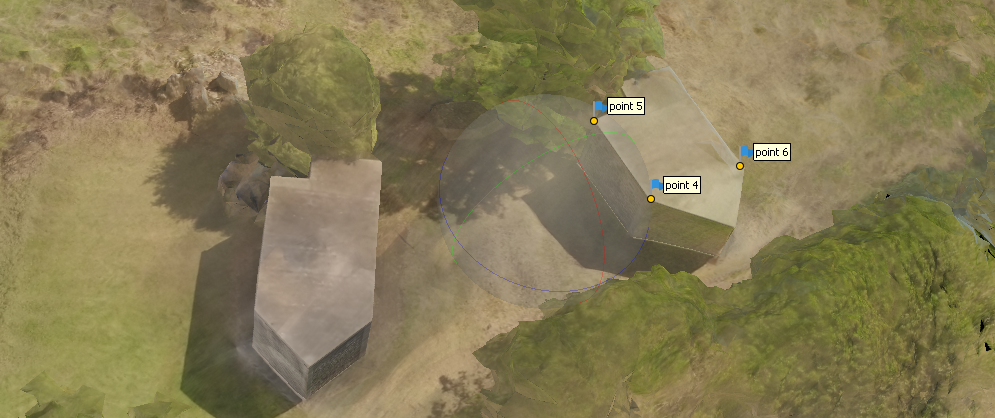
Adding Markers
We then add markers on both common geometry on each chunk, with the same name and same order. Right Click, add marker.
When done go to workflow, Align Chunk, choose Marker Based
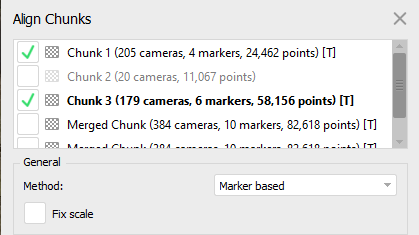
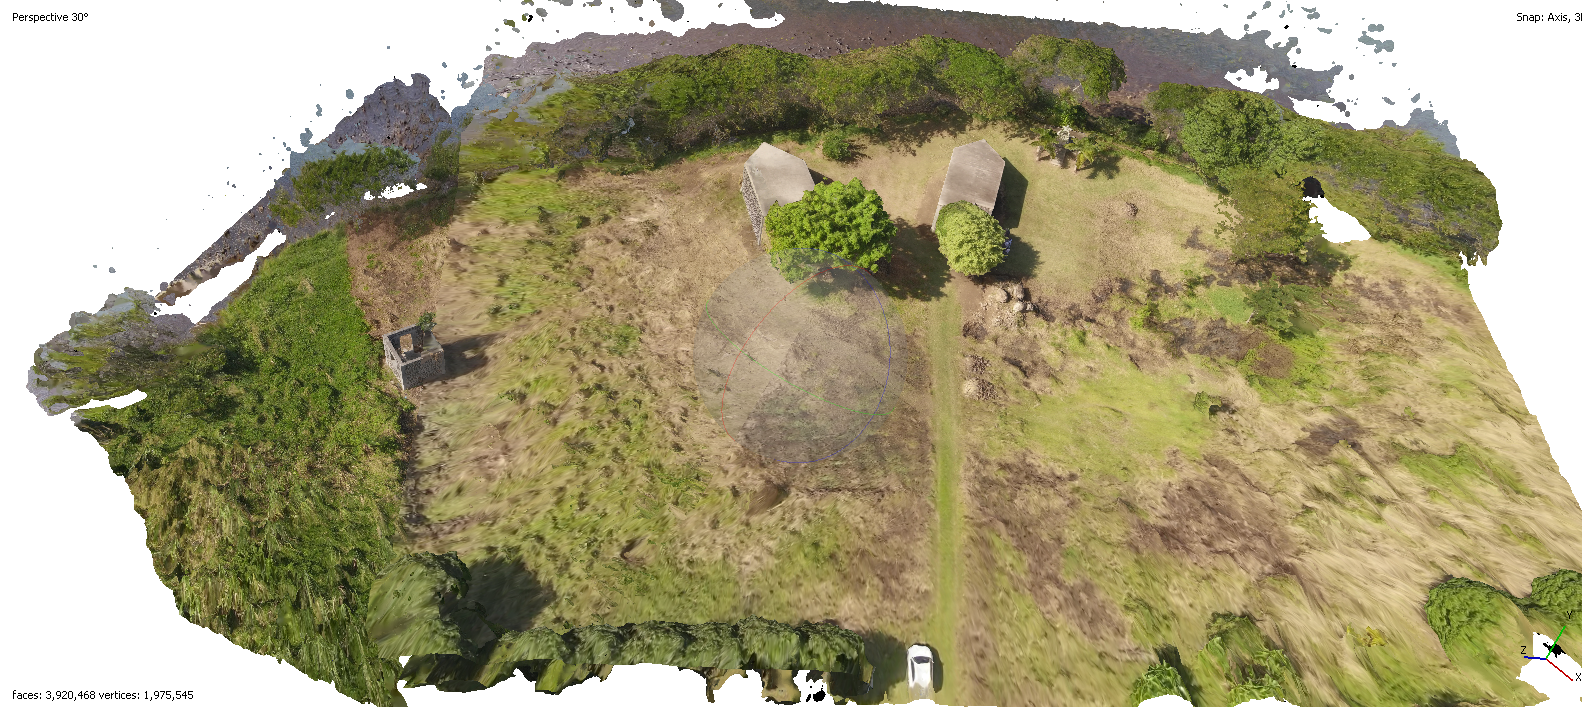
It results a Merged Chunk in the WorkSpace.
![]()
The two parts are combined
Before, clean up what is not too good by using selections tools and delete to erase unwanted polygones.
To have a Merged model go to WorkFlow Merge Chunks
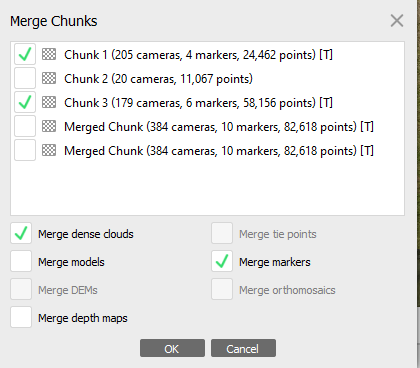
Then, remesh and recalculate the texture.
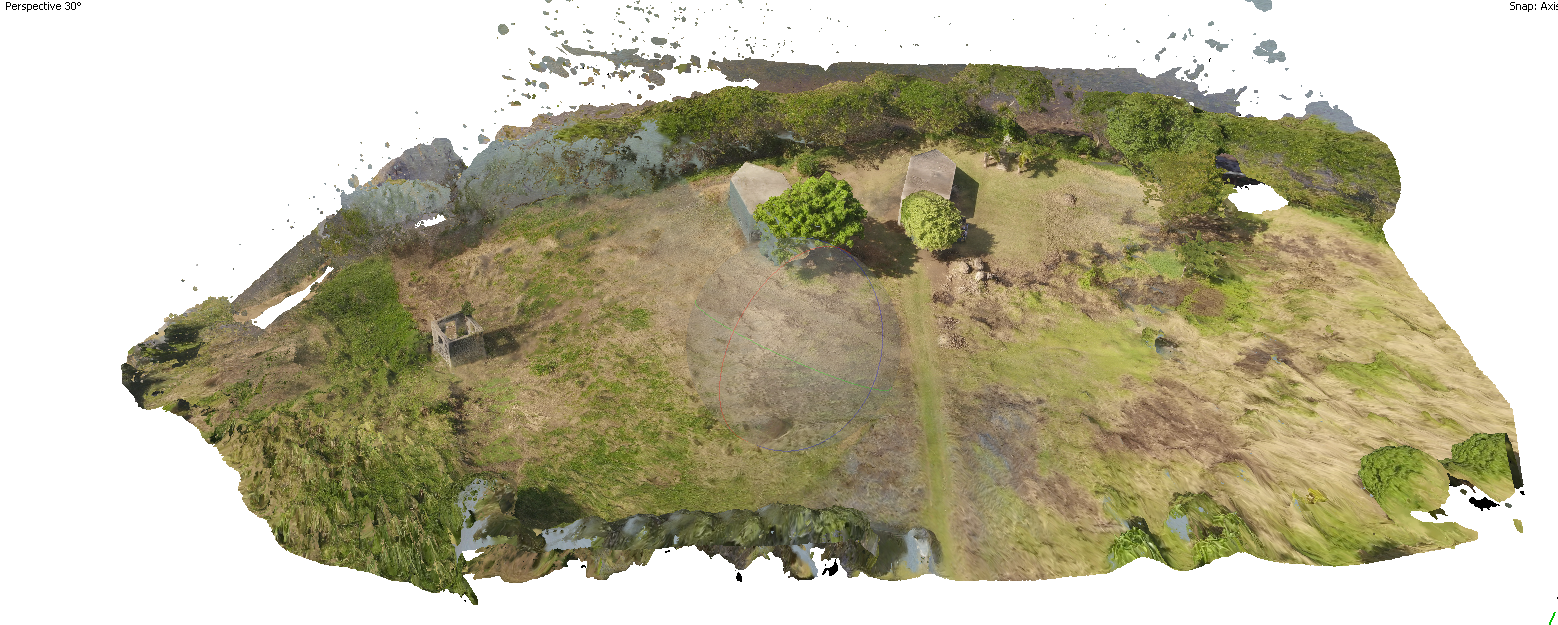
We can do a bit more of cleaning
The easiest way is to select what needs to be kept and then invert selection
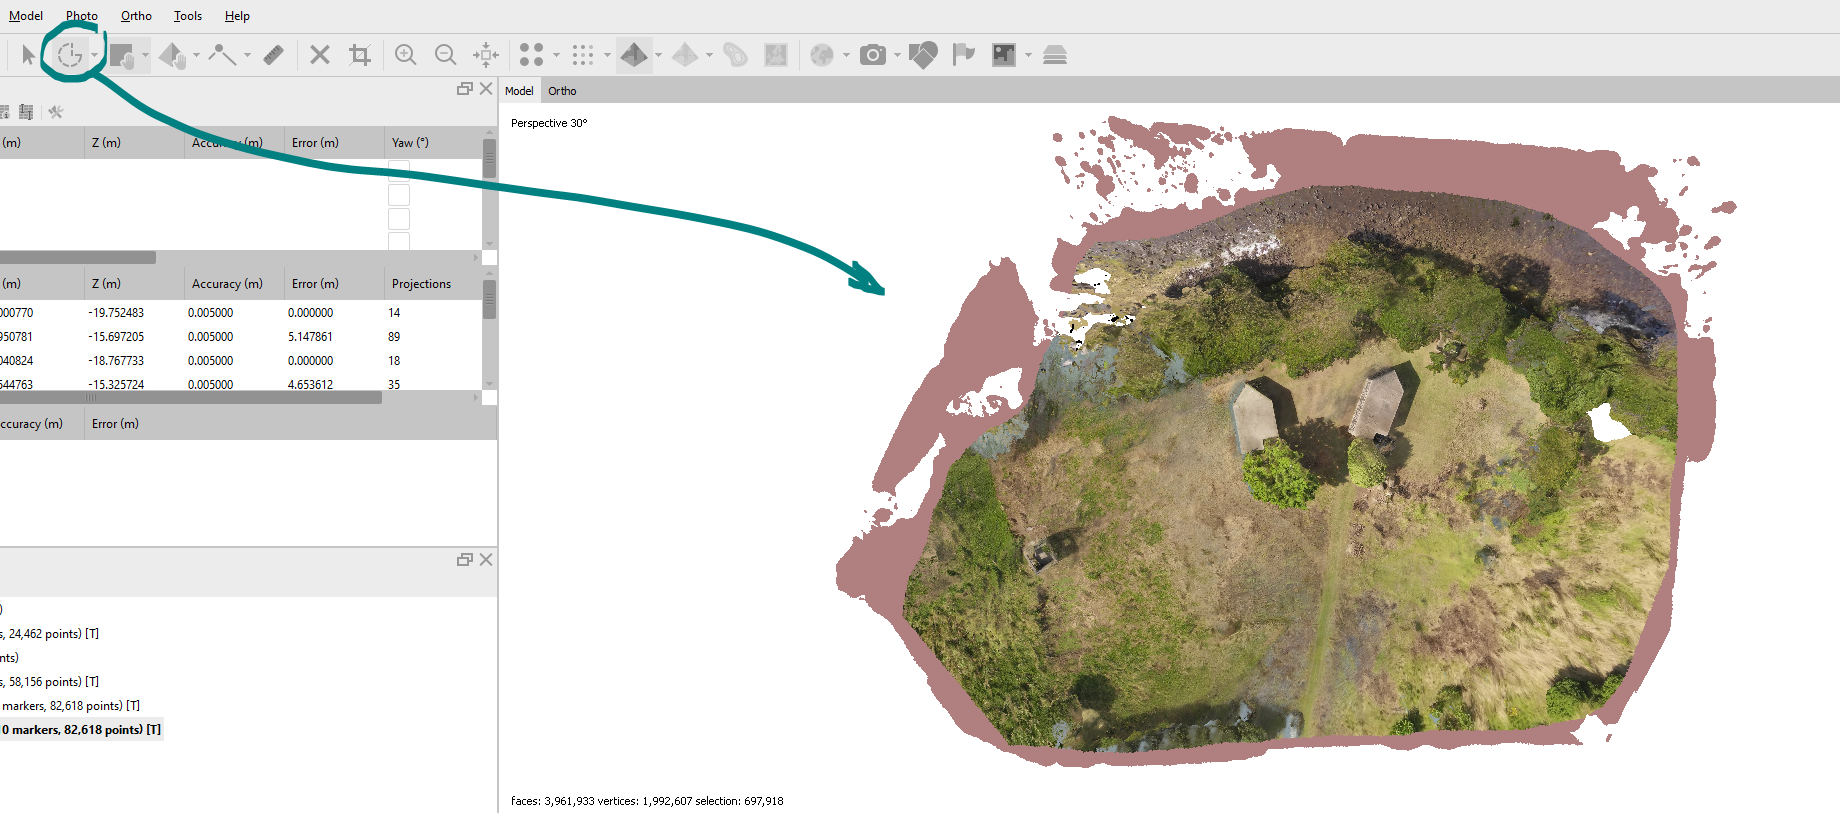
Scaling the model
Remove all markers (select and right click remove markers) and add new one on the known geometry.
We add 3 markers which will be working as orthonormal reference frame.
Then we change the values of the points to input the ones we want

Update !!
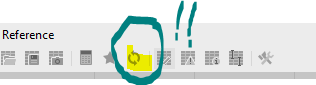
If not it won’t work
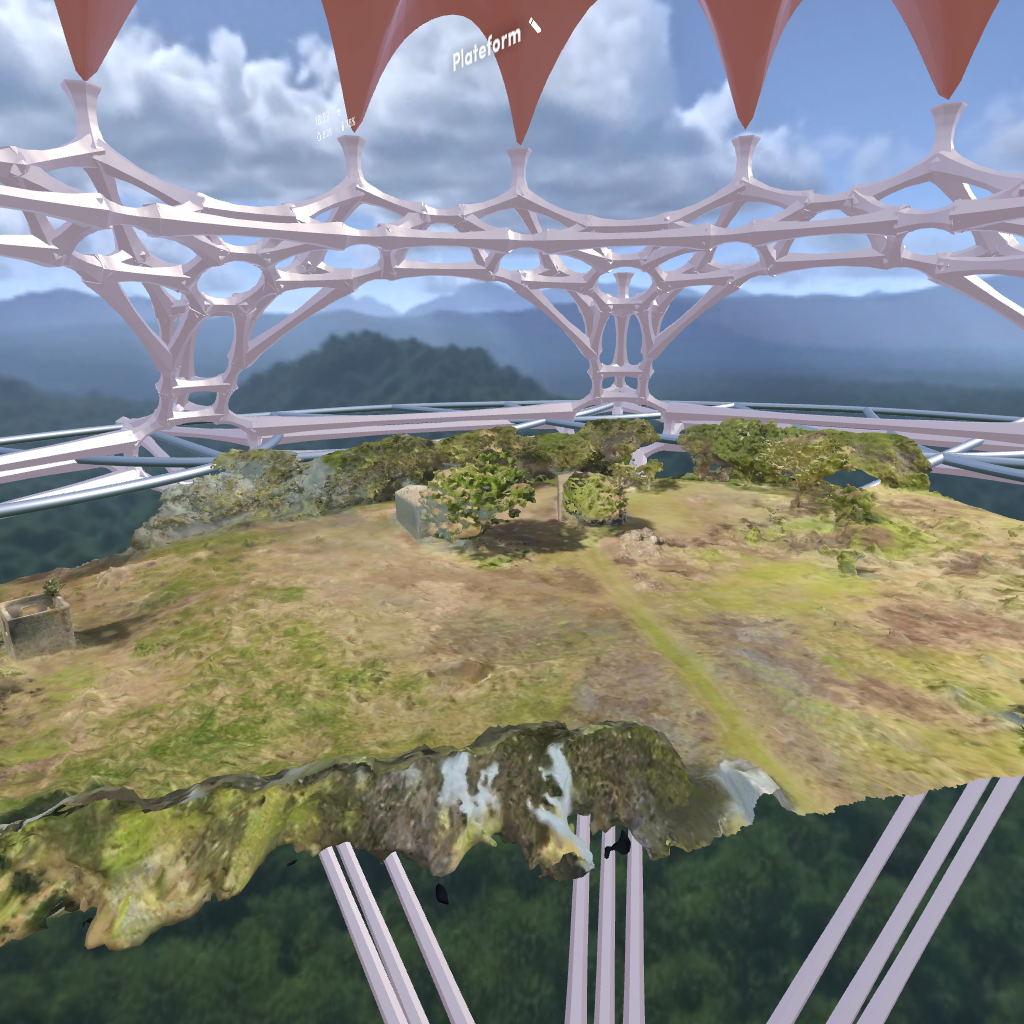
Exploring in VR and AR
The model is ready to be exported. Sketchfab
Batterie de la Reine MD by Laurent Lescop on Sketchfab
It is then possible to visualize it in VR and AR
It’s also possible with Spatial.io.
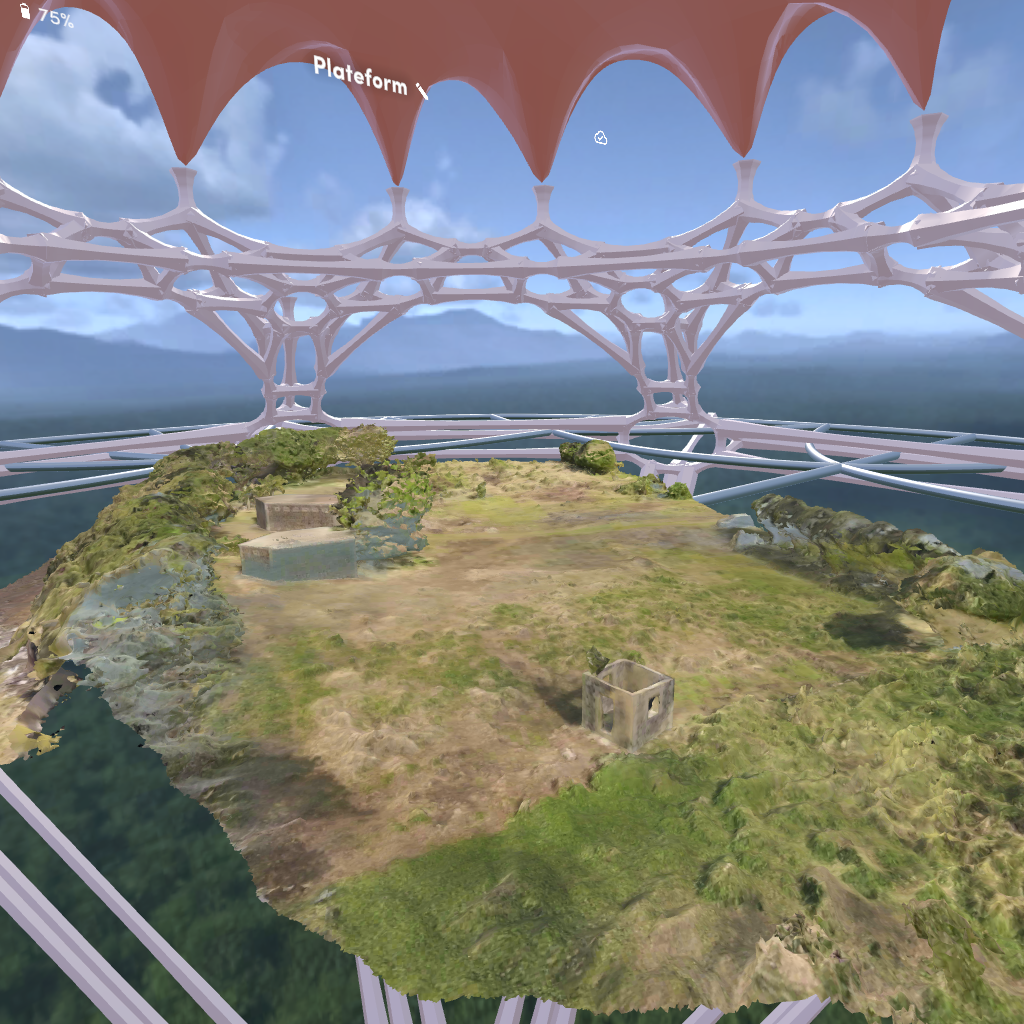
Experiment it virtually VR/AR with Spatial.io HERE and the other version HERE