The objective of this tutorial is to acquire fundamental knowledge of Grasshopper through a simple definition that employs various functions and components. The intention is to construct an entire bridge starting from a single point, which will be converted into lines, surfaces, volumes, and ultimately, a bridge. Since all the stages are parametric, it allows for endless possibilities to generate countless variations.
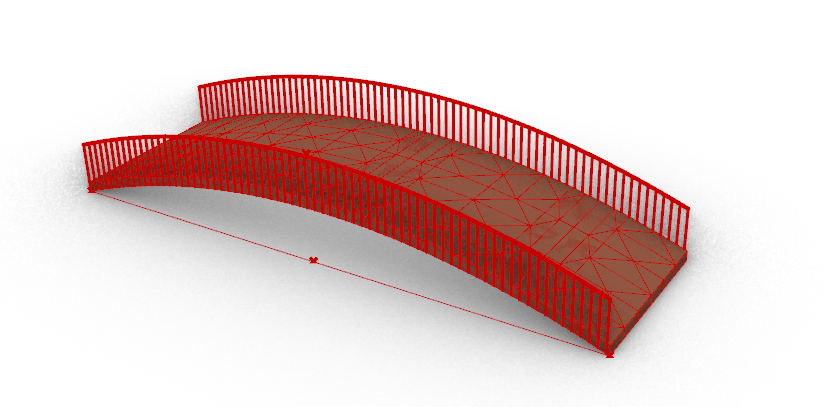
Bridge Length
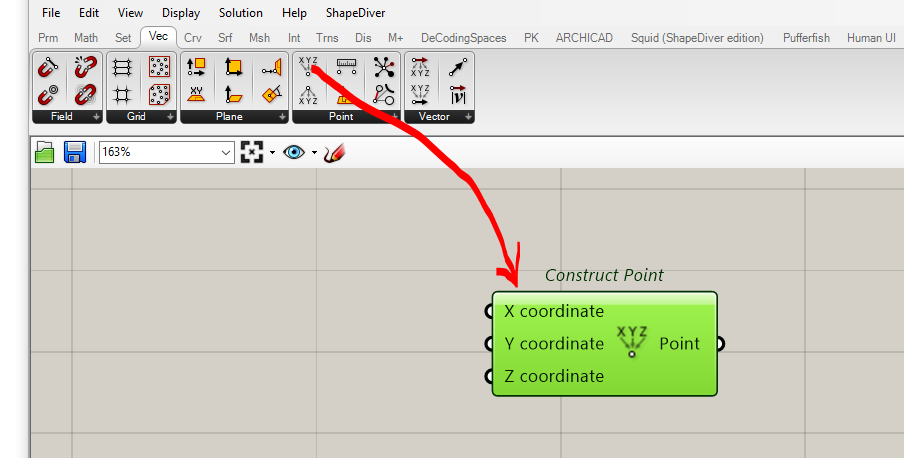
Let’s start with a point set in {0,0,0}
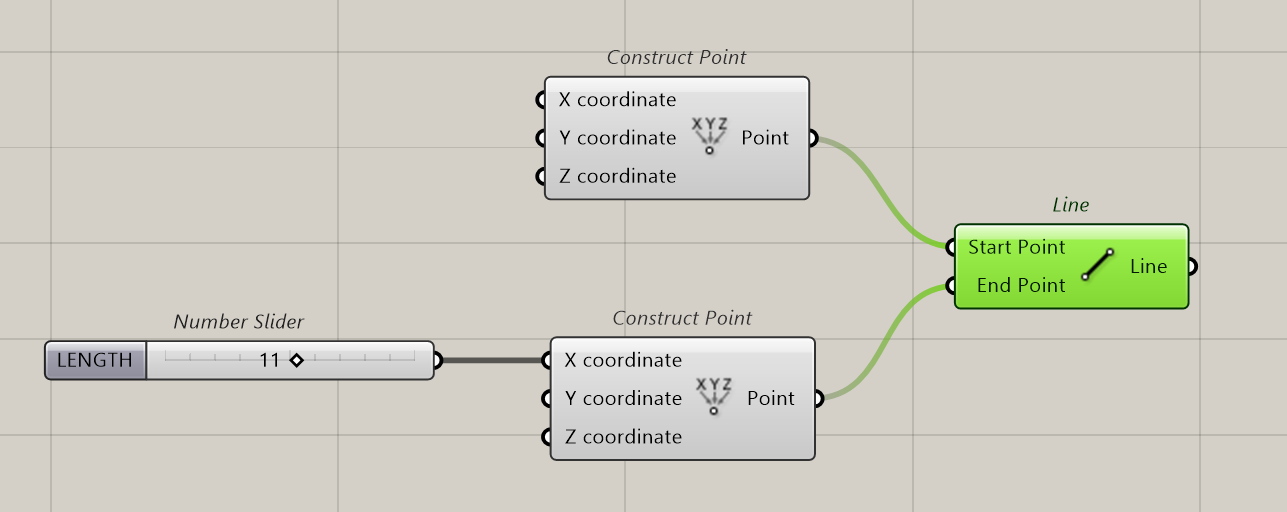
The bridge will need 3 points, one to start, one to end, this will be the length of the bridge, and in between a point to design the curvature of the bridge. This point will be on the line drawn by the two others and will be able to move along the line and in height.
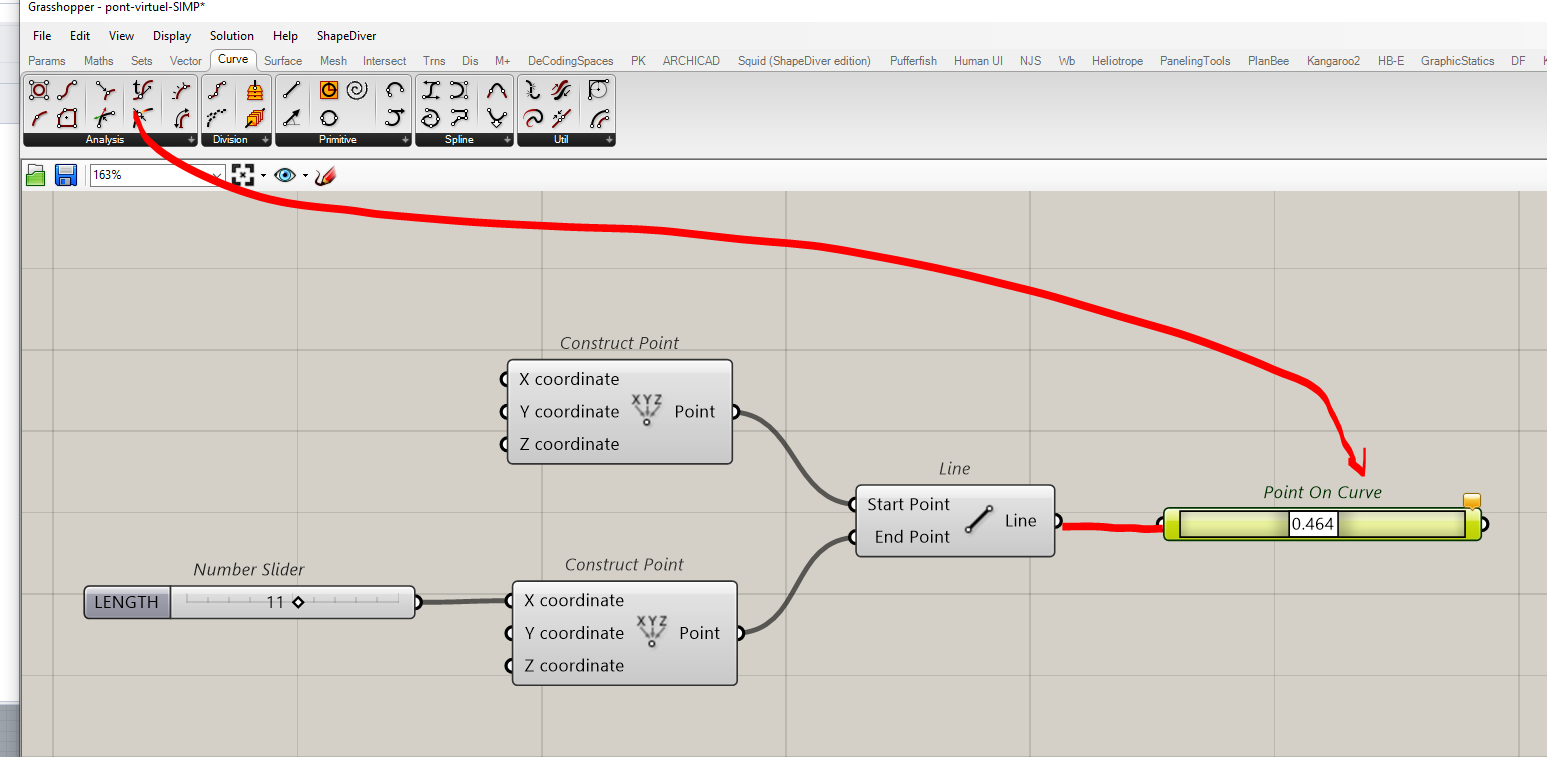
Now let’s create the point on the line
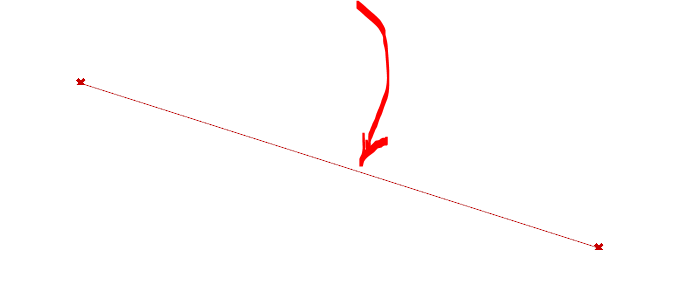
Add a Point on Curve
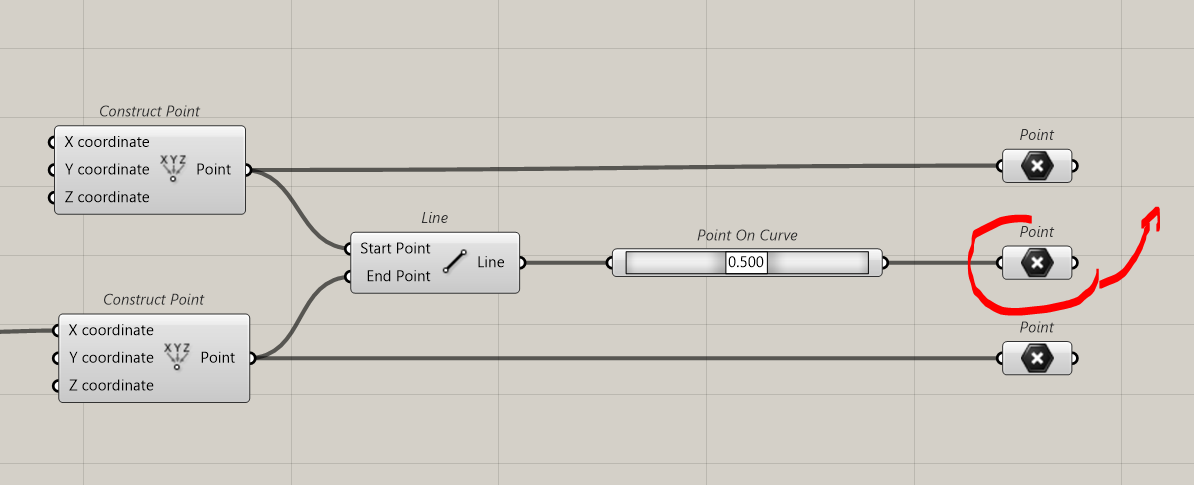
We have our 3 points.
Bridge height
The middle one will be raised create the arch. Then, a curve is created linking first, raised midpoint and last
Bridge width
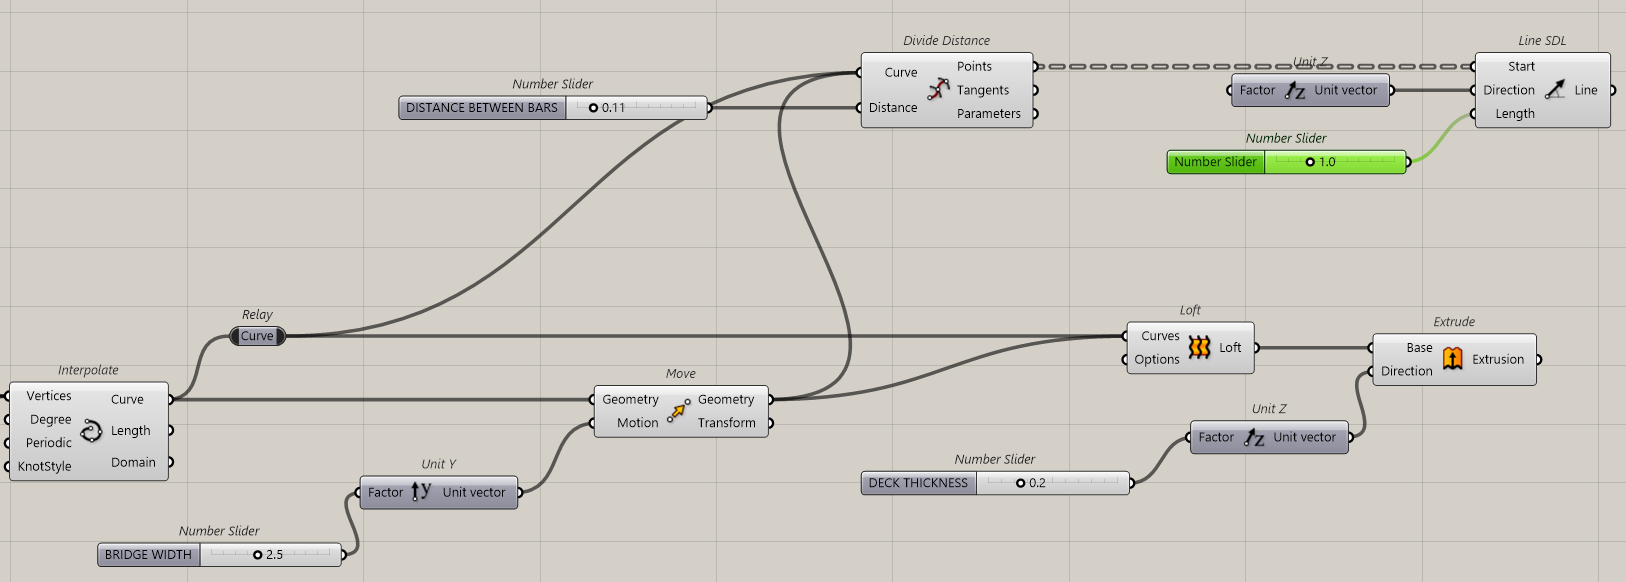
The curve is copied horizontally to obtain the bridge width. This is done by moving the curve Y direction.
Add a Loft to create the bridge deck, Nota, the Relay is put to have a better presentation, create a Relay by double clicking on the Wire.
The bridge can have a thickness by extruding the loft surface.
Railings
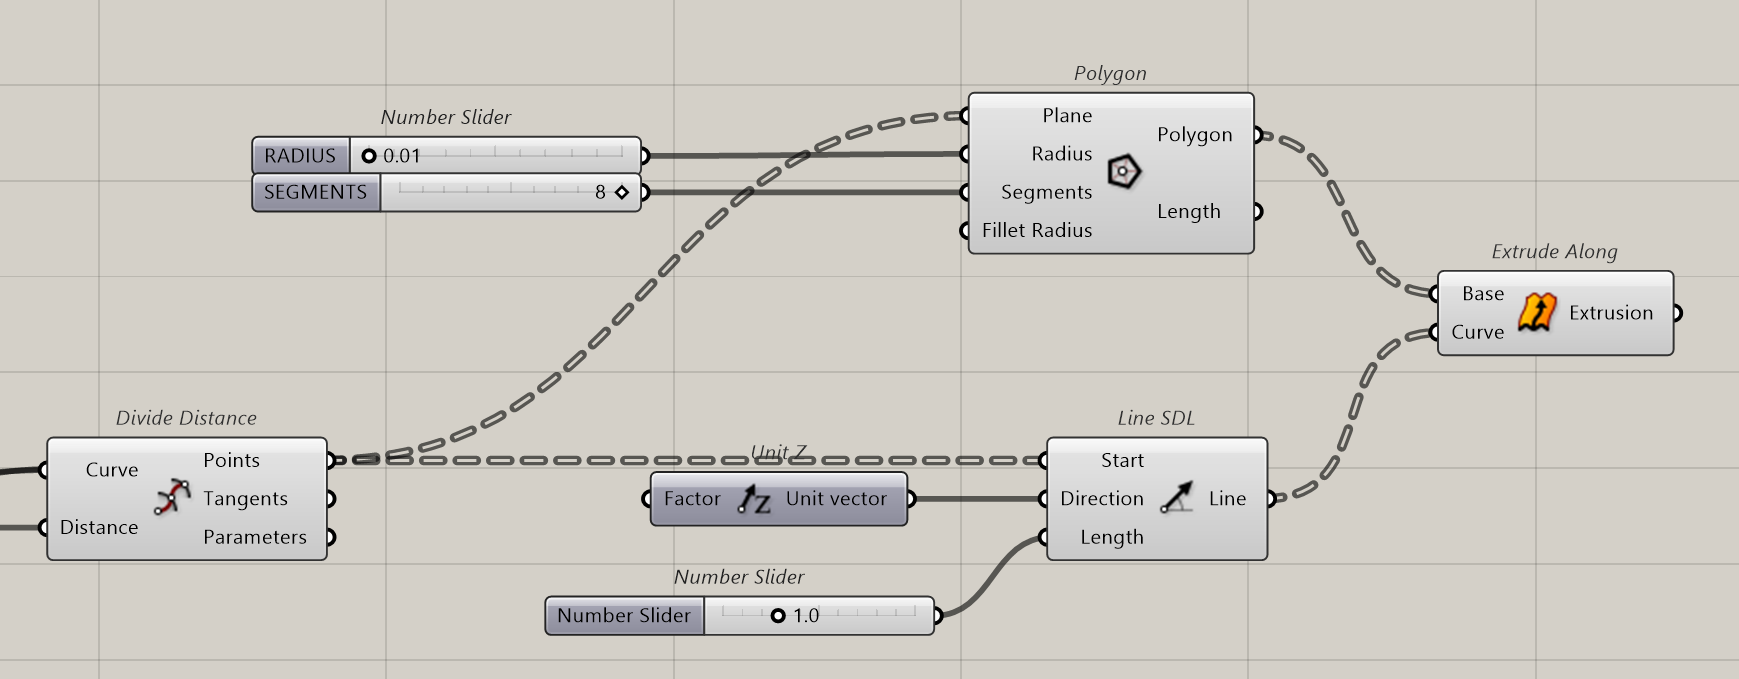
Let’s first create the vertical bars that hold the handrail
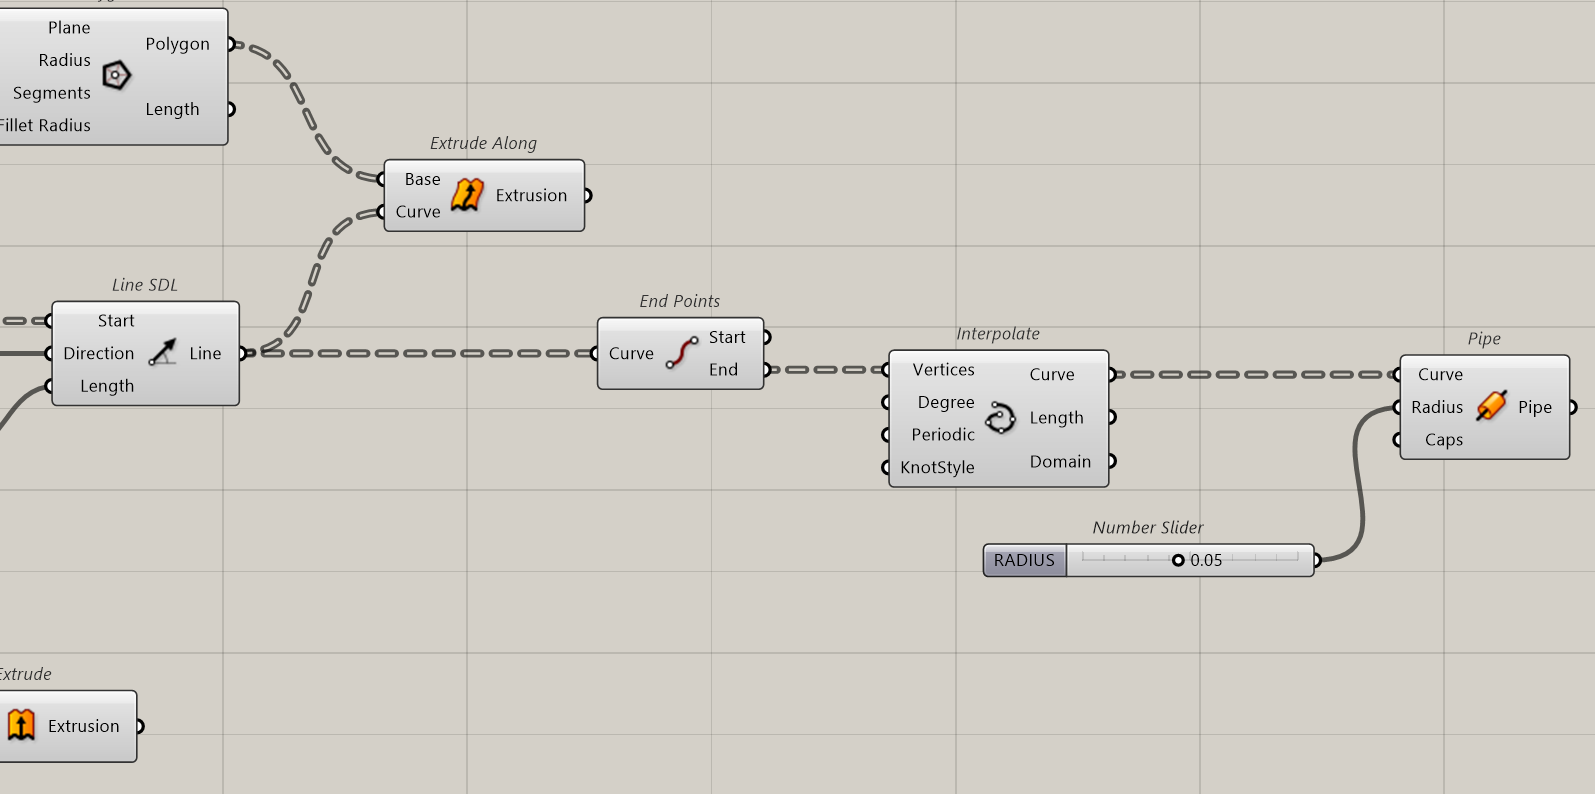
Finish by transforming lines into solid objects. Here, extruded polygons are used, this is one solution among many. For the handrail, it’s also possible to use a Tube which is easier…but creates more polygons.
Handrail
Whole definition
The bridge at its first definition is done
Feedback
Kindly complete this form to provide feedback on this exercise.
Thank you
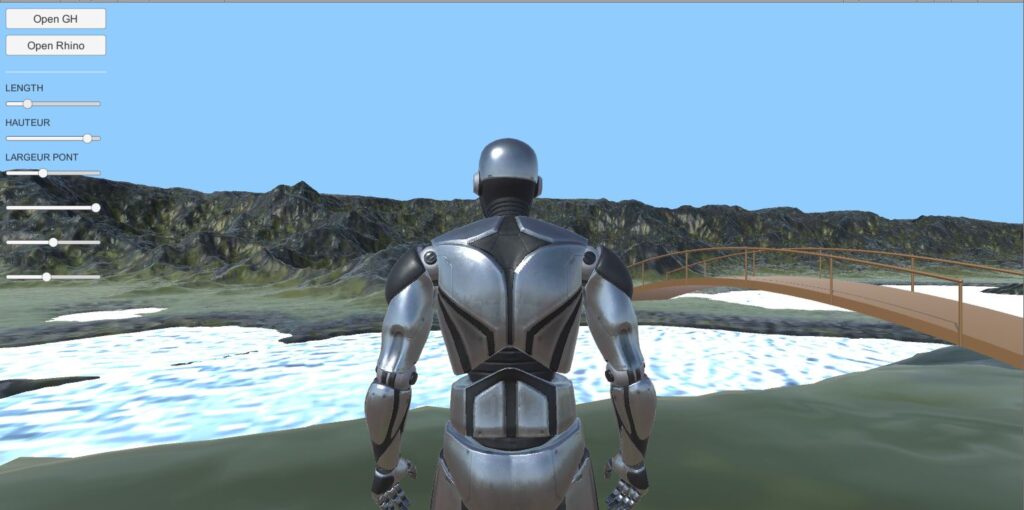
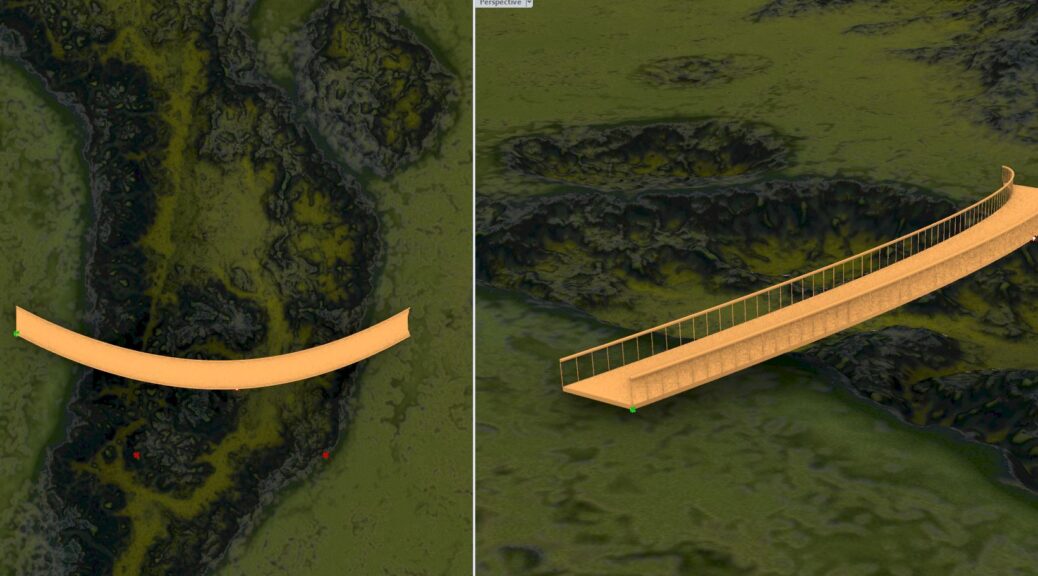
to Follow…inserting Parametric Bridge Into Unity.




In summary of what is presented above, the software seems very relevant, technical and very complex too. As previously mentioned by some students we have not really had a course on the use of the software itself and it would be better I think to have some introductory course apart from the youtube videos in order to better understand how to do certain exercises depending on the work required. It is true that the video can sense no doubt to be beneficial but online it is more complicated to have more relevant exchanges in order to fully understand the use of the software.
Thank you for your understanding.
Grateful if we can have a class on this module for better understanding of the software. Previous courses didn’t go into detailed explanation. We only had an introduction of the software.
Je débute dans Grasshopper, donc j’aimerais avoir plus de détails de l’emplacement des plug-in.
Comment modifié Interpolate pour le spirale.
-The steps with the photos are well explained.
-It is important to mention that the process might be the same but if the right progressive and orderly manner of giving information in grasshopper is not achieved, the desired forms will not be obtained. As such, it is important to mention.