More complex definitions
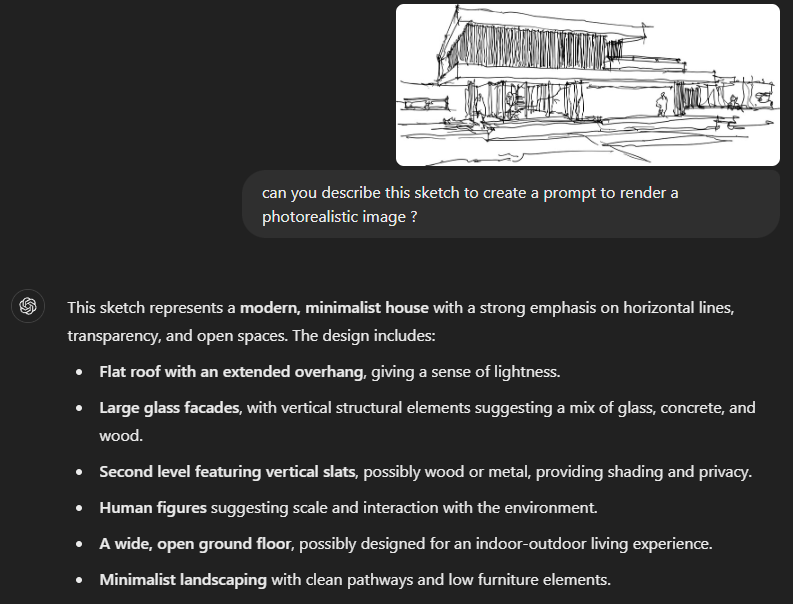
Sketch to render
Starting from a sketch. This sketch is given to ChatGPT to get a description that ville be transformed into a prompt.

Starting from a sketch. This sketch is given to ChatGPT to get a description that ville be transformed into a prompt.
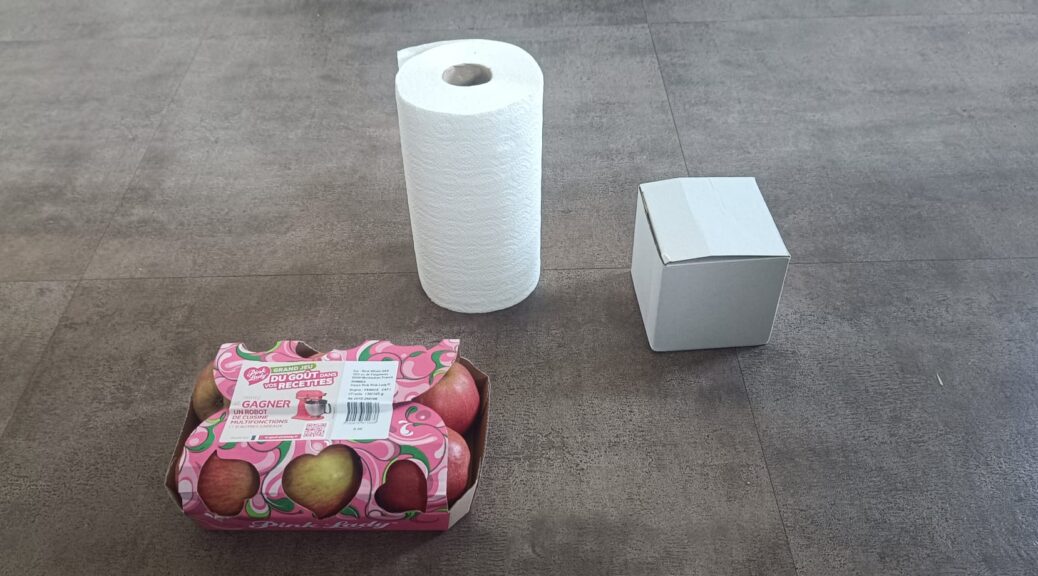
In this process, it is possible to start from a basic shape or even real objects and explore results using a controlled aesthetics’ without LoRA.
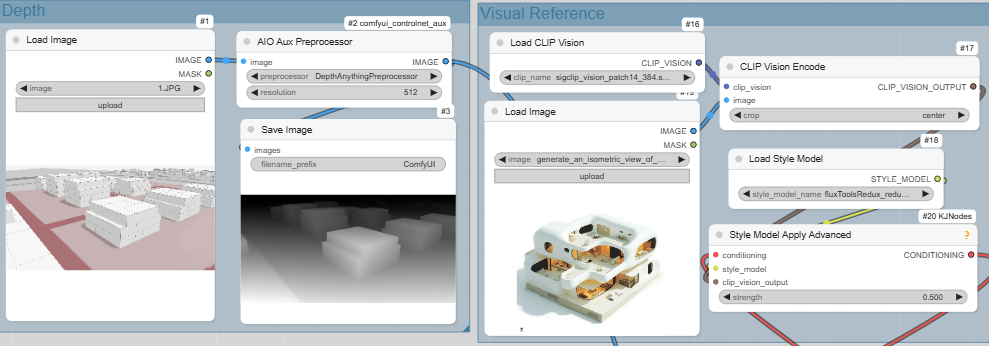
A basic 3D shape is provided along with a reference image. The shapes and style of the image will be used to the final rendering.
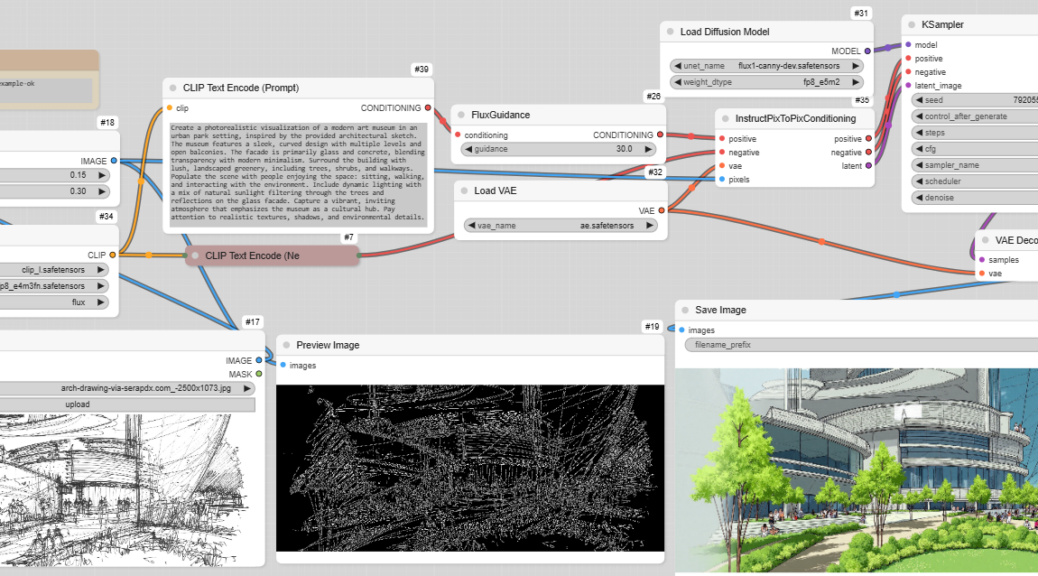
ComfyUI is a user interface framework designed to streamline the development of intuitive and visually cohesive graphical user interfaces (GUIs) for software applications. It provides developers with a suite of pre-built components—such as buttons, sliders, and text fields—along with tools for customization and event handling. By abstracting much of the complexity involved in UI design, ComfyUI enables the creation of professional, user-friendly interfaces with greater efficiency, even for those with limited expertise in front-end development. Its focus on simplicity and functionality makes it a valuable resource for enhancing the usability and aesthetic quality of software applications.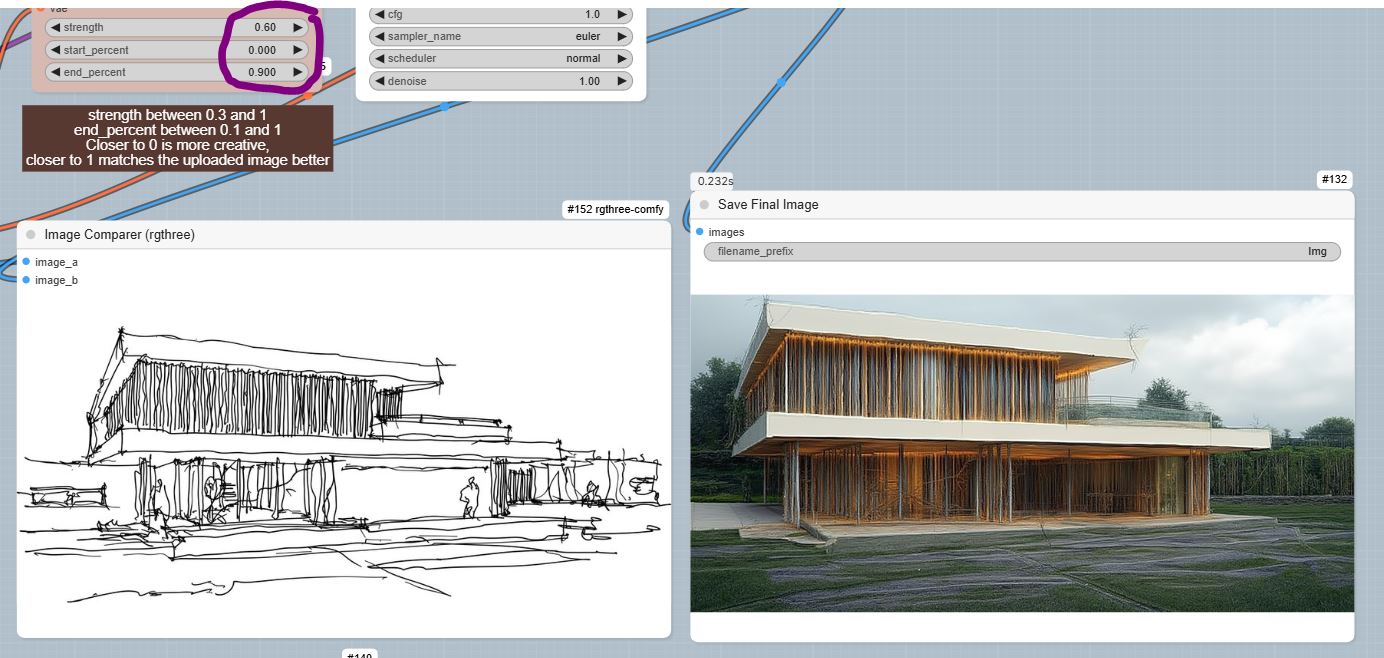 Continuer la lecture de IA-project workflow part07