Creating a Gaussian Splatting workflow
Gaussian Splatting is a novel 3D scene representation technique that’s revolutionizing novel view synthesis (creating new camera viewpoints of 3D scenes). It emerged as a state-of-the-art alternative to Neural Radiance Fields (NeRFs) in 2023.
Core Concept
Instead of representing scenes with neural networks (like NeRFs) or explicit meshes, Gaussian Splatting represents scenes as millions of tiny 3D Gaussian « blobs » that can be efficiently rendered using a technique called « splatting. »
The technique represents a significant shift from implicit neural representations back toward explicit, differentiable graphics primitives, but with modern optimization techniques that achieve unprecedented quality and speed.
Step one
Choosing the platform : NerfStudio https://docs.nerf.studio/
Nerfstudio: A Framework for Neural Radiance Field (NeRF) Development
Nerfstudio is an open-source, modular framework designed to make Neural Radiance Field (NeRF) research and development more accessible, organized, and collaborative. Think of it as « PyTorch Lightning for NeRFs » or « Hugging Face for 3D reconstruction. »
Training is working as this:
- ns-train nerfacto –data data/processed
- ns-train instant-ngp –data data/processed # faster
- ns-train gaussian-splatting –data data/processed # real-time rendering
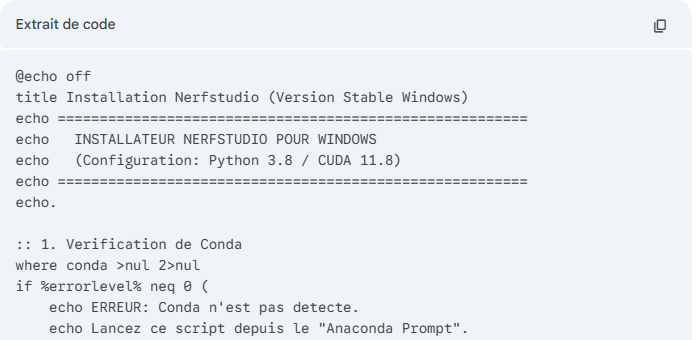
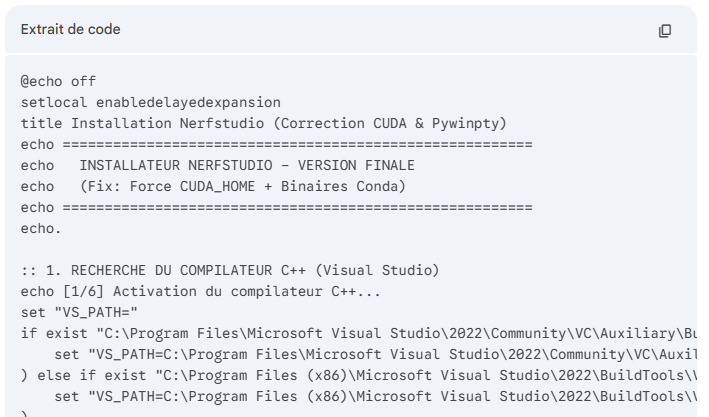
Installation: Mandatory Prerequisites
Before running the script, you must install these three tools. Without them, the script will fail 100% during compilation.
Visual Studio Build Tools (The C++ Compiler)
Download and install « Visual Studio Build Tools 2022 » (free from Microsoft).
Crucial: During installation, check the box for « Desktop Development with C++ ». This installs the MSVC compiler needed to turn code into an application.
Miniconda (The Python Manager)
Install Miniconda for Windows (Python 3.x).
Check the option « Add Miniconda to my PATH environment variable » (even if it’s red-warned, it’s simpler for automation here), or use the « Anaconda Prompt » to run the script.
Git
Install Git for Windows if not already done. Here’s the link: https://git-scm.com/download/win
Using Gemini to create a dedicated installer


A few attempts were necessary to have the final intall.bat script
Launching the process
Use Anaconda Powershell to star the process


To work from a video file the command is
 ns-process-data video –data C:\Splat\test.mp4 –output-dir C:\Splat\my_project
Create the 3D
ns-train splatfacto –data C:\Splat\ my_project
Important verification (FFmpeg)


ffmpeg –version
conda install -c conda-forge ffmpeg –y
Using Gemini to create a launcher
Gemini is used to create a launcher to replace the command line by buttons.
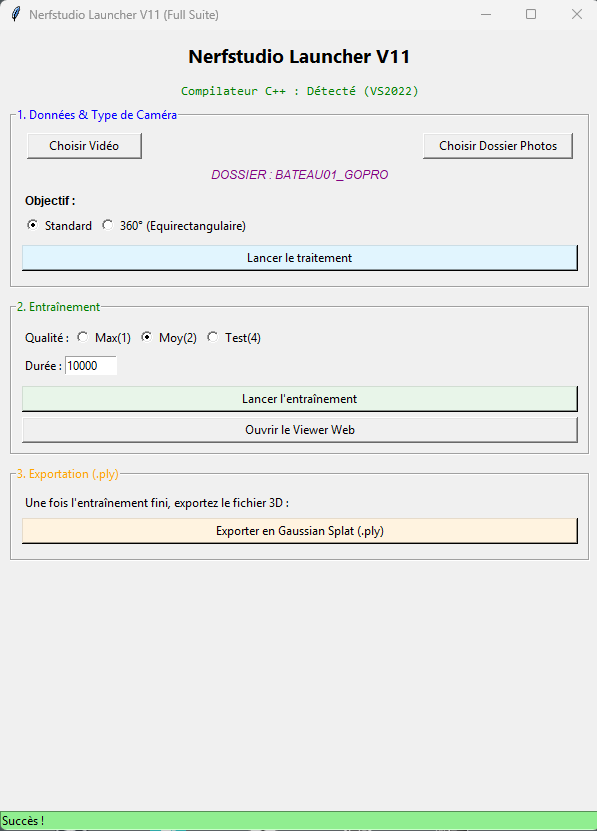
10 attempts have been necessary to have the final version. Make your own depending on your computer.
Step 2 : computing
First choose the photo set or video.
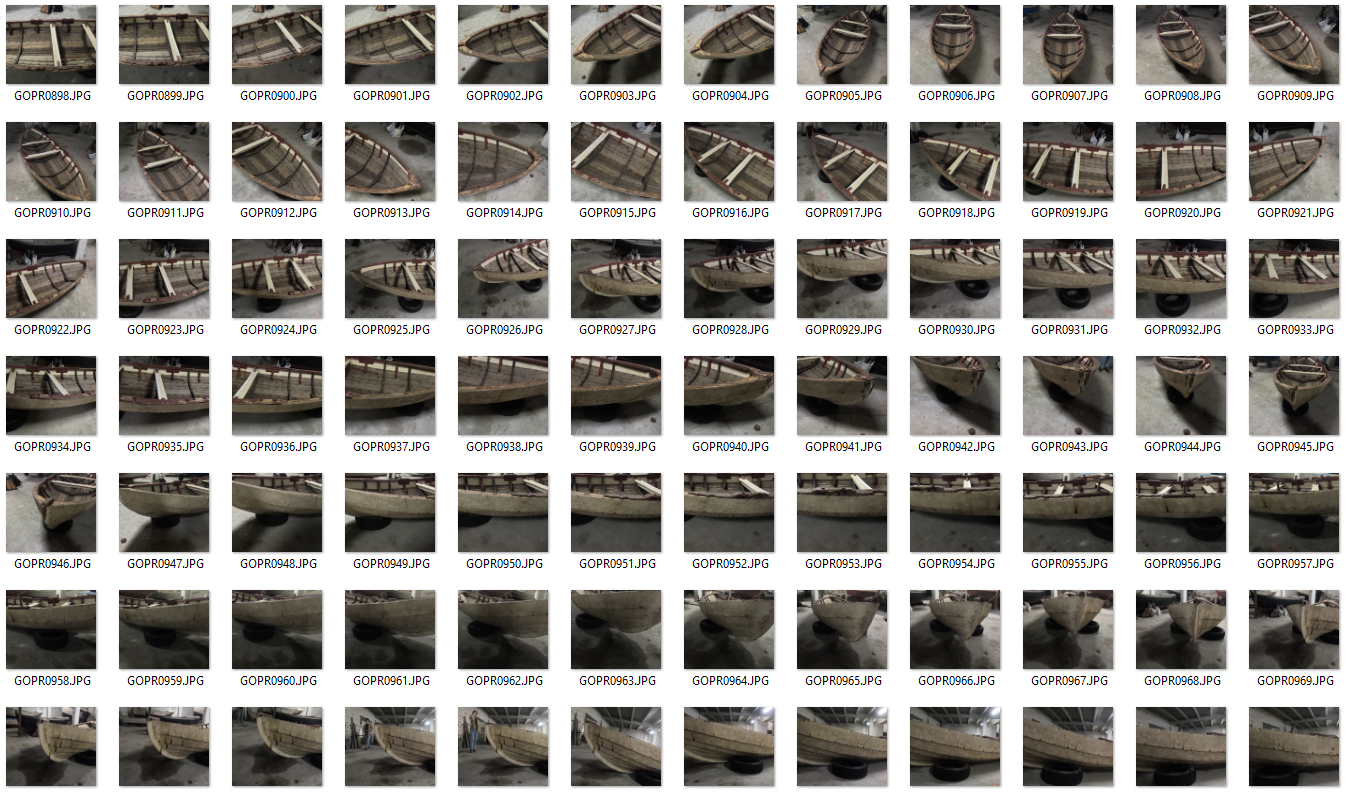
First is copies the photos or extract photos from the video
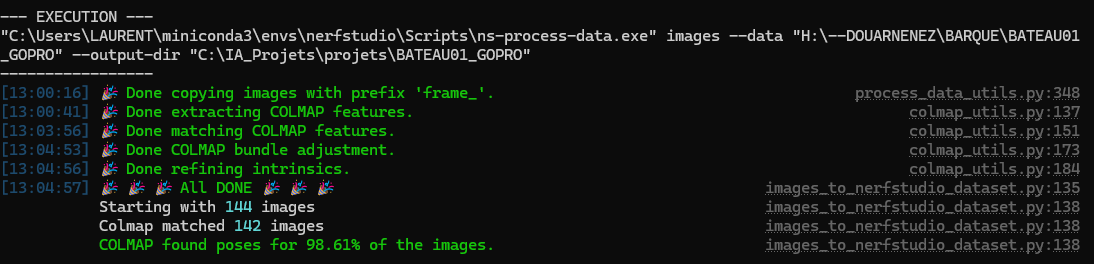
Then the COLMAP process starts, it can take a while
COLMAP (COLMAP) is a general-purpose Structure-from-Motion (SfM) and Multi-View Stereo (MVS) pipeline. It’s the de facto standard for extracting 3D information from 2D images and is crucial for most NeRF and Gaussian Splatting workflows.
What Problem Does It Solve?
Given: A set of unordered 2D images of a scene
Produces: Camera poses + 3D point cloud + intrinsic parameters
Essentially: It figures out where each photo was taken from and what the 3D scene looks like
The Three-Stage Pipeline
Stage 1: Feature Extraction & Matching
Feature Detection
- Extracts distinctive points (keypoints) from each image
- Uses algorithms like SIFT (Scale-Invariant Feature Transform) or SuperPoint
- Each keypoint has a descriptor (fingerprint) for matching
Without COLMAP (or similar SfM), NeRF and Gaussian Splatting have no idea:
- Where the camera was for each photo
- What the camera’s lens properties were
- Initial 3D structure of the scene
COLMAP provides the foundational 3D understanding that neural methods then refine and complete. It’s the bridge between 2D images and 3D neural representations.
The process is computationally expensive but necessary for high-quality results. Recent advances aim to reduce this dependency (like learning SfM end-to-end), but COLMAP remains the gold standard for photogrammetry-based 3D reconstruction.
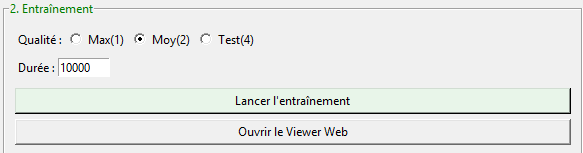
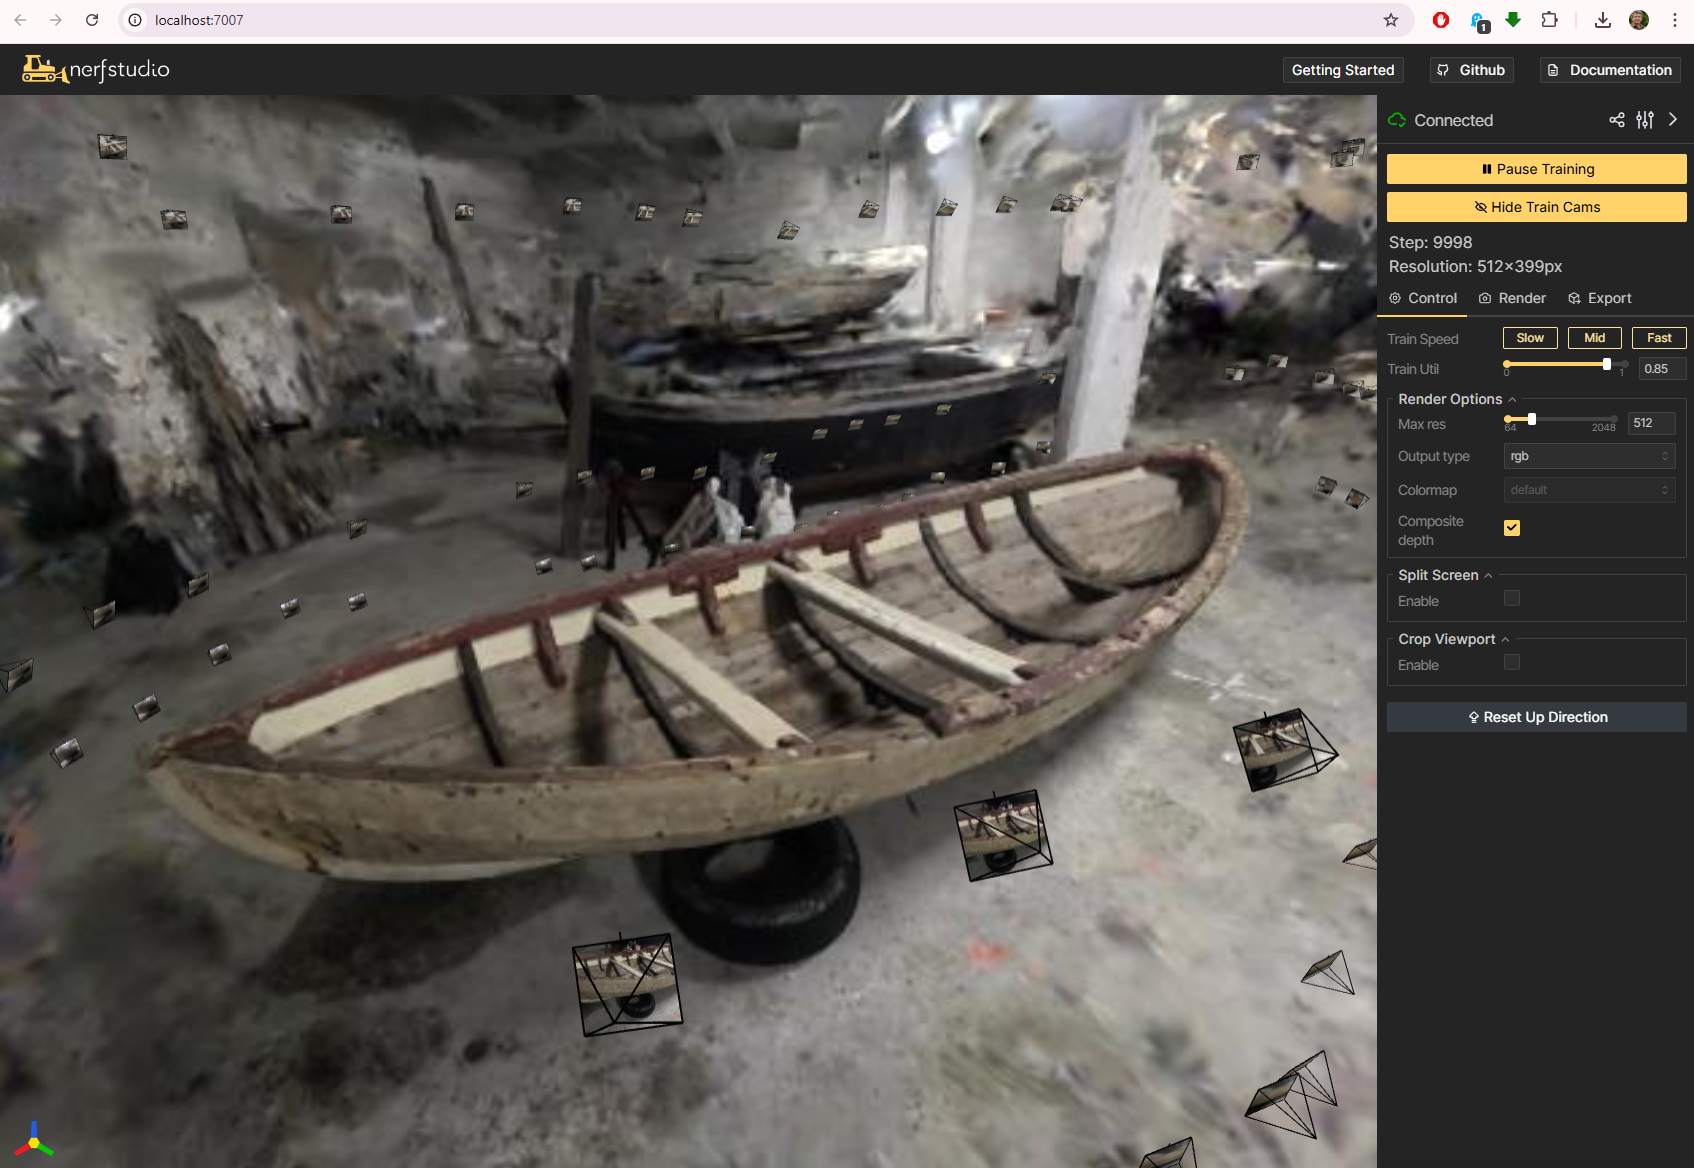
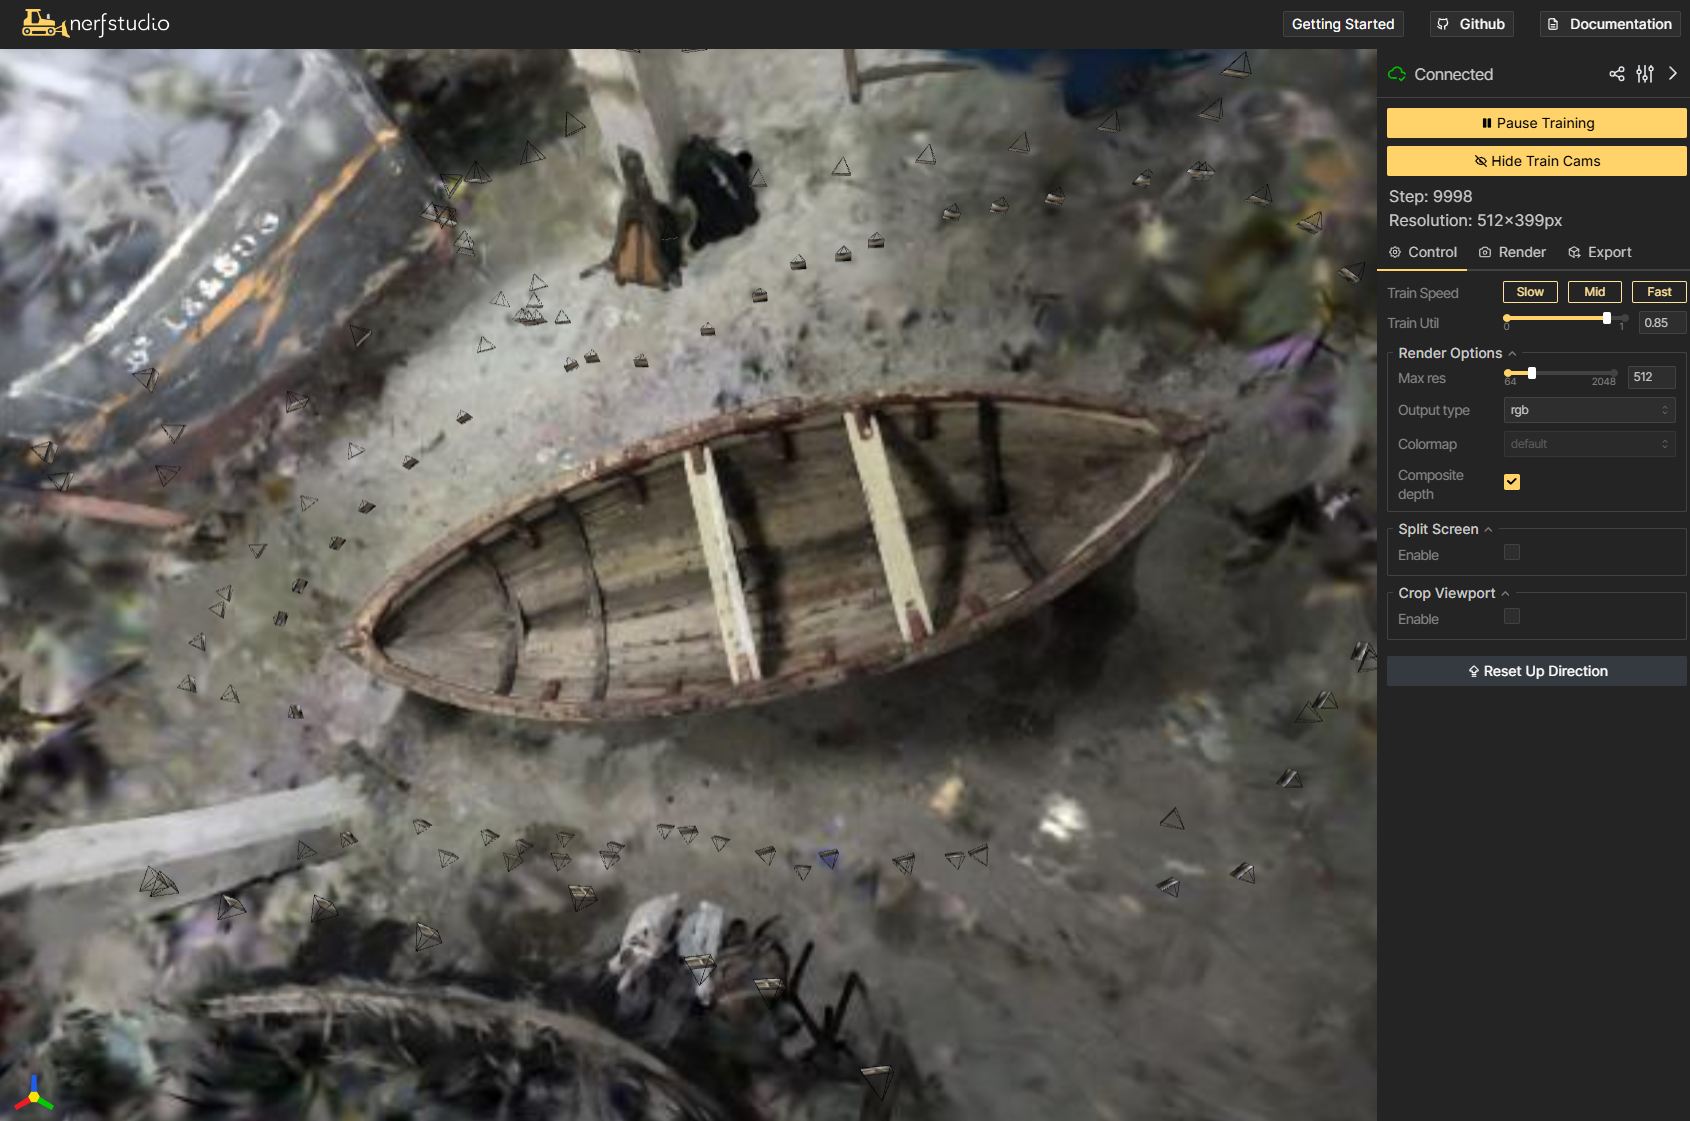
Step 2 : Then the training starts
The web interface opens
The interface allows to play with quality and duration
Gaussian Splatting Training Process (Short Version)
Training transforms a sparse 3D point cloud into millions of optimized Gaussian « blobs »:
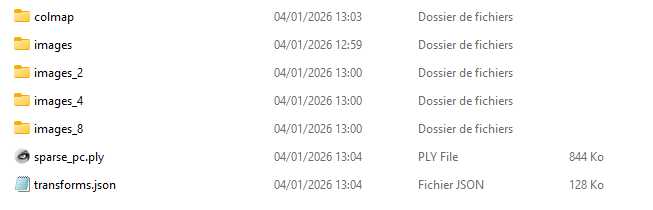
- Start: Take COLMAP’s sparse point cloud (camera poses + initial points)
- Initialize: Convert each 3D point into a Gaussian with position, color, opacity, and initial size/orientation
- Iterative Optimization (repeat 7,000-30,000 times):
- Project: « Splat » all Gaussians onto 2D image planes
- Render: Alpha-blend them into synthetic images
- Compare: Calculate loss vs. ground truth photos
- Backpropagate: Update Gaussian parameters (position, color, opacity, shape)
- Adapt: Clone Gaussians in detailed areas, prune transparent ones
- Result: A set of Gaussians that render photorealistic novel views at 100+ FPS
Key insight: Each Gaussian learns to represent a small patch of surface/volume, optimizing position, shape, color, and transparency to match all training views simultaneously.
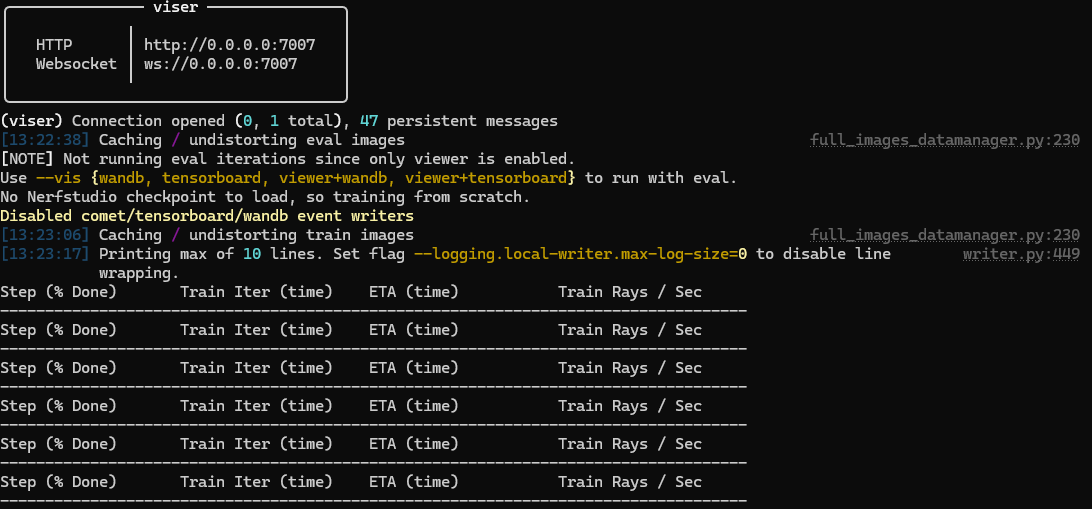
The web interface shows this :
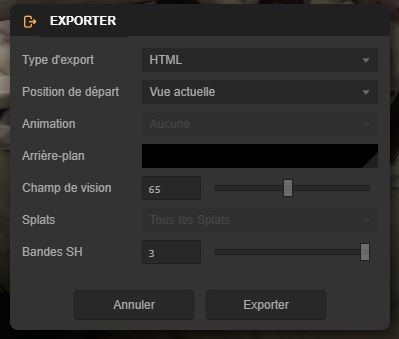
Exporting the PLY
The interface helps the export process
ns-export gaussian-splat –load-config outputs\unnamed\splatfacto\2026-01-04_132232\config.yml –output-dir exports/splat/

![]()
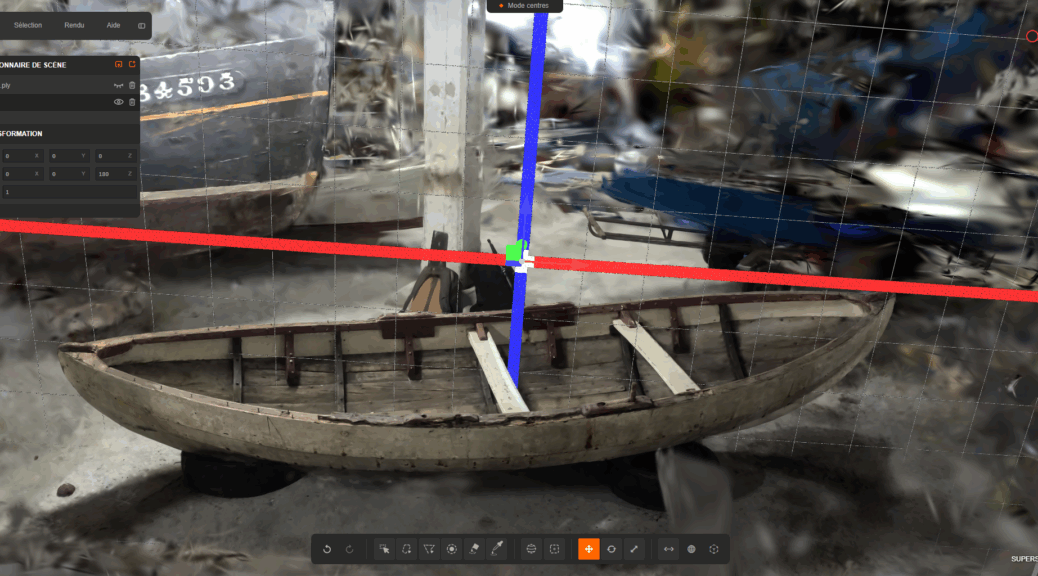
Editing the PLY file
Use Supersplat editor to clean the PLY file https://superspl.at/editor
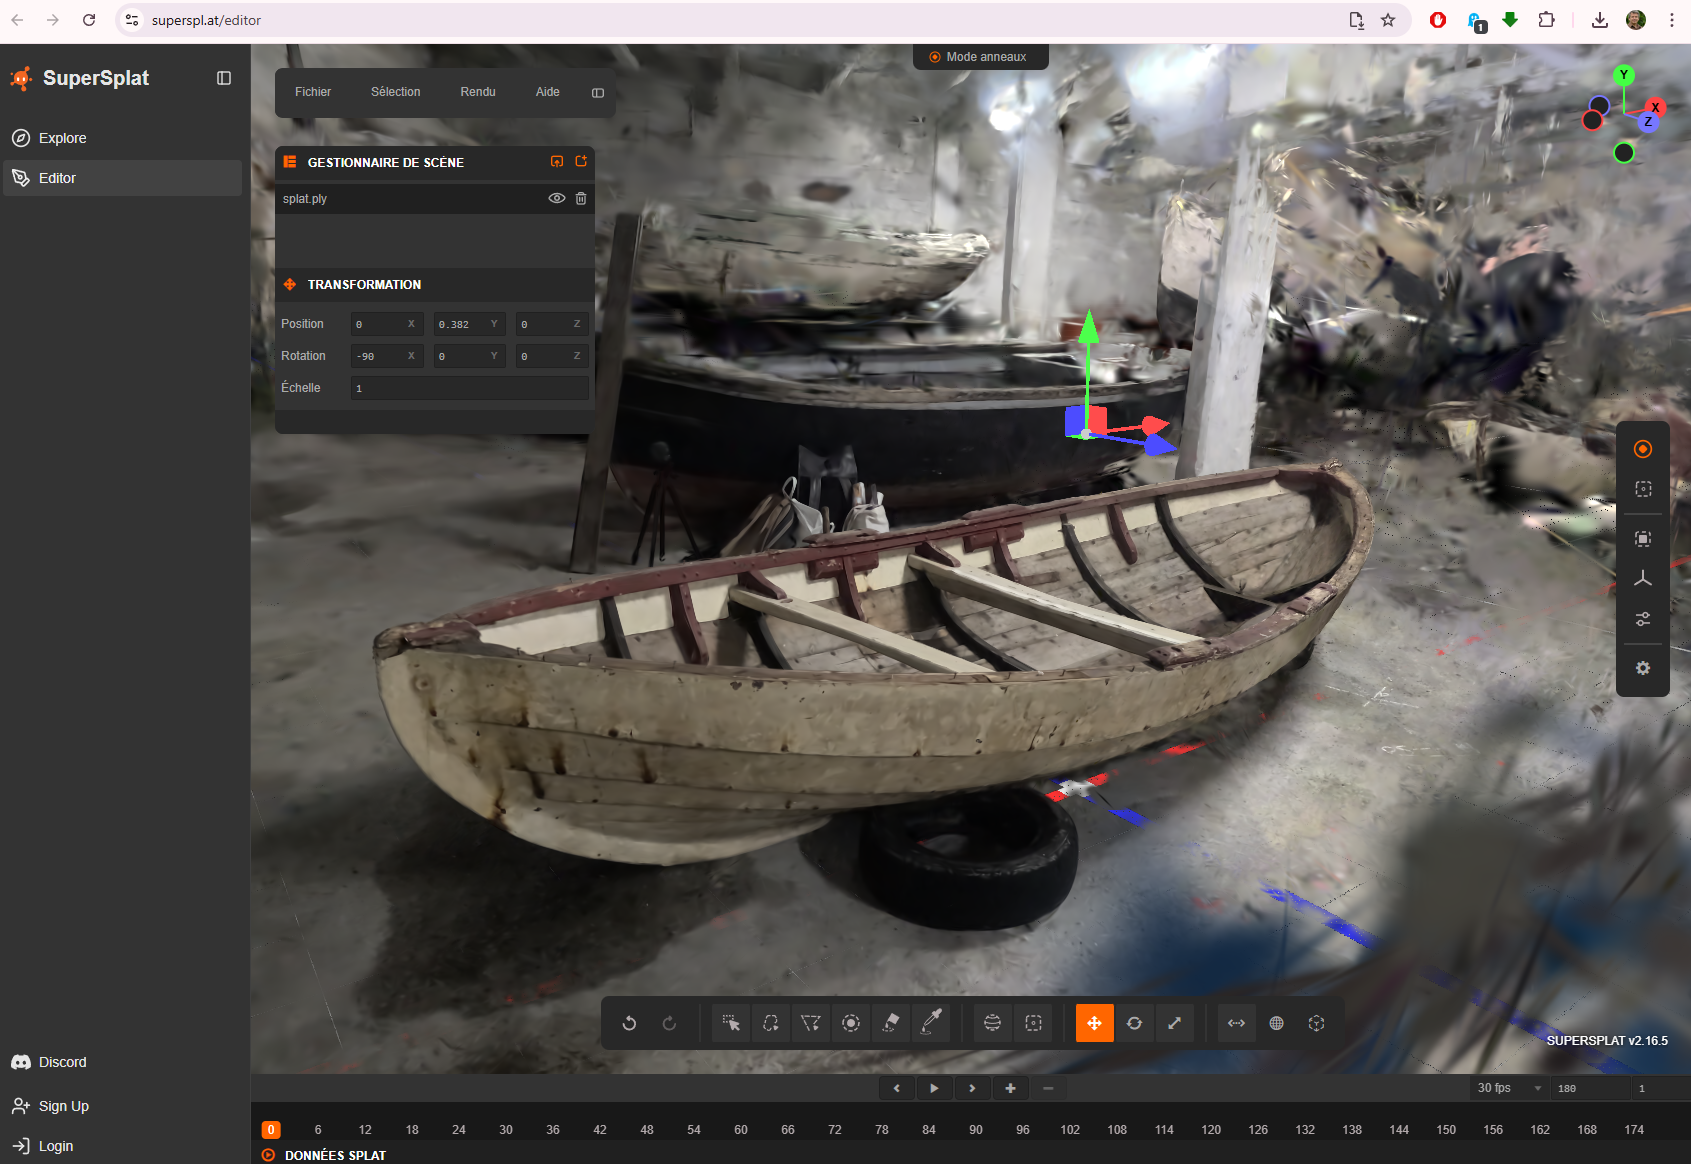
Here it’s possible to rotate, reoriente the model.
Also to render
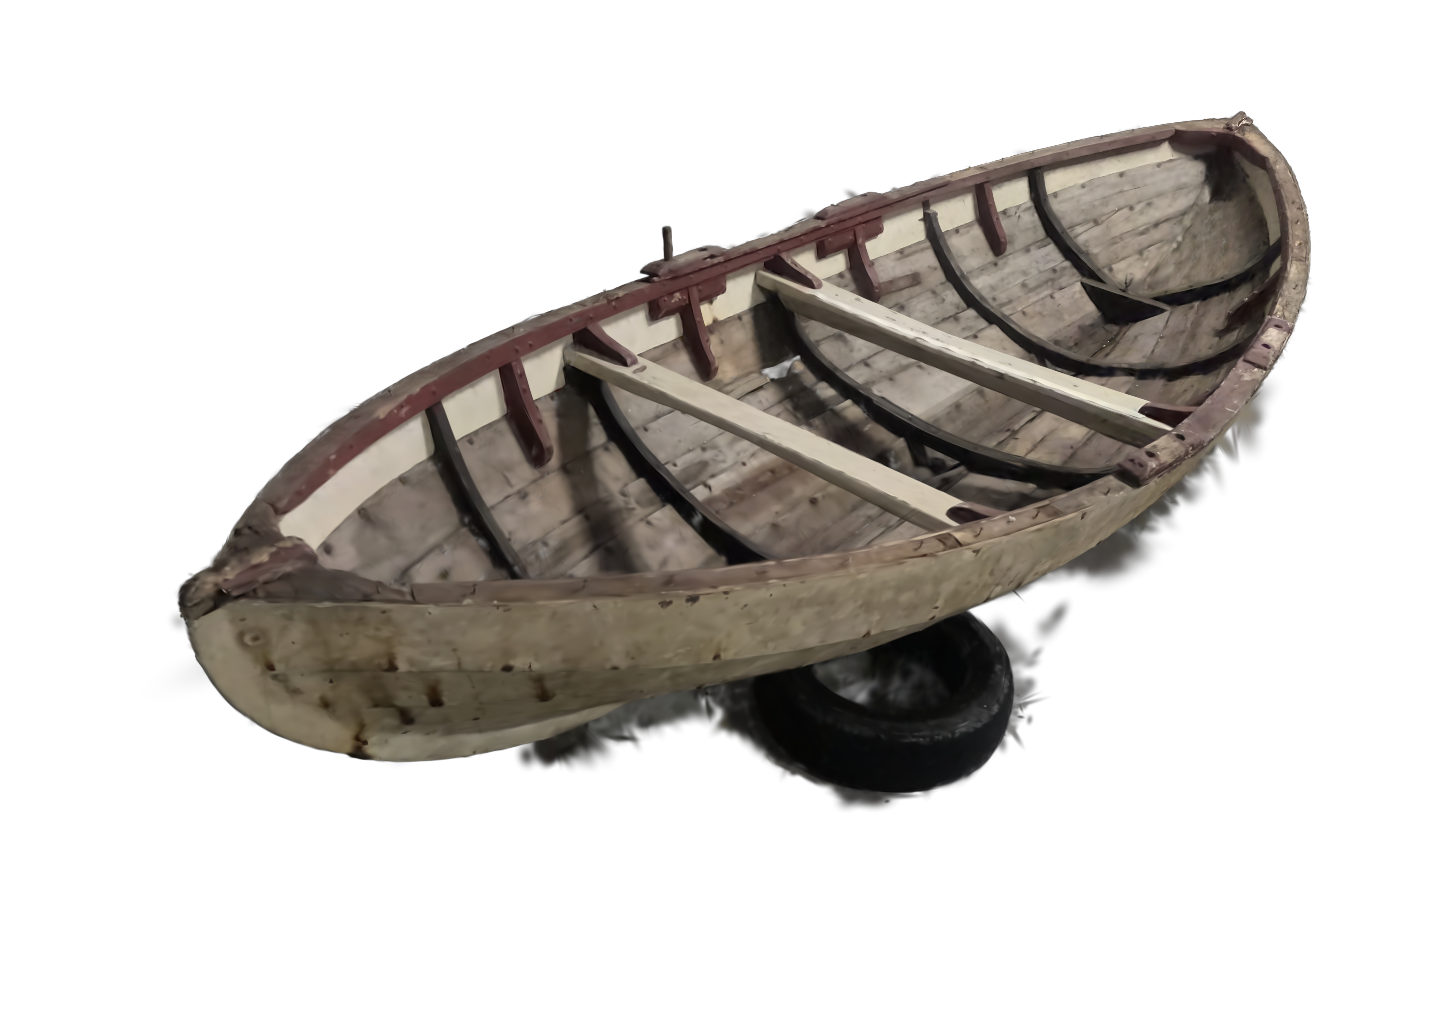
After cleaning

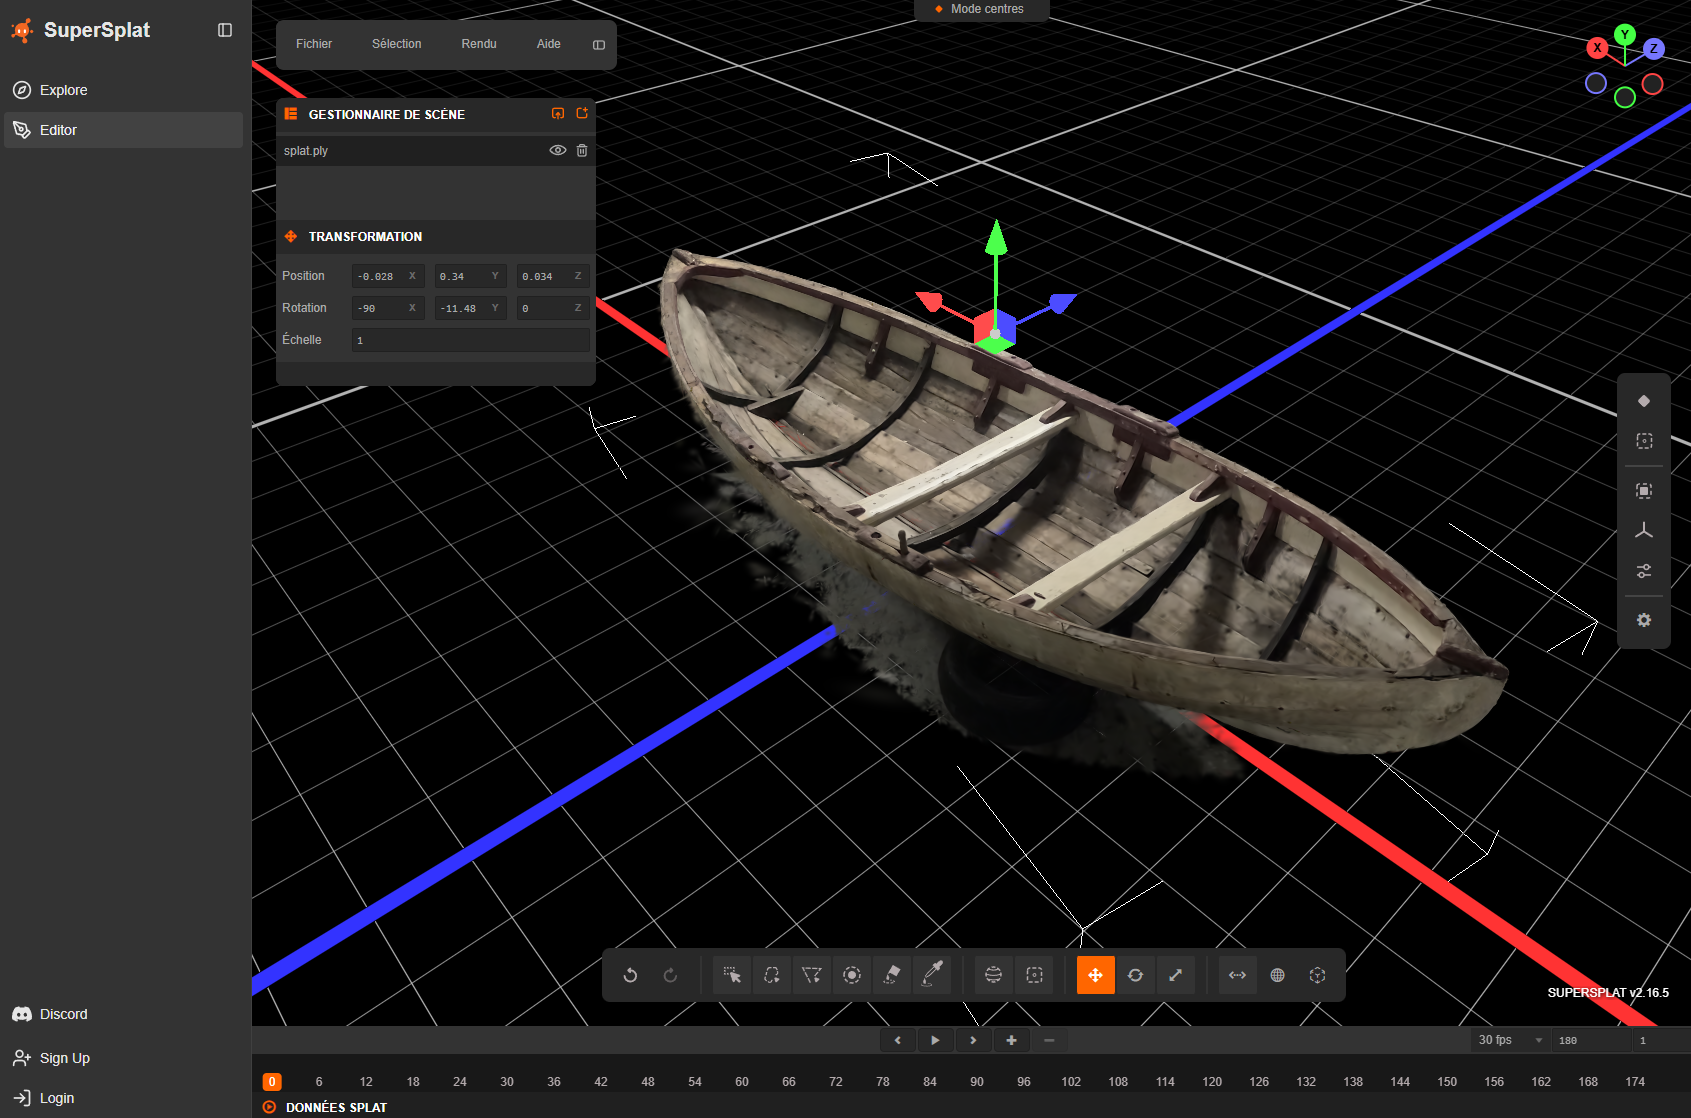
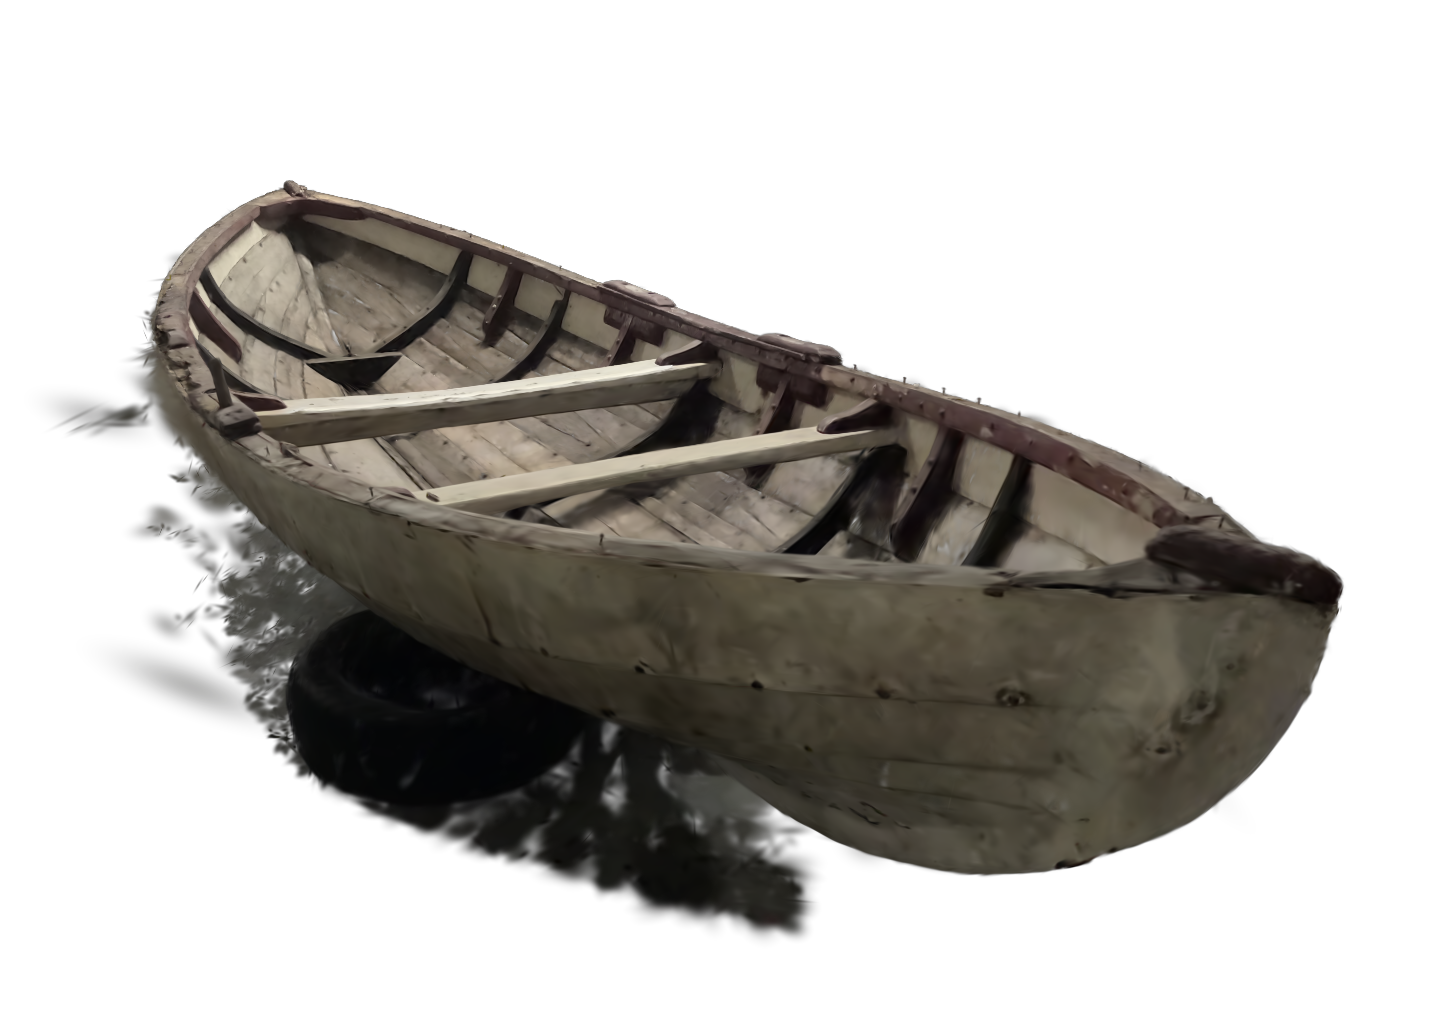
Exporting the PLY

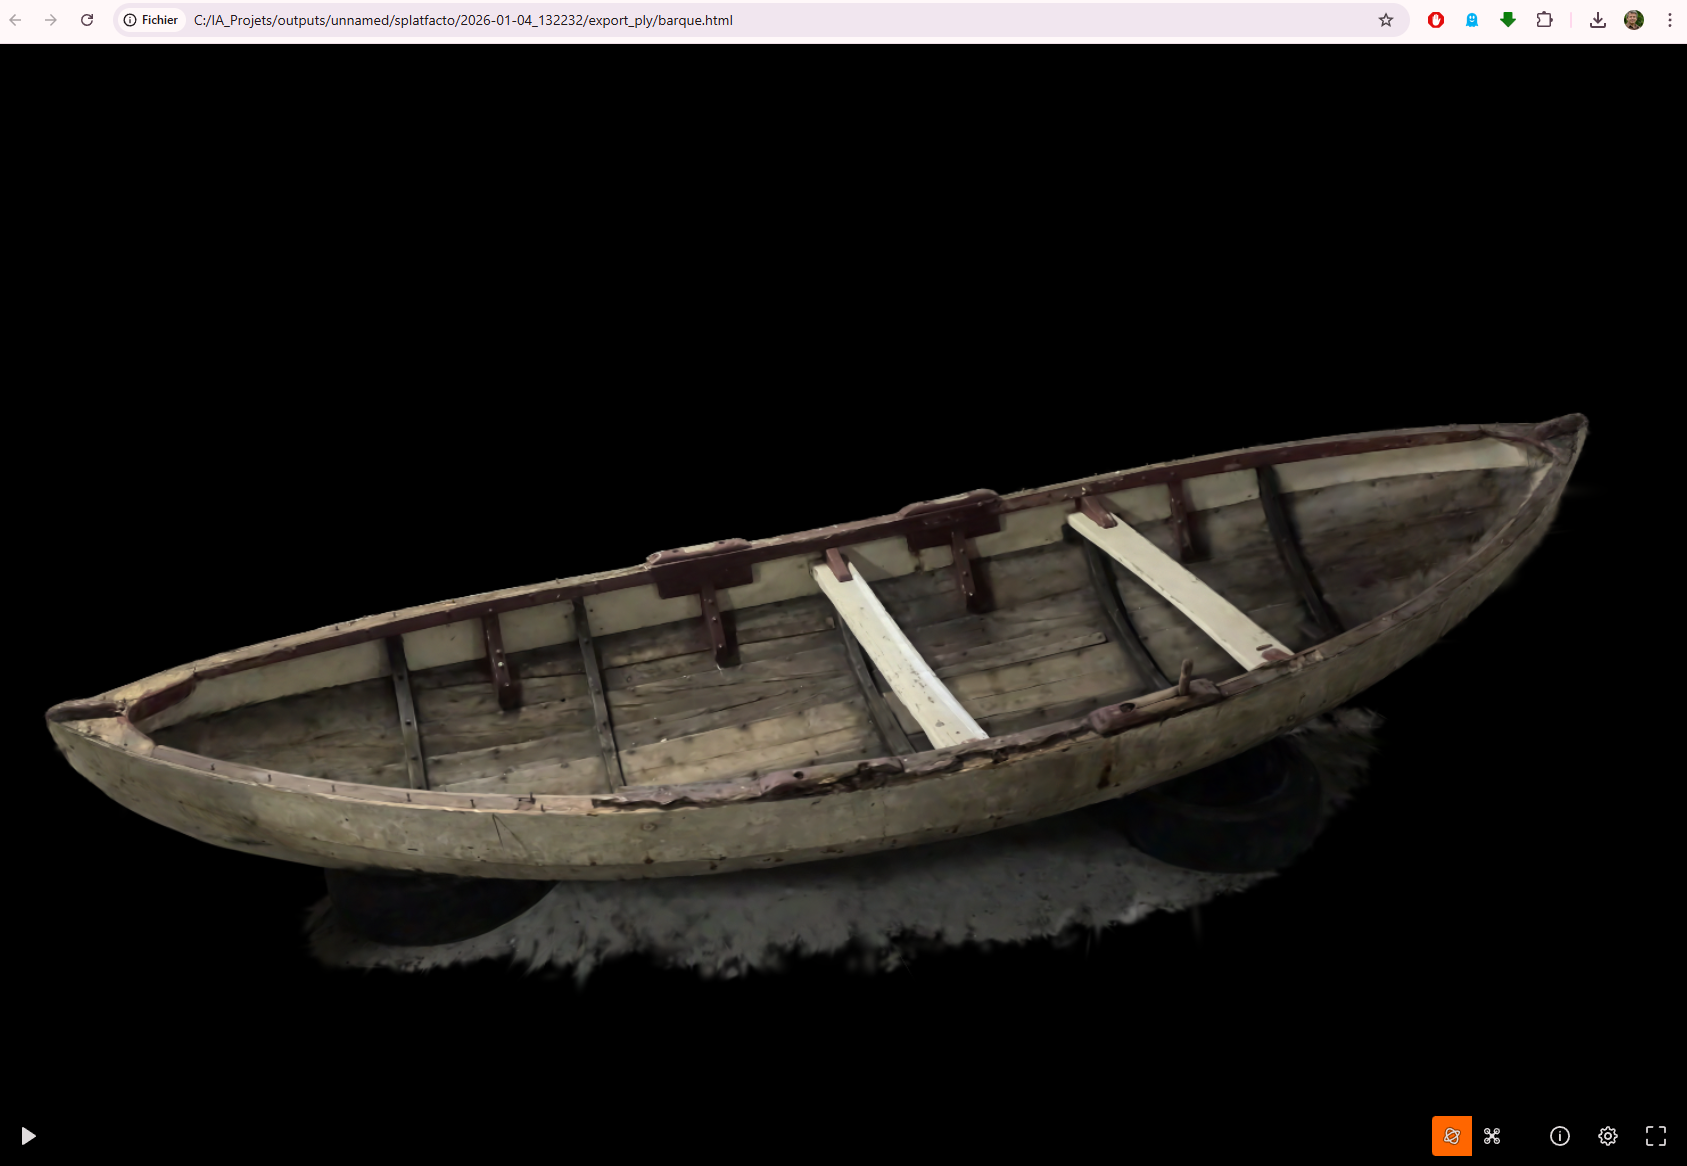
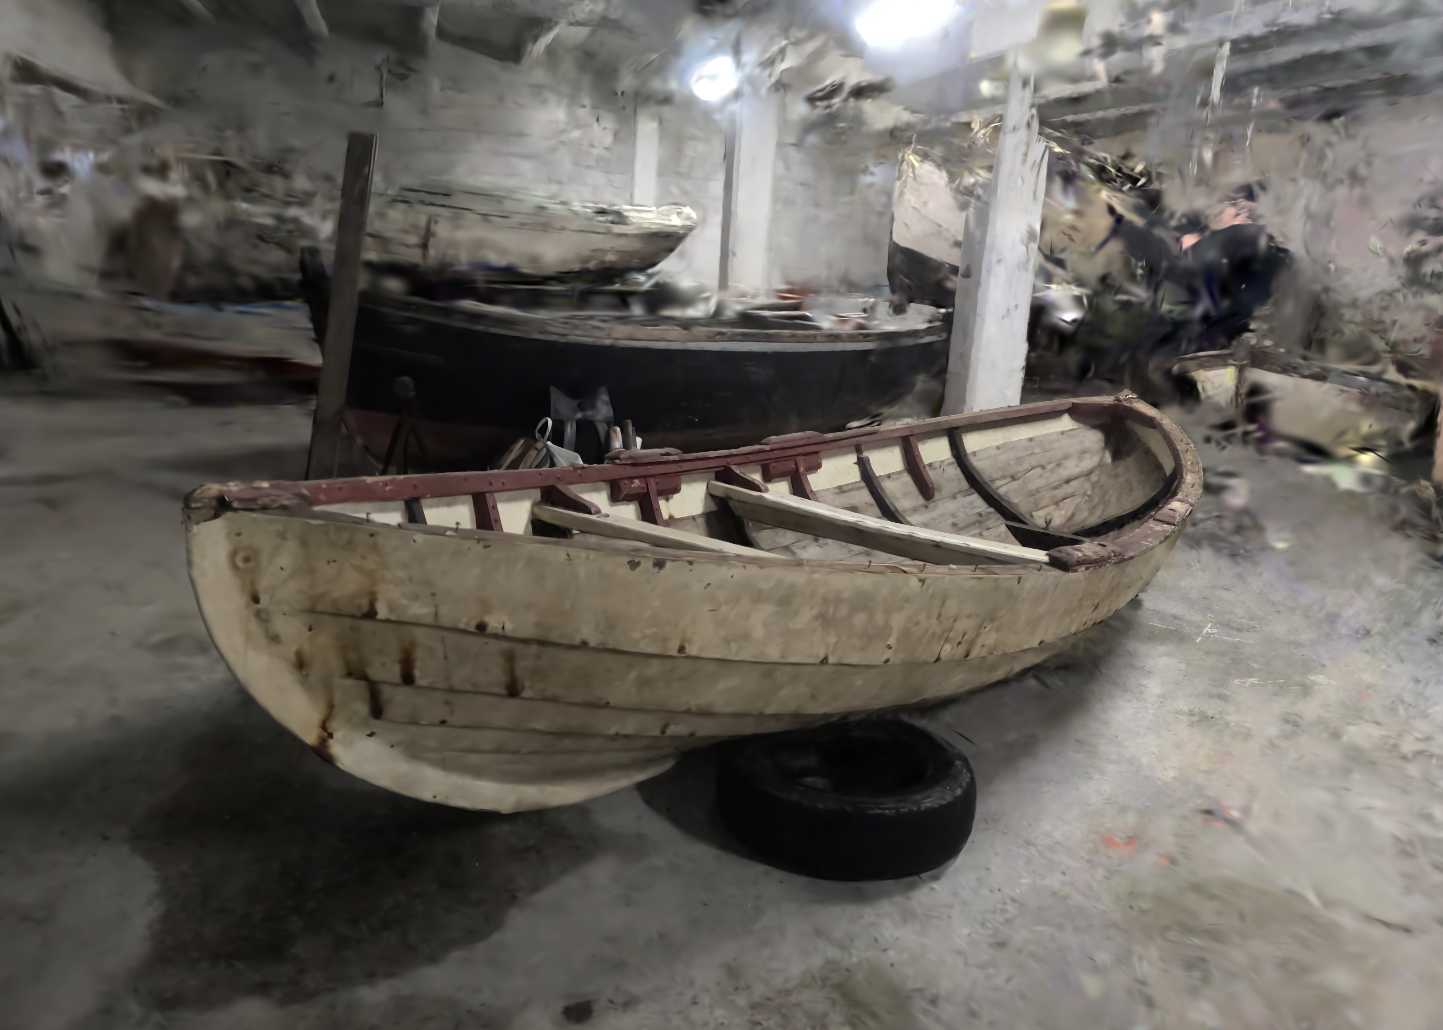
Visualising with https://urbandecoders-gaussiansplatviewer.netlify.app/
It’s also possible from SuperSplat to create a HTML page to visualise